Last updated May 11th, 2020 at 01:24 pm
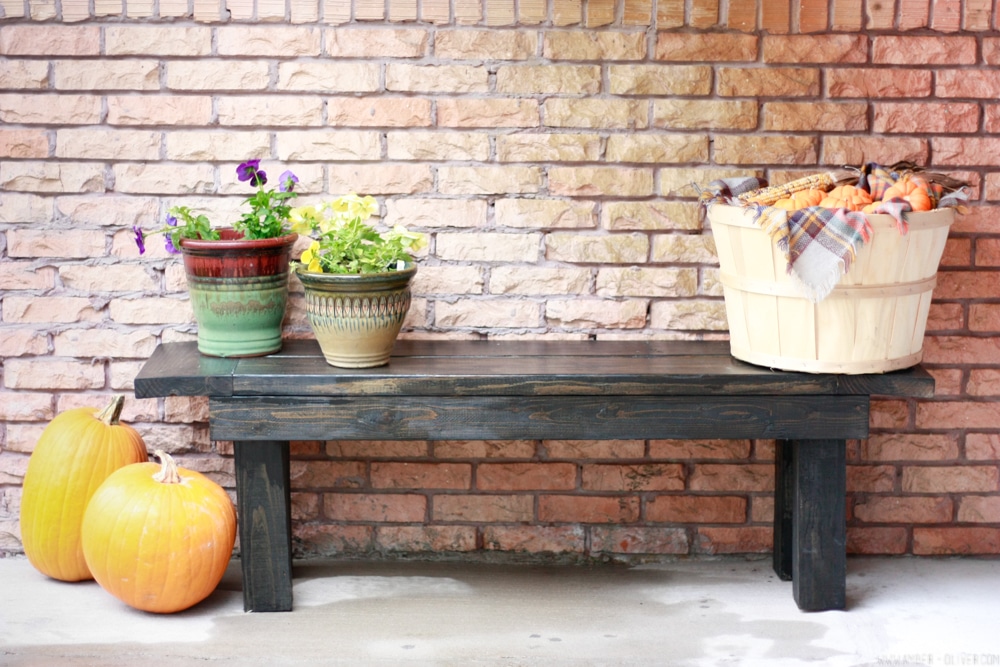
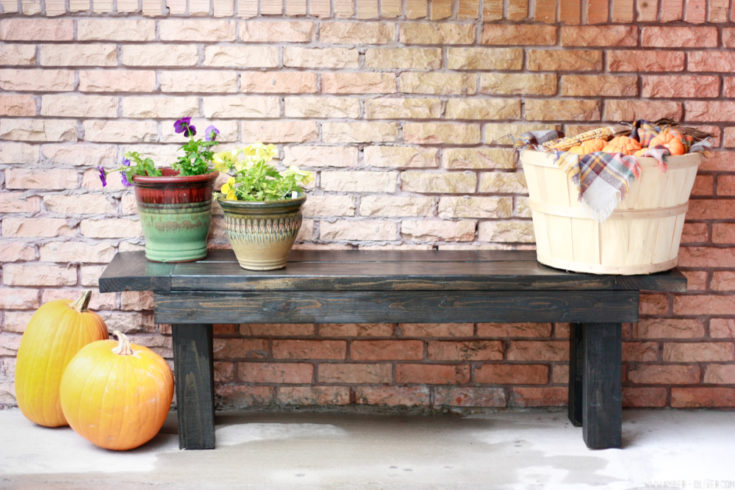
When we built our DIY farmhouse table the original plan was to add benches for seating. But when I found these awesome bamboo chairs at IKEA, I grabbed 6 of them for our patio. I went back a few months later to get 2 more and they had DOUBLED in price (womp womp). We have an ever expanding need for seating in our home, so we decided to build a versatile DIY bench. It’s new home is on our front porch, but we’ve used it in our dining room and on our back patio. I modeled the design after our farmhouse table, with a minor change to the legs to make the build a bit simpler.
This post contains affiliate links. If you shop from my blog, I may be compensated for clicks or purchases that you make. Thank you for your support! Please refer to my disclaimer page for more information.
DIY Bench
Materials
- Two 2"x 8" (8 foot)
- Two 2" x 4" (8 foot)
- One 4" x 4" (8 foot)
- Wood Stain
Instructions
- Use the miter saw to make all the cuts in the cut list.
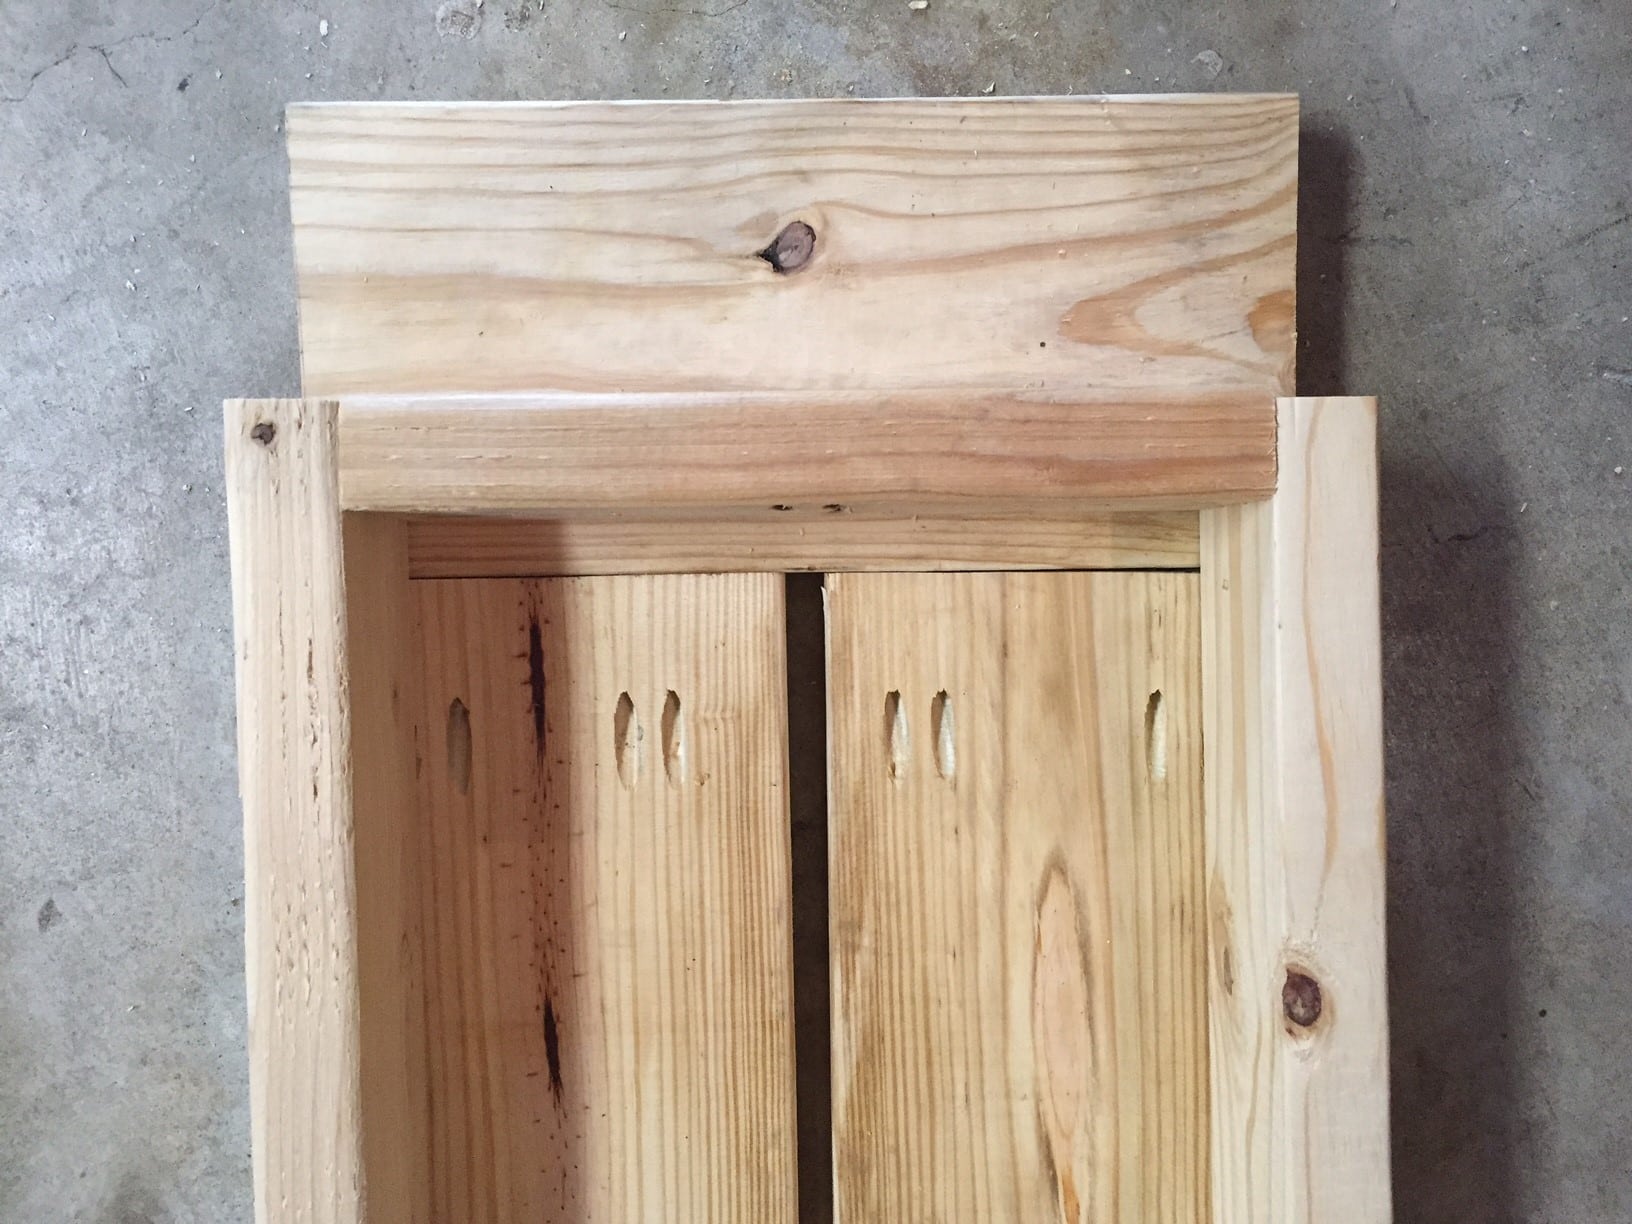
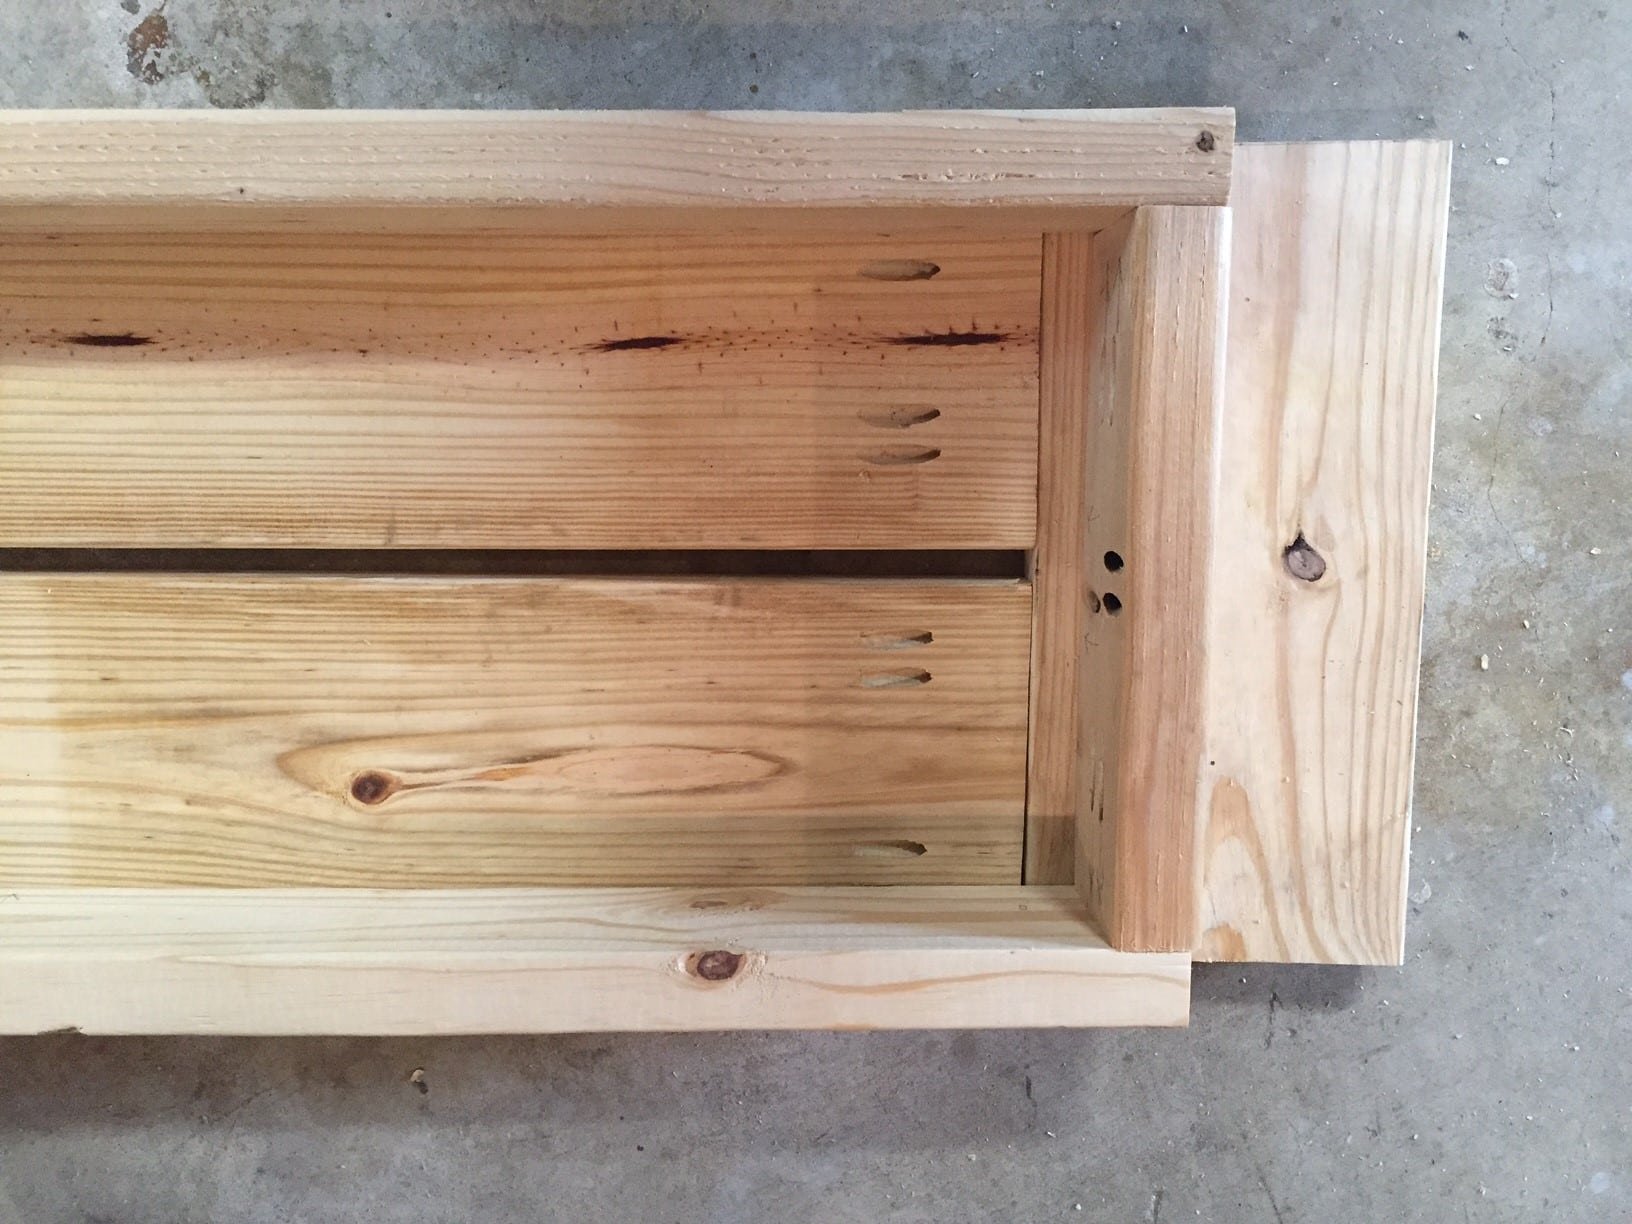
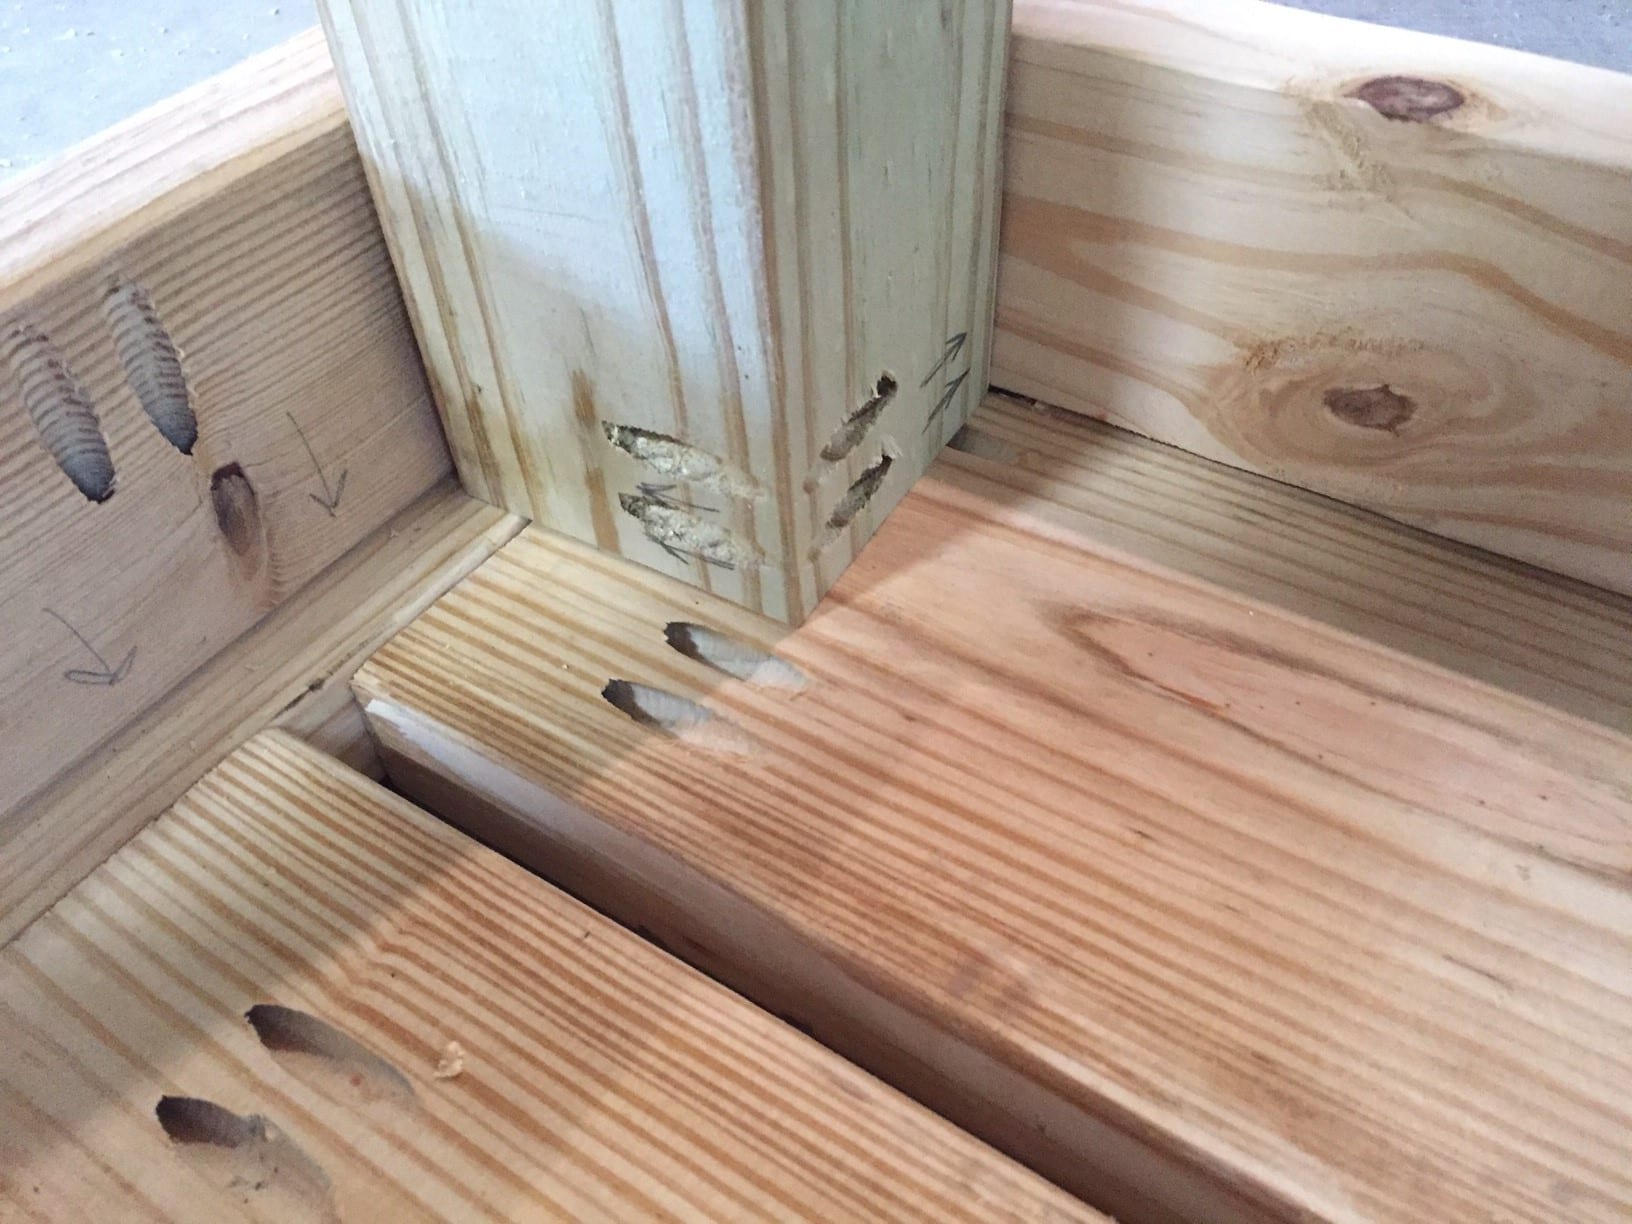
- Use the Kreg Jig to make the pocket holes. For the top of the bench, add the pocket holes on the underside of each end of the 44 inch sections. You will attach into the 16″ x 8″ breadboards.
- On the apron, add pocket holes on the 12 inch sections, in the middle and on either end. You will use the pocket holes on the end to attach into the 48 inch sections to make a rectangle. You will then use the pocket holes in the middle of the 12 inch sections to attach into the top of the bench.
- On the 4 x 4 legs, add pocket holes on 2 of the intersecting sides, then insert into the apron. Note: when we made the legs on our DIY farmhouse table, we used 2 2x4s instead of the 4×4 post. We only found pressure treated wood in the 4×4 posts and wanted the table to stain evenly. I read that if you let the posts dry for several weeks, you can stain them. We tried it and it worked.
- After the bench is assembled, use the electric sander to give it a good sanding.
- Apply stain and let dry! If you’re putting it outside, I like to add a coat of Helmsman Spar Urethane (I think it’s easier to work with than spar varnish).
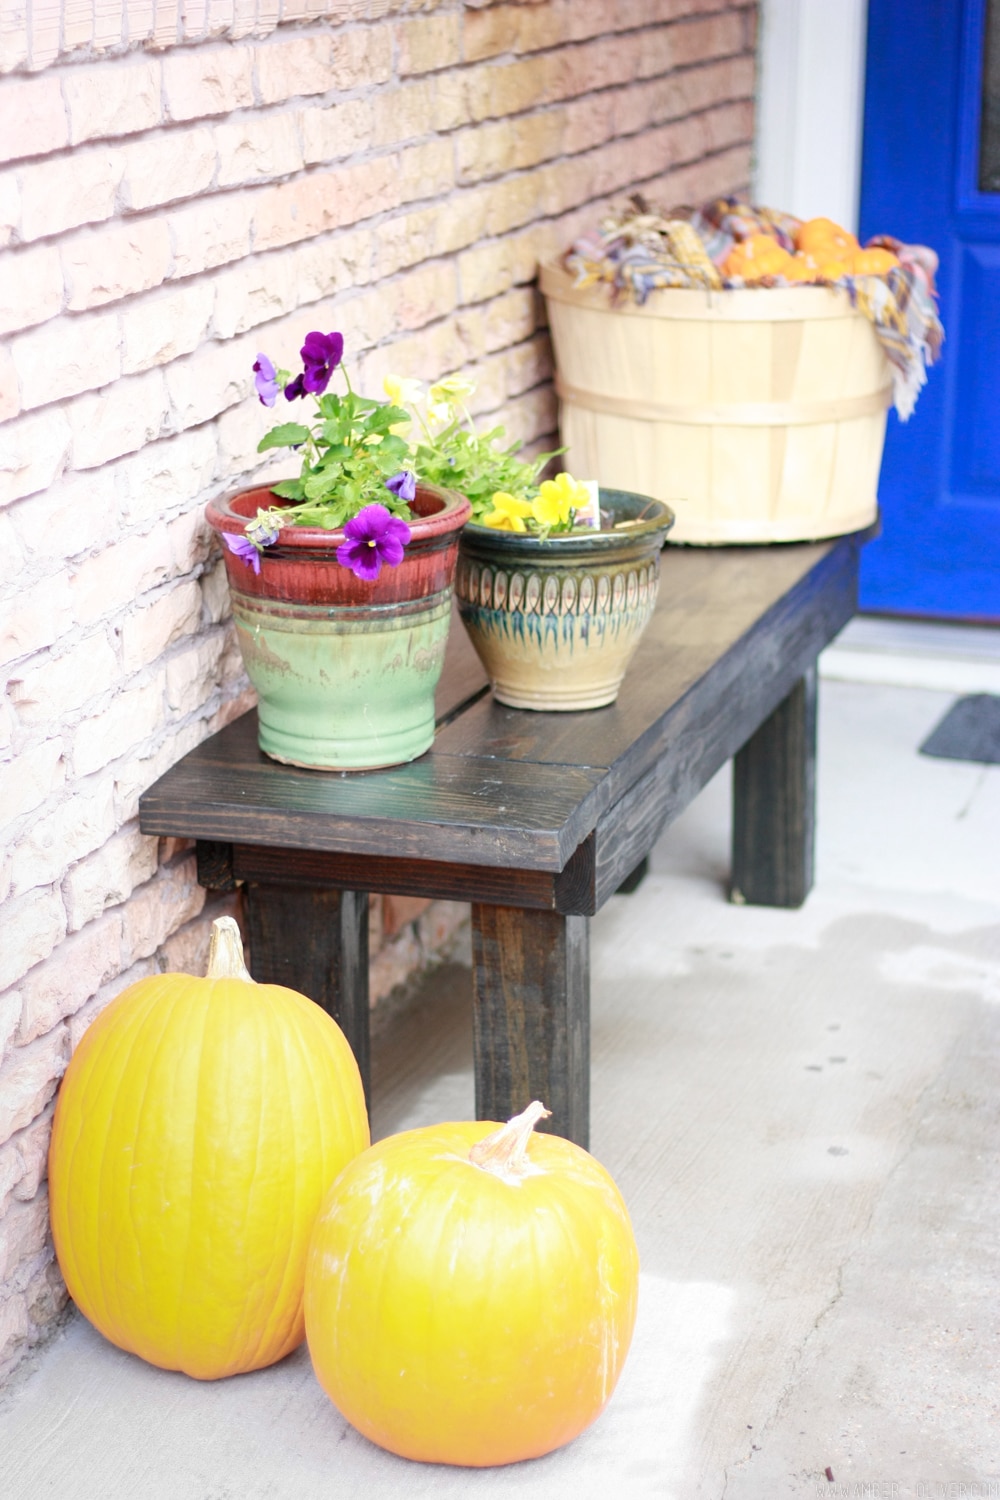
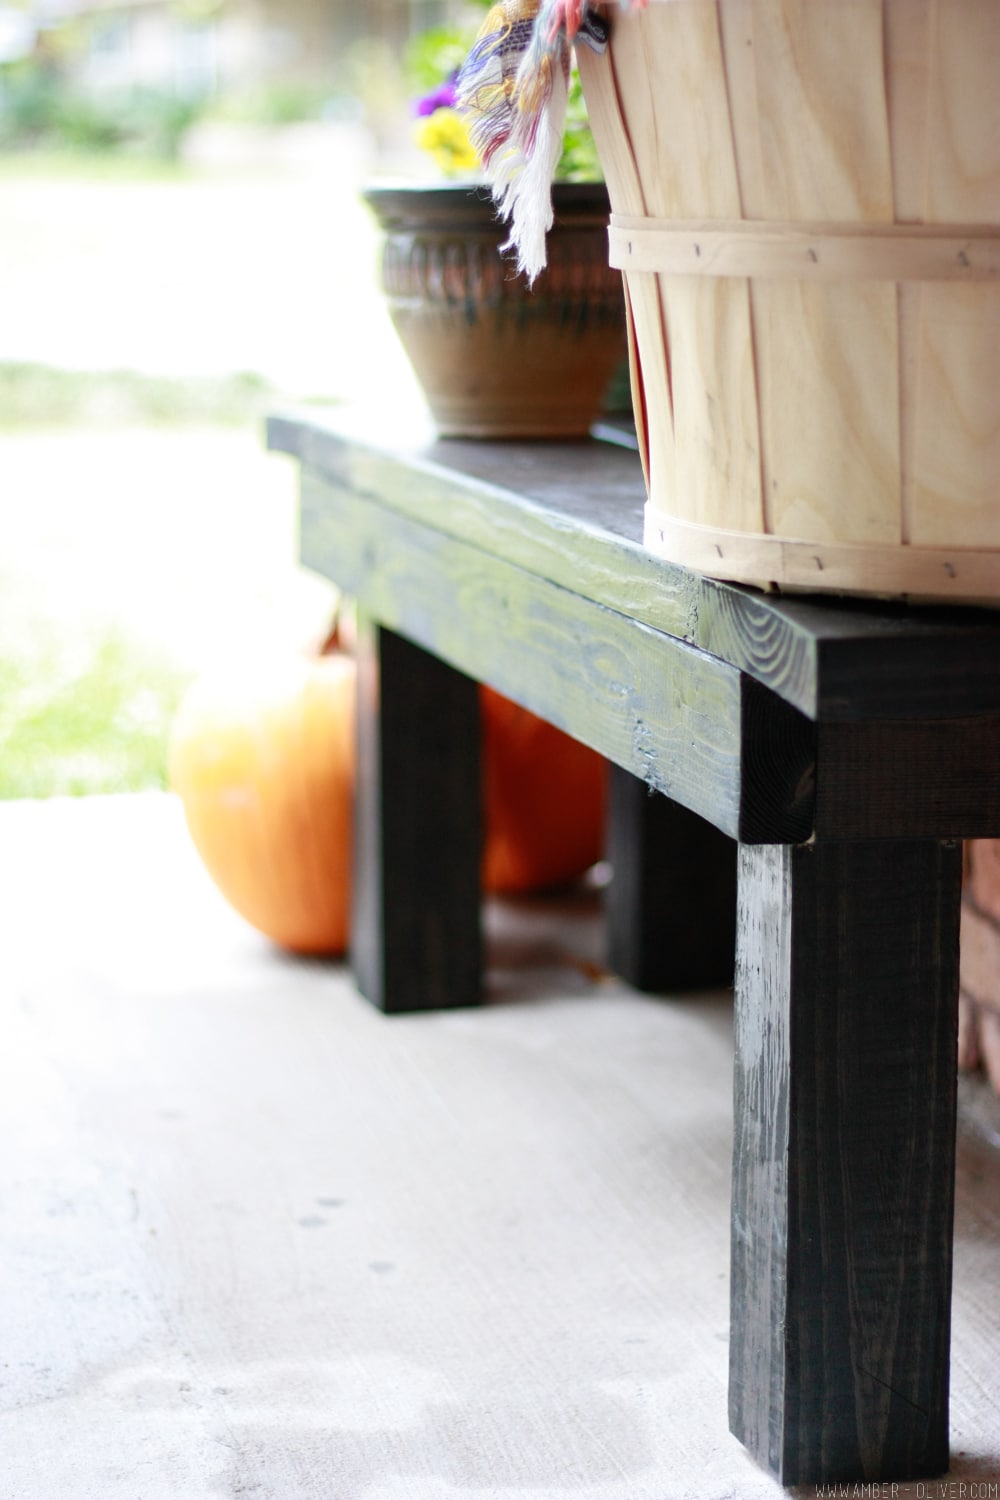
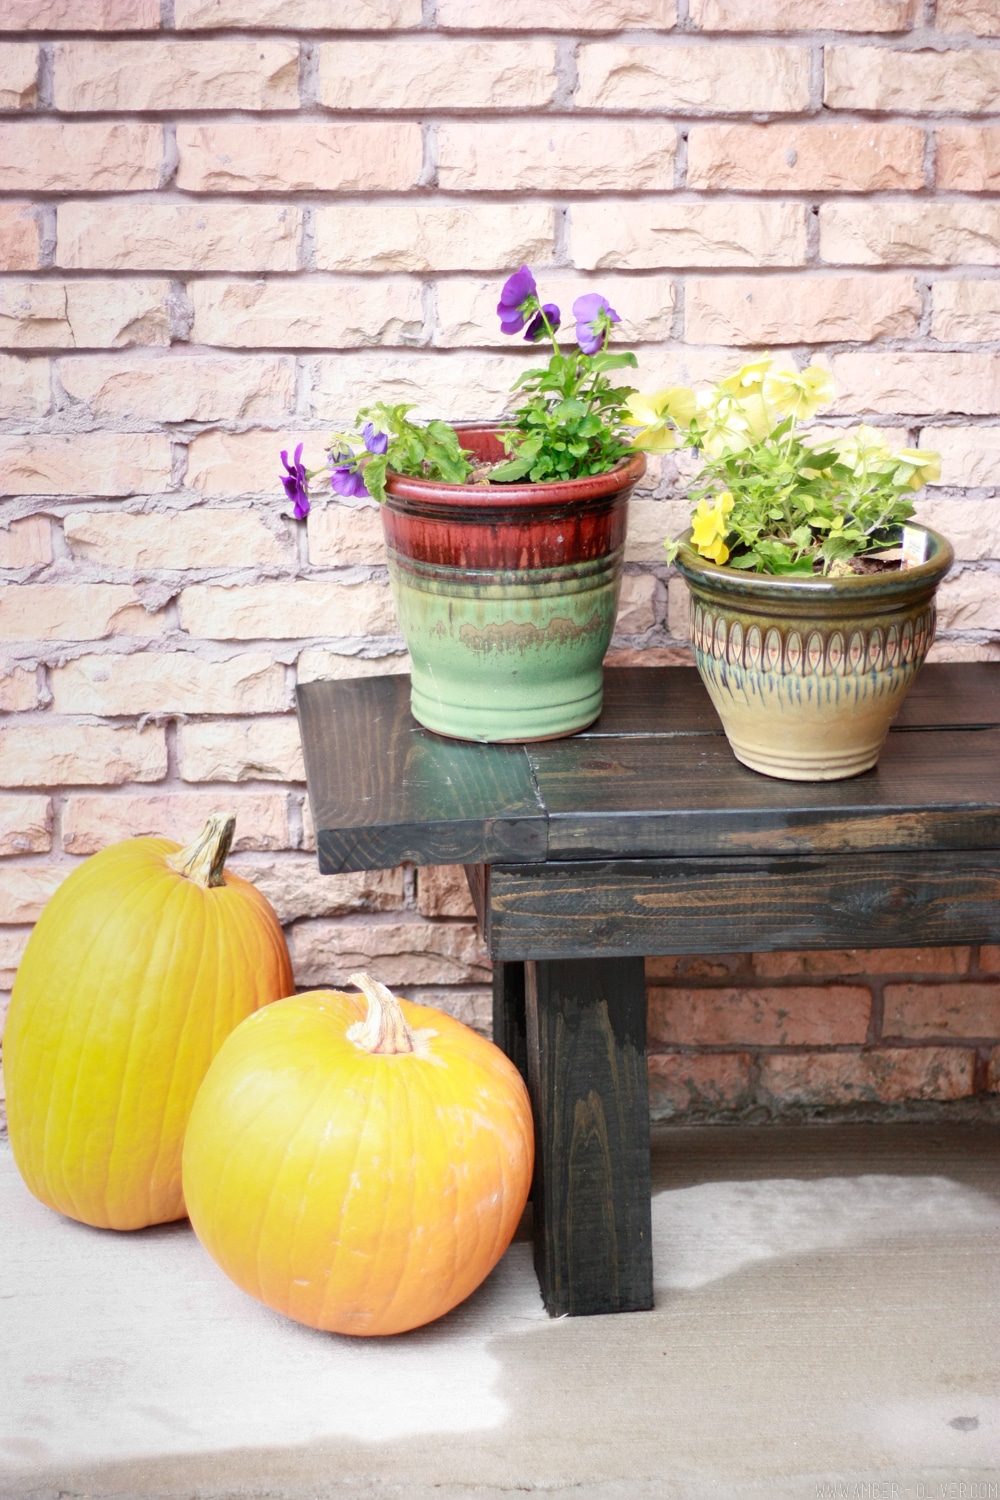
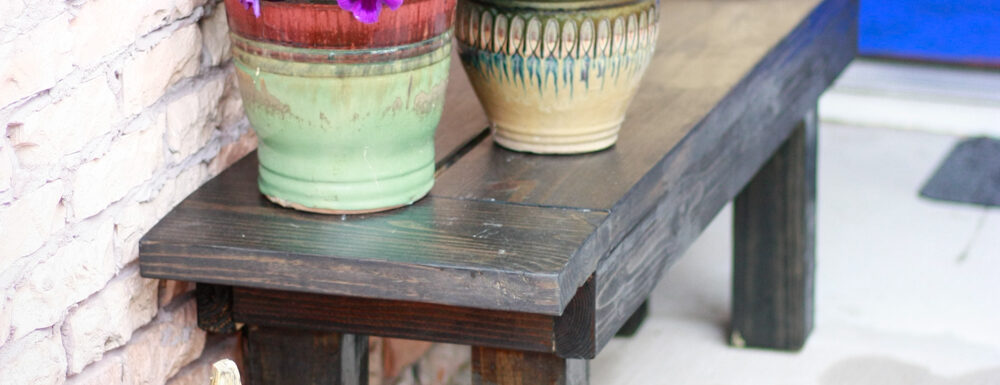
I love how versatile our DIY bench is. I used it this fall with pumpkins on our front porch. We brought it inside and used it as extra seating at our dining room table for Friendsgiving. At my birthday, we even drug it around to our back porch. Our handy little bench has made itself at home here at #OliverHQ.
Shop this project:



Tracey says
This is a great idea; much less fiddly than trying to do chairs
John says
This looks great! Do you happen to remember the color of the stain you used?
Amber Oliver says
Hi John! I used “Dark Walnut” for this bench 🙂 Here’s a link: https://rstyle.me/+_Wy92GdphRRwbjuy92szBw