Last updated August 6th, 2023 at 10:49 pm
Learn how to make your own DIY Easter egg dye without a dye kit! We show you how to dye easter eggs with food coloring and how to make your own natural dyes.
Easter is a time for family, friends, and, of course, Easter eggs! But instead of using store-bought kits with artificial colors, why not try making your own natural dyes? Not only is it a fun activity for the whole family, but it’s also a great way to add vibrant, unique colors to your Easter eggs.
Quick and Easy Hard-Boiled Eggs
First things first, you’ll need to hard-boil your white eggs. (These work much better than brown eggs!) If you’re not sure how to do that, the best way is to place eggs in a single layer at the bottom of an Instant Pot or a large pot of water. Add 1 cup of water per egg and set the Instant Pot to high heat for 5 minutes or bring the pot of water to a boil on the stove.
Once the eggs are finished cooking, transfer them to a bowl of cold water to cool. Be careful not to try to handle the eggs when they’re too hot! Wait until they are about room temperature before you let young kids try to handle them.
What can I use to dye Easter eggs naturally?
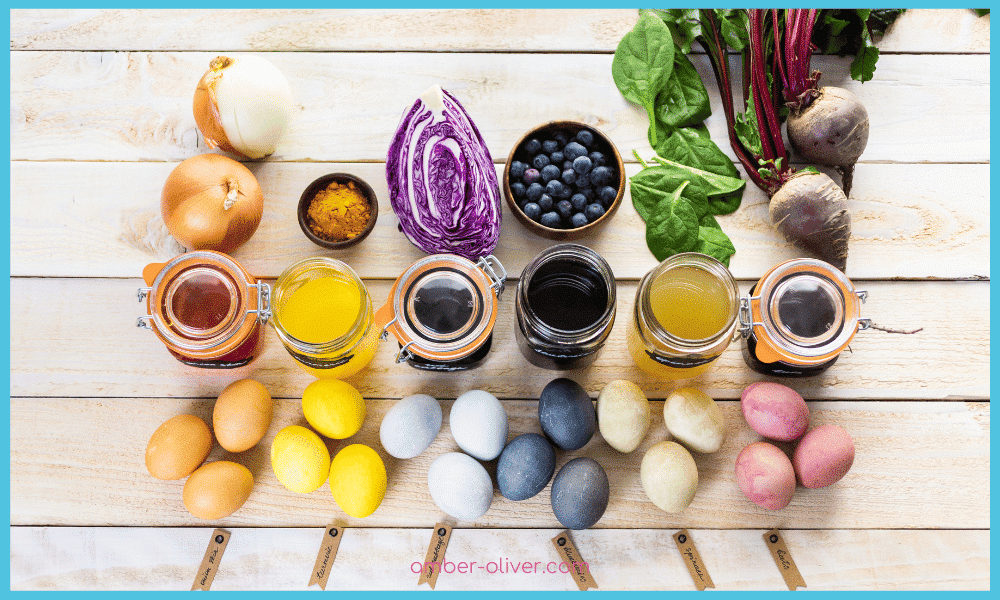
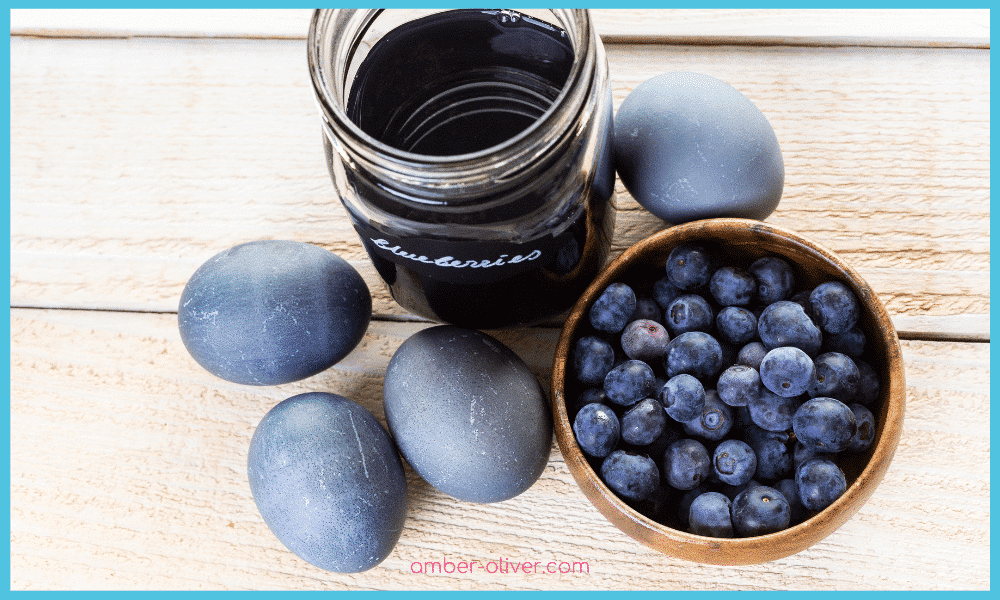
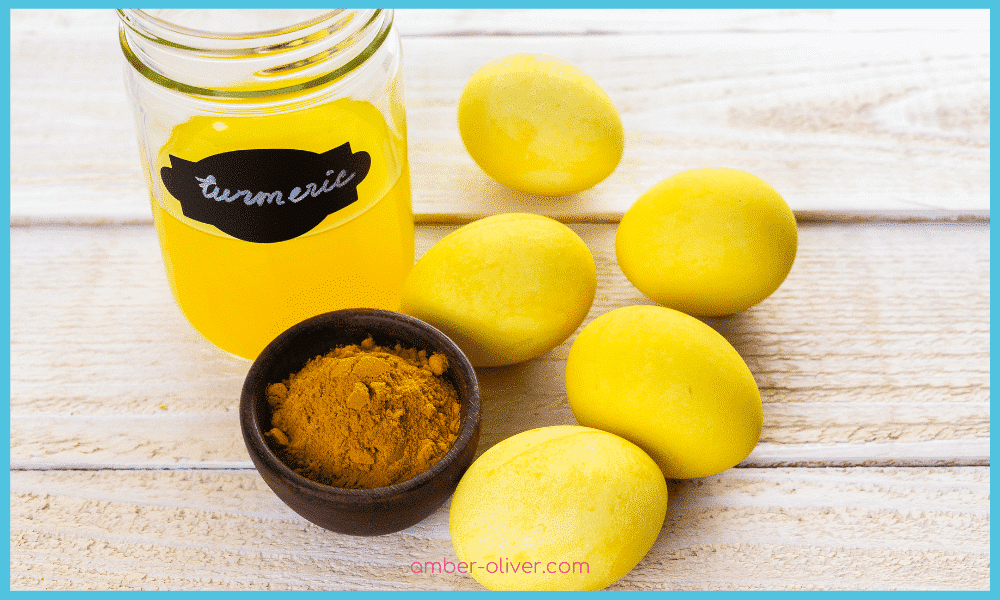
While your eggs are cooling, it’s time to start making your dyes. For natural dyes, you can use ingredients like red cabbage, yellow onion skins, purple cabbage, blueberries, turmeric, tart cherry juice and grape juice. To make the dye, simply add the ingredient to a pot with 2 cups of hot water and 1 tablespoon of white vinegar. Bring the mixture to a simmer and let it cook for 15-20 minutes, then strain the liquid into a mason jar or other container. Repeat this process for each color you want to create.
If you want to achieve more vibrant colors, you can also add gel food coloring to the natural dyes. For example, to make a pink dye, you can add a few drops of red food coloring to the grape juice dye. Be sure to keep track of the measurements you used so you can replicate the color next time!
How do you color Easter eggs without a dye kit?
Once your dyes are ready, you can start dyeing your eggs. Place the eggs in a slotted spoon and submerge them in the dye bath for about 5-10 minutes, or until you achieve the desired color. The longer you leave them, the more vibrant the colors you’ll get! You can also use rubber bands to create fun patterns on the eggs.
If you want to add some extra fun to your Easter eggs, you can also try dyeing them with shaving cream and food coloring. To do this, simply squirt a dollop of shaving cream onto a plate and add a few drops of food coloring. Mix it together with a spoon or a toothpick to add swirls, then roll the eggs around in the mixture. You can also use a toothpick to draw designs on the eggs.
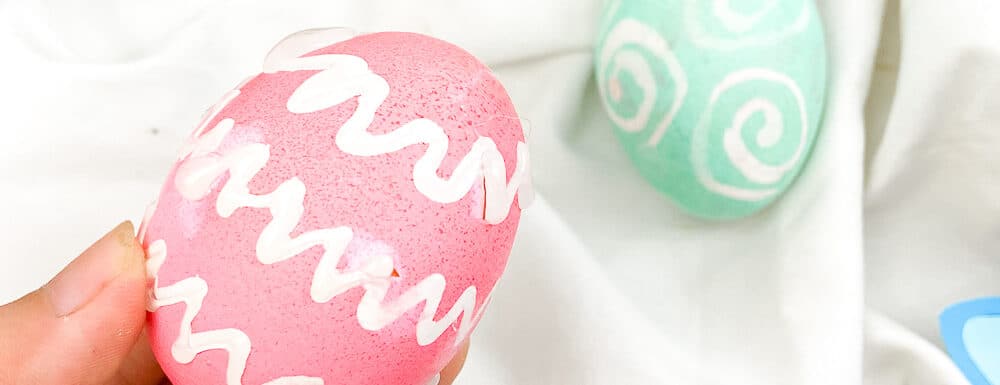
Another great way to add some texture to your Easter eggs is to use a white crayon to draw designs on them before dyeing them. The wax in the crayon will resist the dye, creating a cool textured look on the eggs. My easy tutorial below shows you how to do this with hot glue!
Once you’re finished dyeing your eggs, you’ll want to let them dry on a wire egg holder or a paper towel. Then, you can add some glitter or other decorations to make them extra special.
How to Decorate Easter Eggs
How to dye easter eggs with food coloring (or your homemade natural dyes!) and add fun designs with hot glue.
Materials
- Paper Towels
- Cup or Jar
- Eggs
- Food Coloring or DIY dyes
- Spoon
- Glue sticks
Tools
- Glue Gun
Instructions
1. Use the glue gun to make a design on the eggs. You can also use crayons!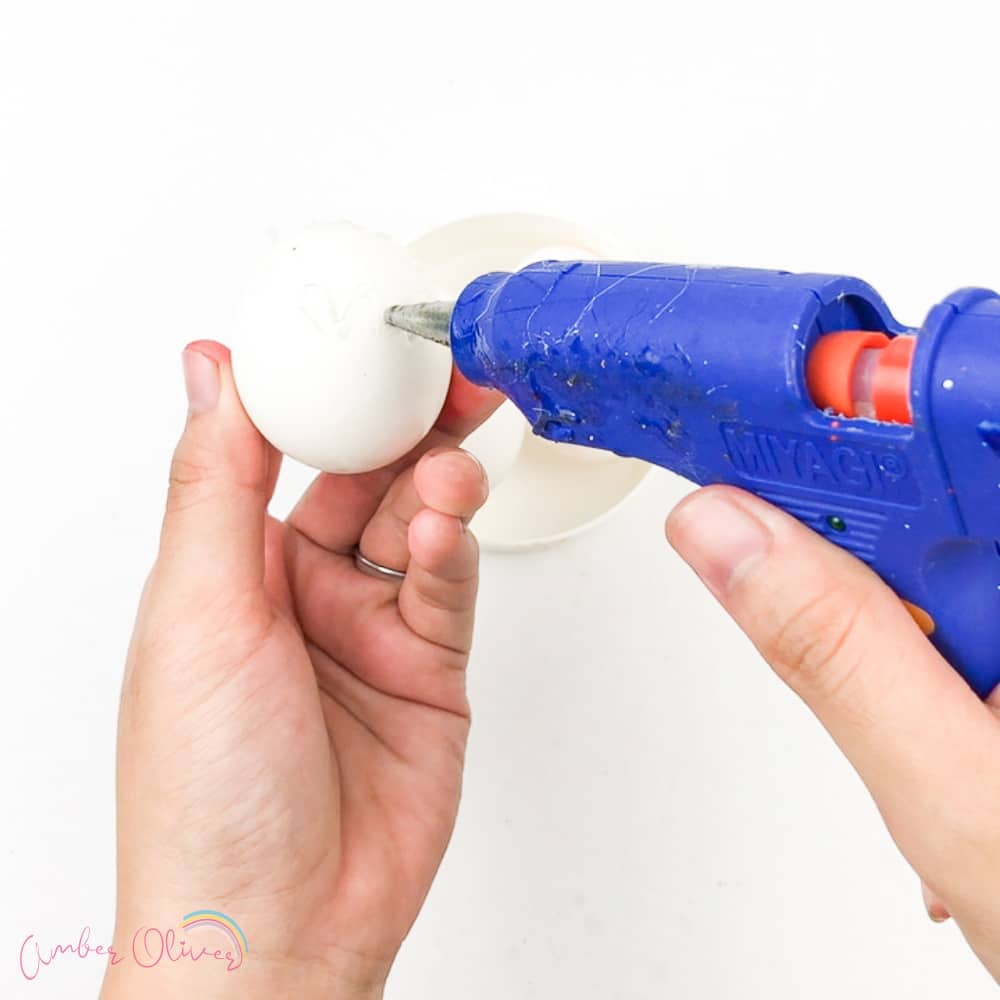
2. Prepare your jars of dye.
4. Put the eggs in different colors of colored dye and soak them for a few minutes.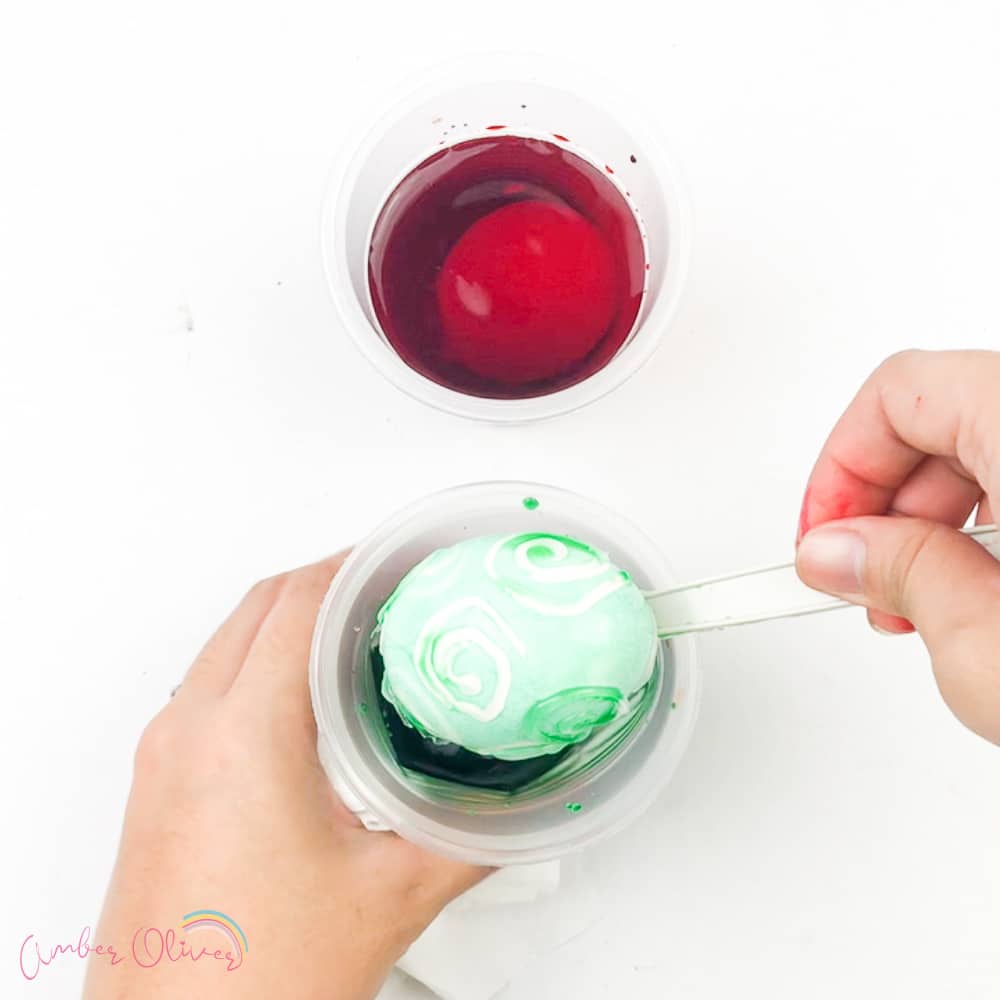
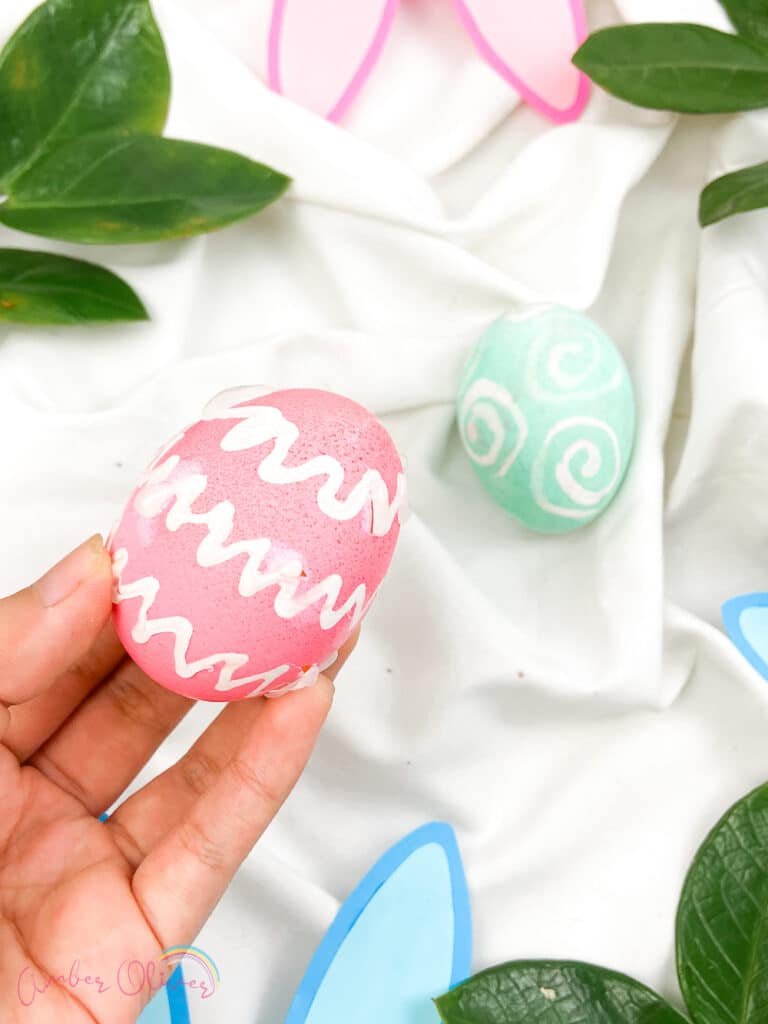
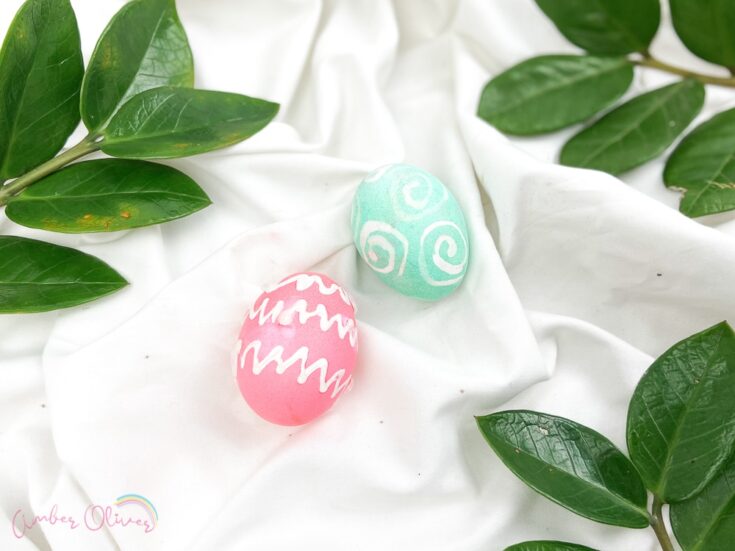
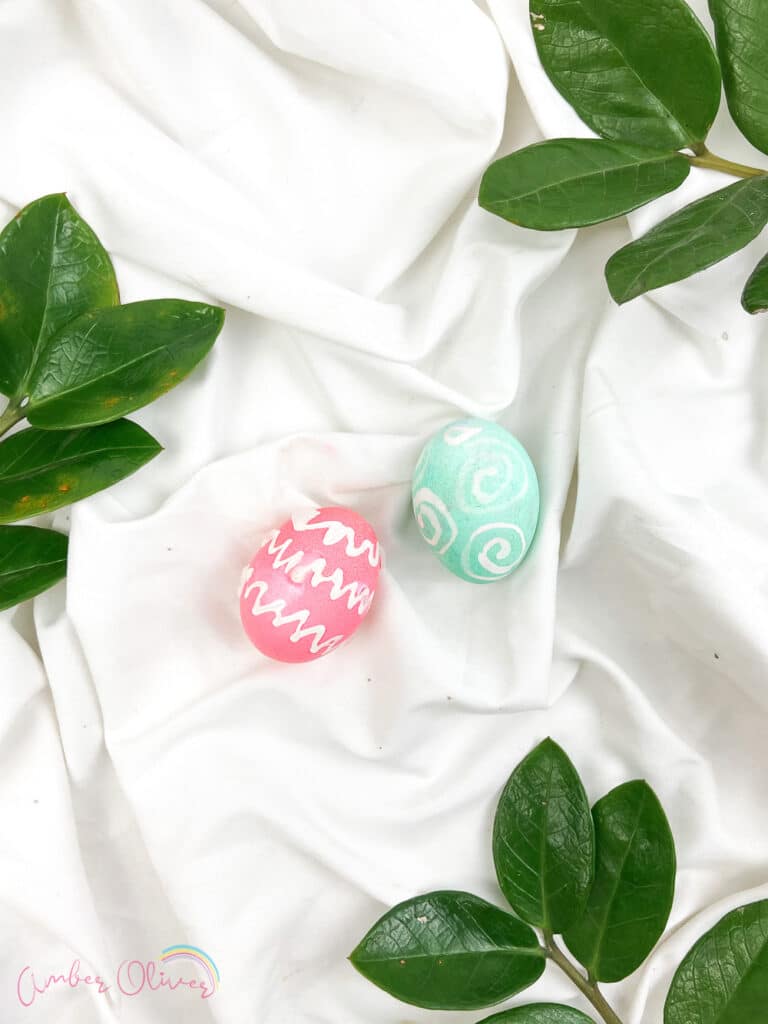
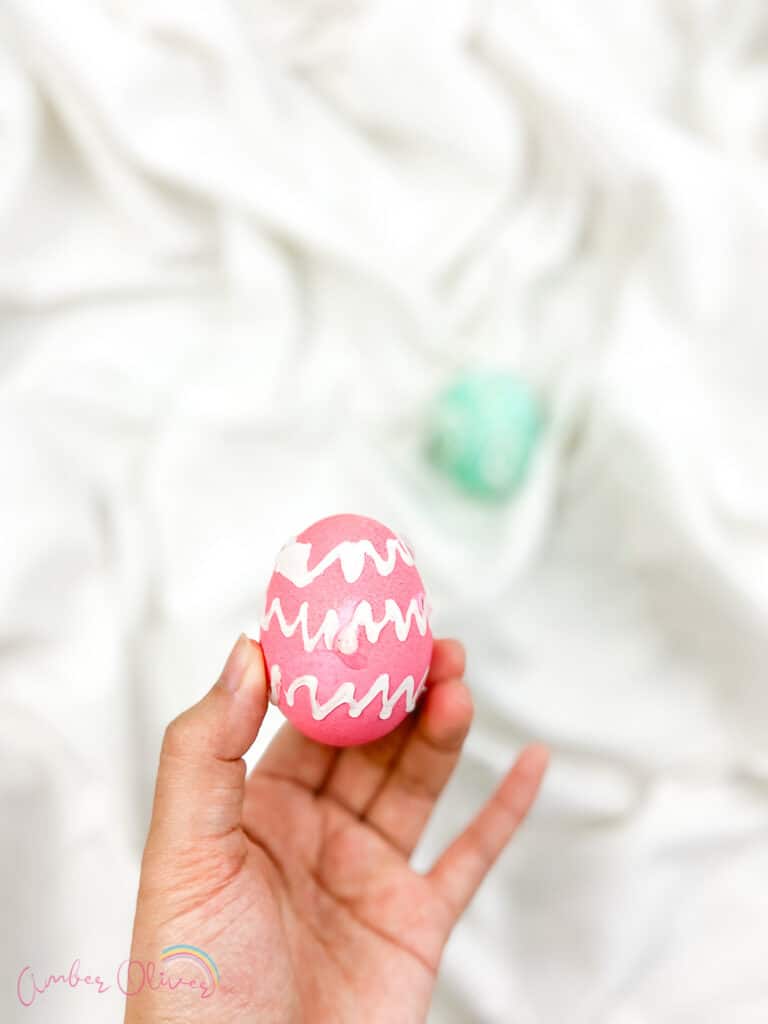
5. When the eggs are removed, the glue will be removed, leaving your design on the egg! 
6. Pat the egg dry with a paper towel and let rest on a wire rack.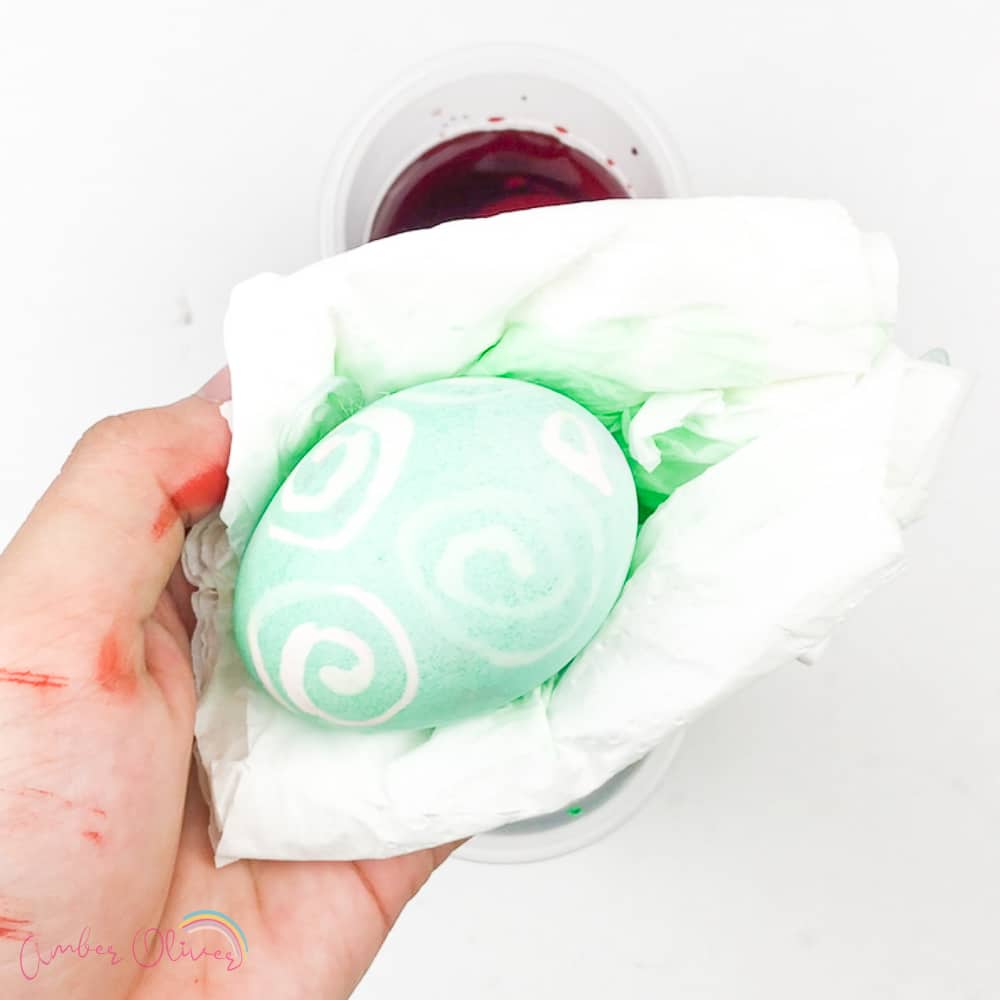
There are so many fun and creative ways to dye Easter eggs, and the best part is that you can use natural ingredients to create beautiful colors. Just remember to have fun and be creative! And don’t forget to wear old clothes and protect your work area, as dye can be messy!
Leave a Reply