Looking for an alternative christmas tree idea? Learn how to make a colorful PVC pipe Christmas tree! A great space saving option!
When’s the last time you went through the pile of extra wood and supplies you keep in the garage? You know, the cast off pieces of previous projects you just *know* you’re going to use for something.
I had a few PVC pipes in our garage attic that had sat there for years. I also had a piece of scrap wood that turned out to be the perfect size to create this alternative christmas tree!
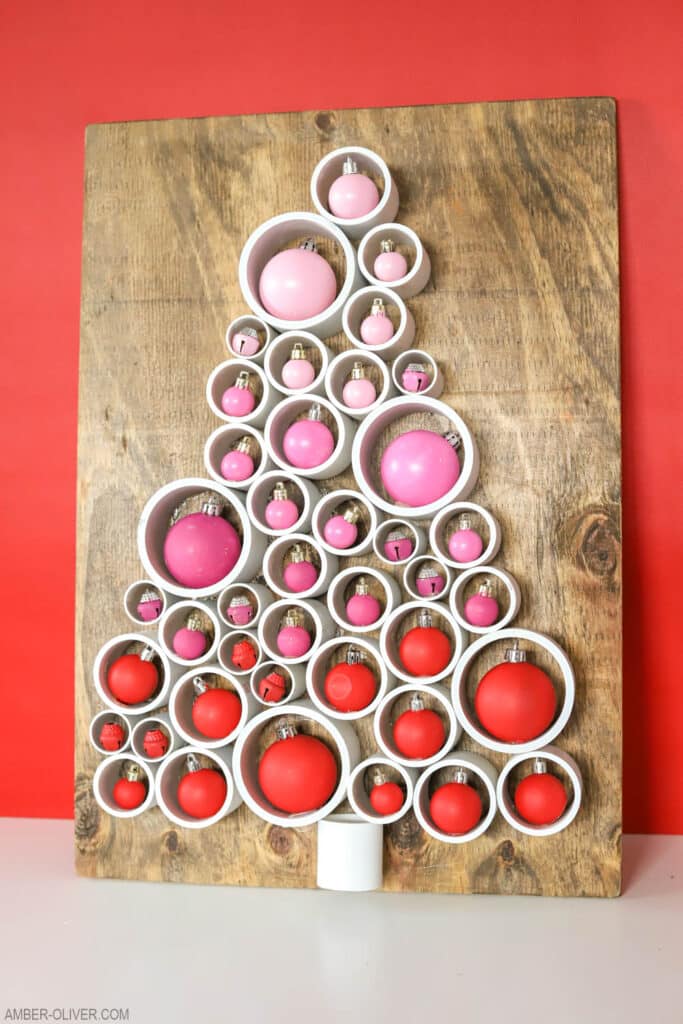
To begin this project, either gather your scraps of PVC or grab a few short pieces from the hardware store. Cut up the varying sizes of PVC pipe into pieces that are about 2 inches wide. This will create a unique Christmas tree holiday decoration!
For my tree, I used 1 inch, 1 1/2 inch, 2 inch, and 3 inch pipes that I cut 2 inches wide. Whichever size PVC you go with, make sure you have ornaments that will fit in each size. I grabbed various ornaments from the Dollar Tree. Don’t worry about the color of them!
After all your pieces of PVC are cut, add a quick coat of spray paint. Most of your PVC pieces will have bits of writing on them. A little bit of white paint will cover those right up and make sure all your pieces look the same!

Now it’s time to paint your ornaments. I chose 4 different colors from red to light pink to create an ombre effect. This is easy to do even with one bottle of paint. Simply add a bit of white to lighten the red to pink or even the pink to lighter shades of pink. Just make sure you mix up enough to cover all your ornaments. It’s sometimes hard to color match later!
Before painting, I laid out the pieces to get a general idea of the placement
then separated out by color so I knew how many of each size to paint. I also took a picture so it’d be easy to recreate! This might be the hardest part of the project. That reference picture will help you tremendously!
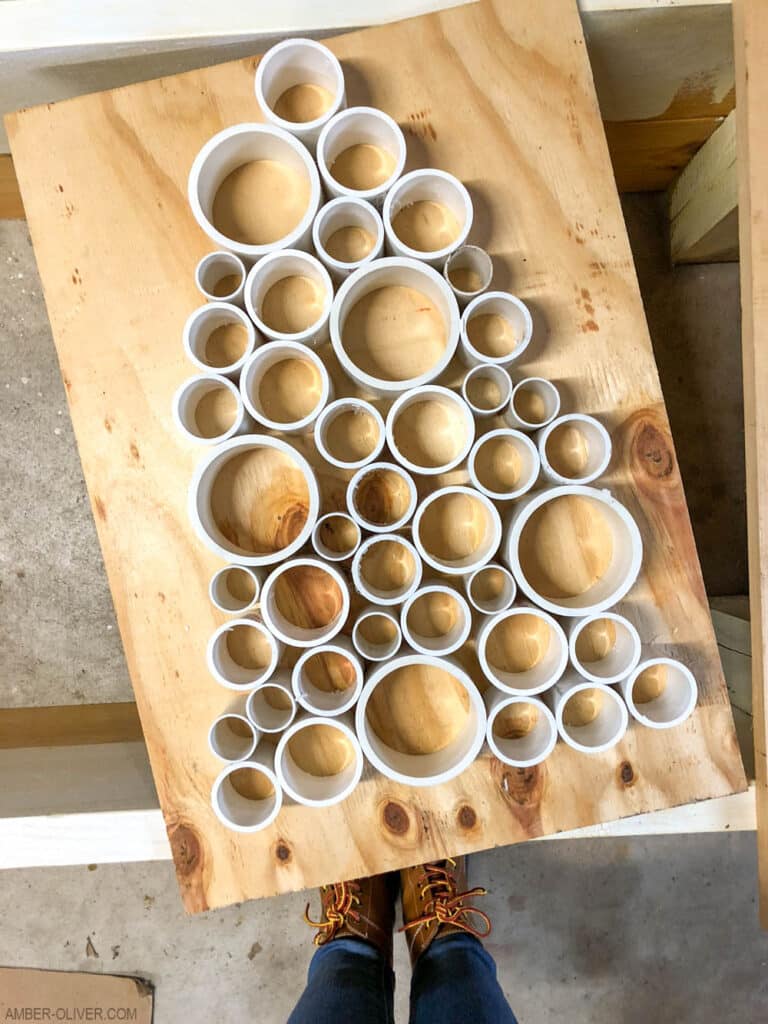
I had to do two coats on each ornament to get full coverage, but only worried about getting one side to look perfect. Since they get glued in place and are mounted on the wood board, you’ll only see one side of them.
While your ornaments dry, prepare your background. Make sure to give the wood a good sanding so it’s nice and smooth! Stain the wood you’ll use for the background. You could also paint if you’d prefer! If you’re using cheapo leftover wood, a good stain pre-condition will really help here! If staining, remember to wipe off any excess so the color isn’t too dark.
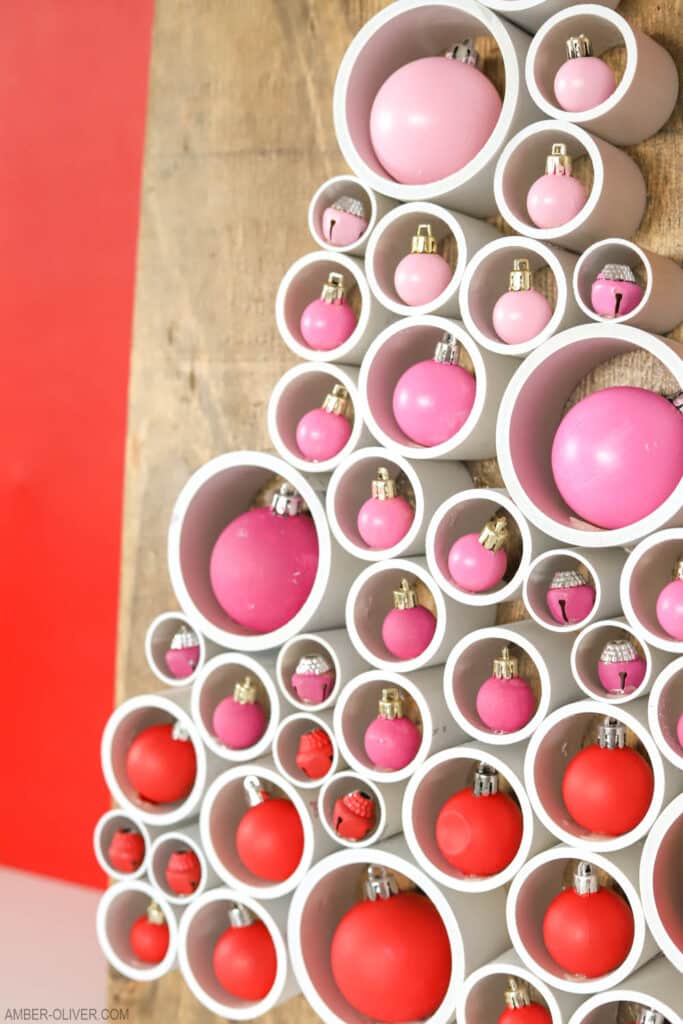
Once everything is dry, it’s time to lay out your tree! This is where that reference picture will really come in handy! Be sure the different sizes are evenly distributed and use those smaller pieces to fill in where needed!
Before attaching the PVC pieces to the backing, use hot glue to attach the painted ornaments inside each of your PVC circles. You can do an ombre design like I did, or come up with your own colors and patterns! Use a strong adhesive like gorilla glue to attach the PVC pieces in place to complete your design!
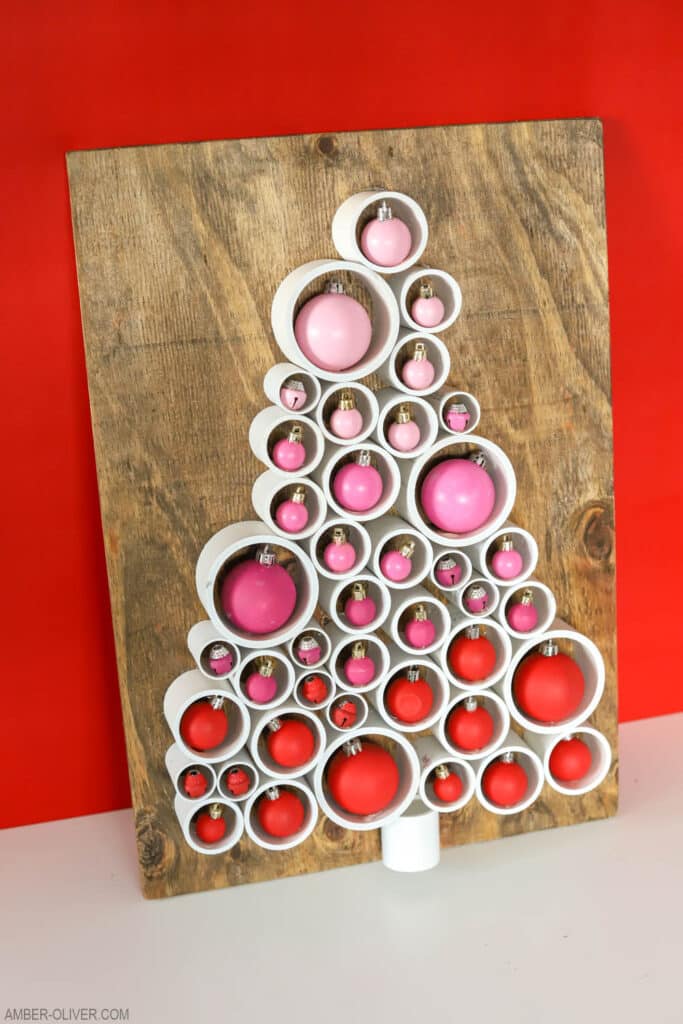
I hope this project inspired you to create your own PVC tree this holiday season!


Leave a Reply