Learn to make a colorful DIY plant stand with this fun resin pour technique!
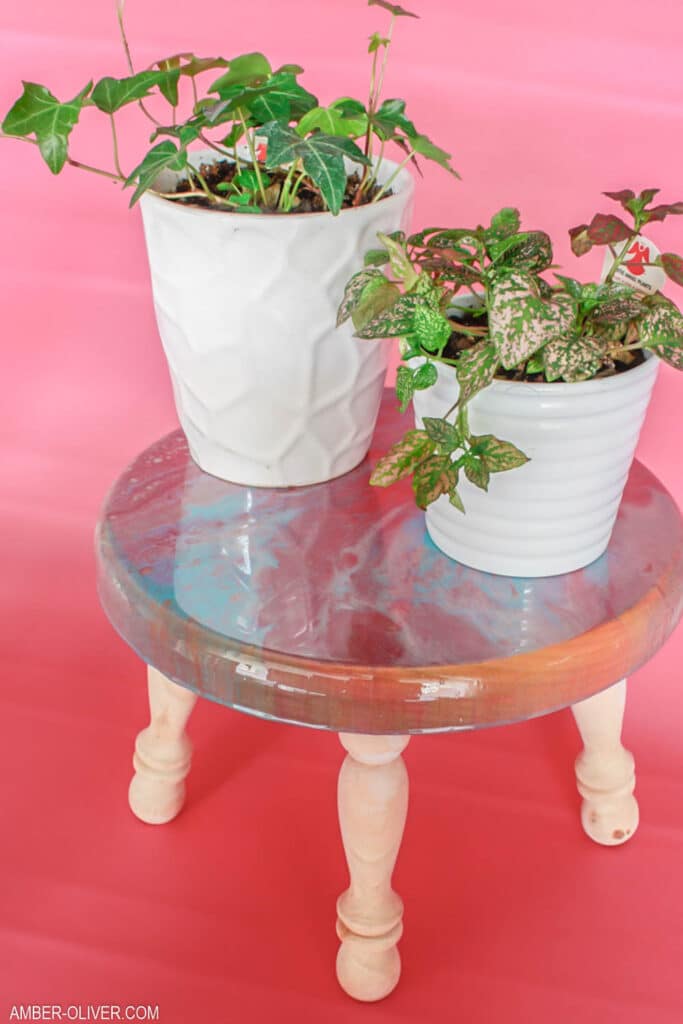
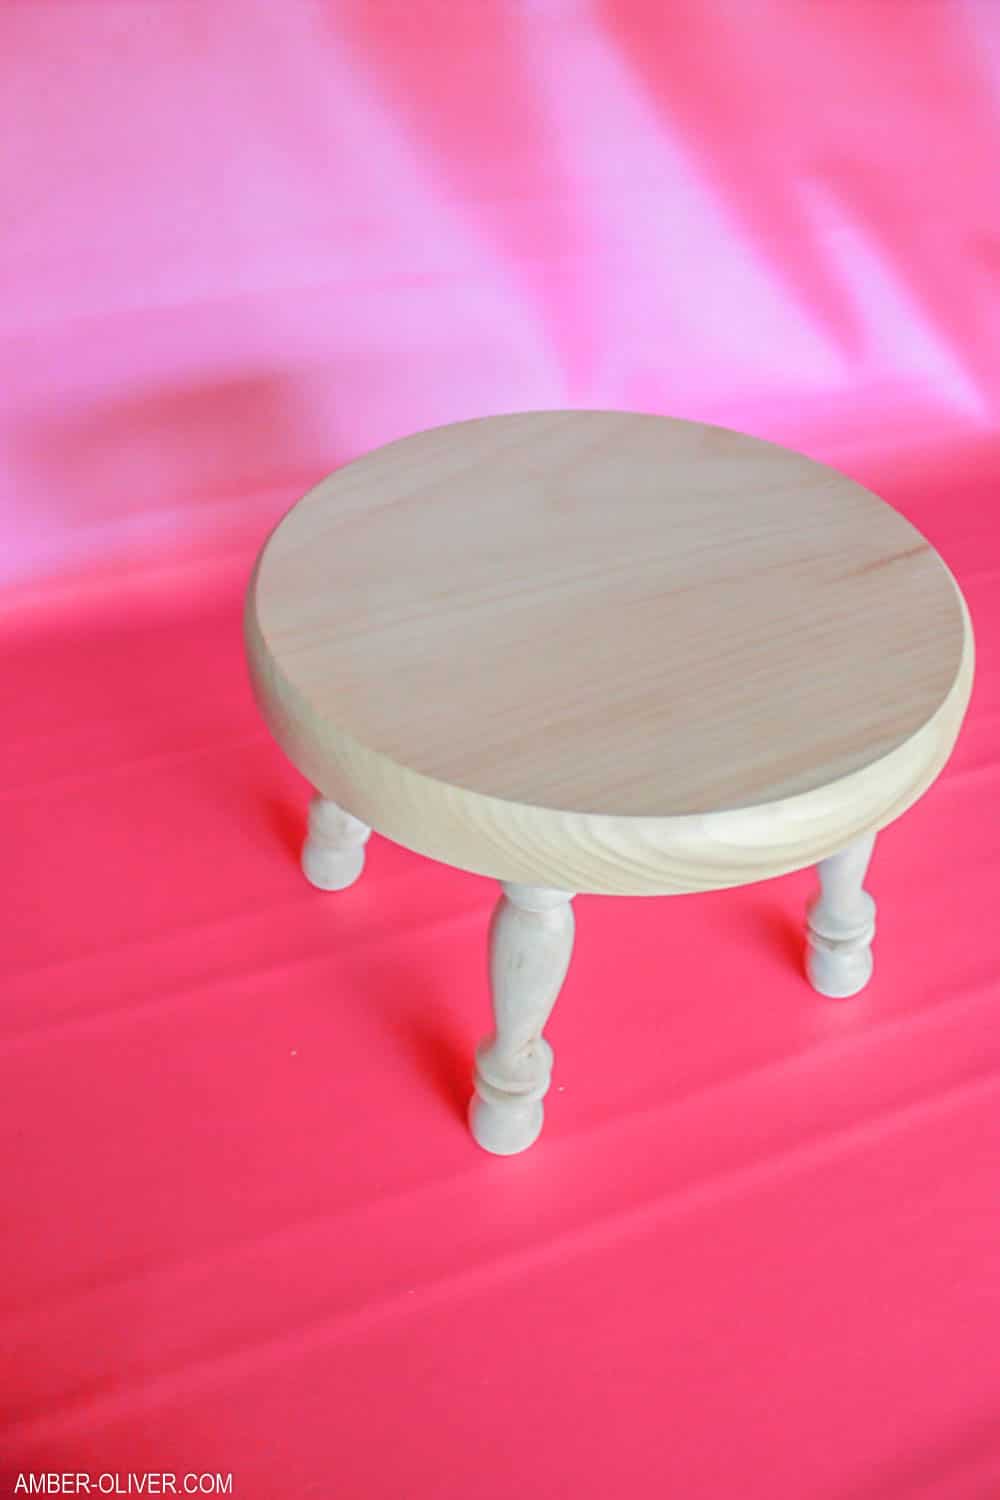
What can be used as plant stand? If you think about it, almost anything can be a plant stand. You can put them on shelves, on tables, or even on the floor. Personally I hate to leave anything sitting on the floor so I grabbed this unfinished stool and knew it would make the perfect DIY plant stand!
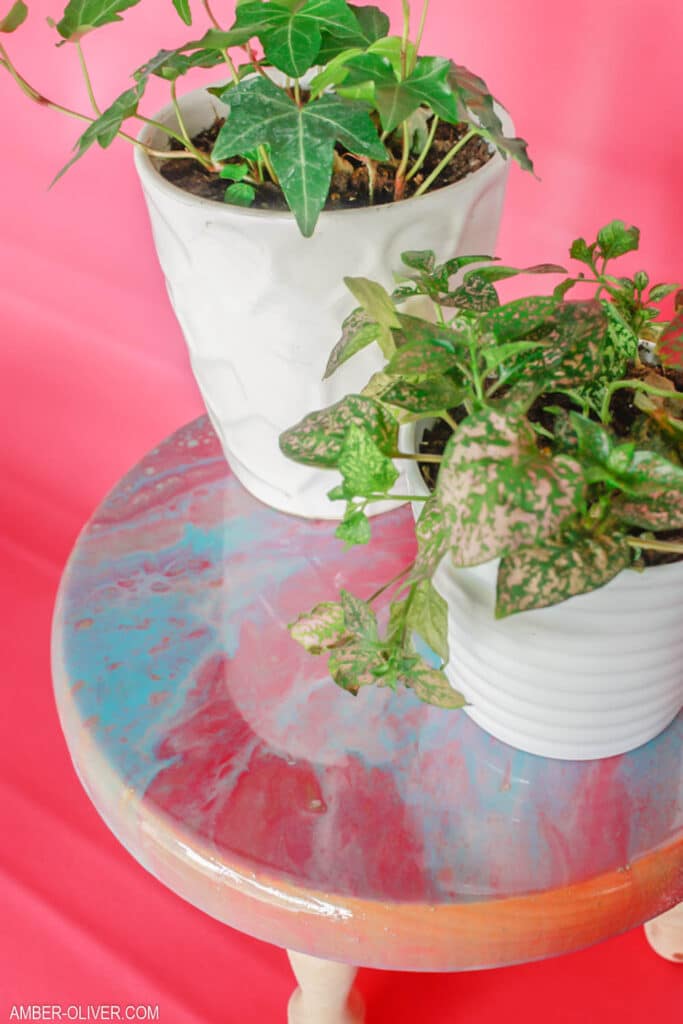
I’ve been playing with resin for a while and one of my favorite ways to use it is for a resin pour. This technique is very similar to paint pour. The main difference of course is the use of RESIN! Resin, or epoxy, cures to a hard and durable finish. So it’s basically paint pouring but BETTER!
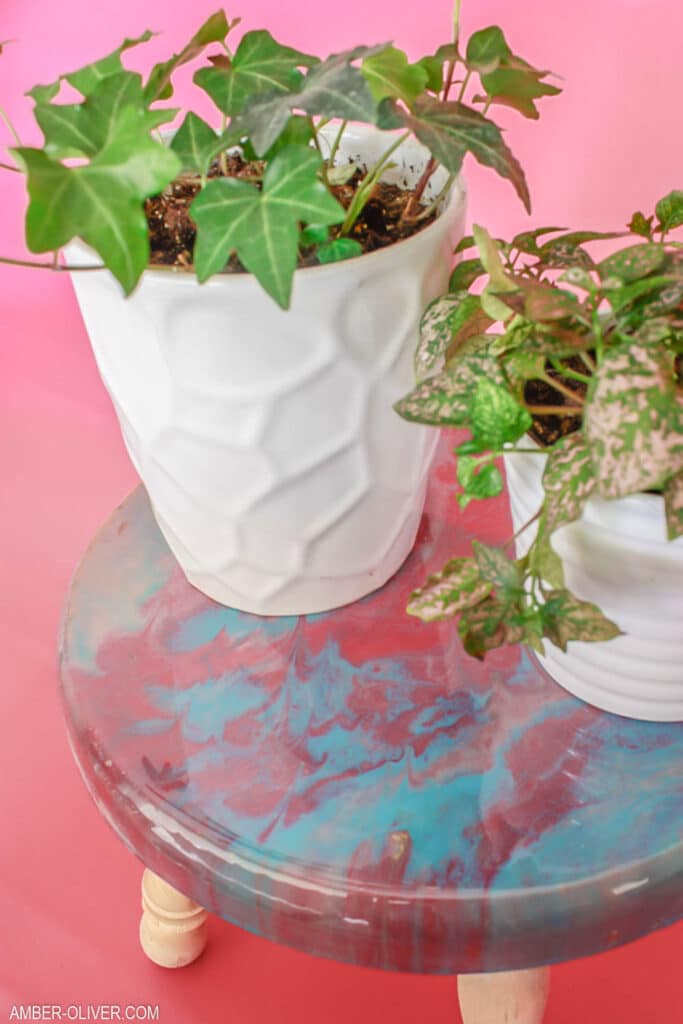
This hard durable finish makes it the perfect addition to our diy plant stand! For one thing, it adds the pops of color that make it fun. It also means that our stool is now waterproof. Perfect for watering plants!
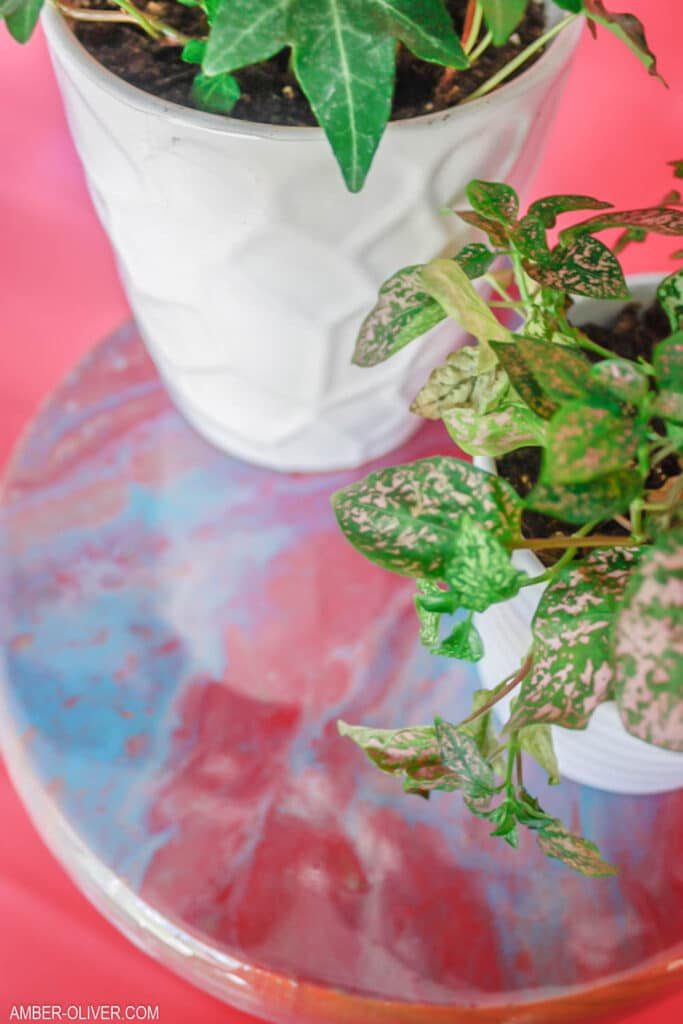
Our DIY plant stand is great for a home with very little space! This little stool makes the perfect perch for your plants and doesn’t take up very much of your valuable floor space! Our home is less than 1500 square feet so space comes at at premium!
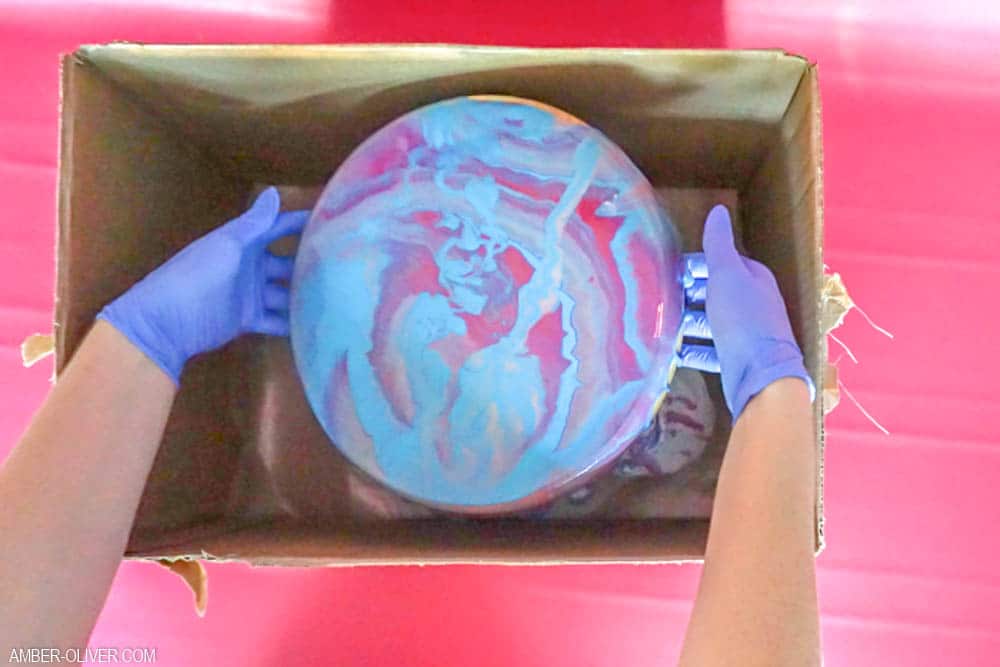
This project can be super messy so your first step is to ensure your work surface is protected! I decided to work in an old cardboard box to help contain any of the resin pour drips or splatters.
You can line underneath with paper or newspaper, but my favorite thing to use is a large silicone mat. I love that it’s reusable and super easy to clean!
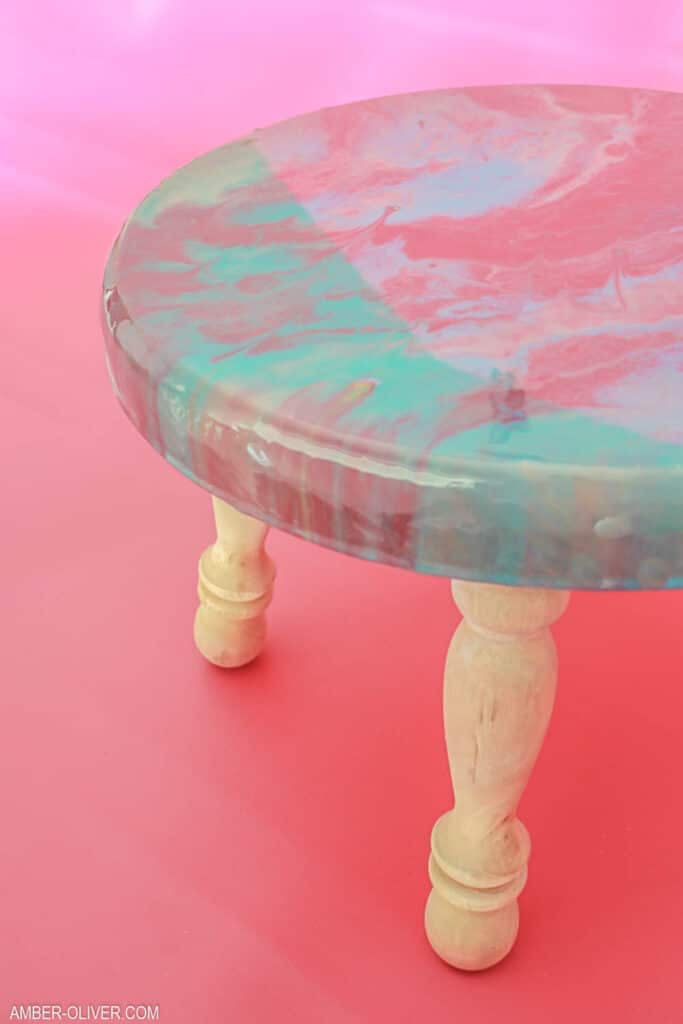
When choosing acrylic paint colors for your resin pour, I’ve found high contrast colors best. I’ve also noticed lighter colors tend to just blend in and don’t show up very well and very dark colors tend to muddle your designs.
It’s also pretty hard to know exactly what it’s going to look like! The good news is, if you don’t like how it turns out, you can always mix up a new batch and do a new resin pour!
Shop Stools for DIY Plant Stand
Shop Resin Supplies
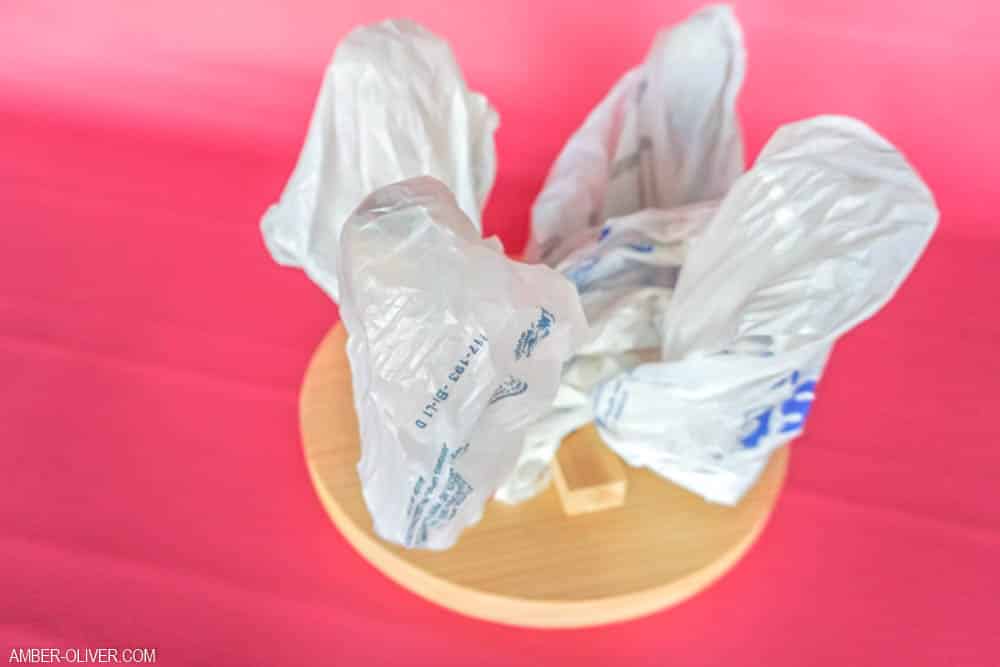
Resin can be VERY difficult to remove so you don’t want to get it anywhere you don’t want it. My stool didn’t have removable legs but if yours does that makes it a LOT easier to ensure the legs stay “clean”. I wrapped my in old grocery bags to help keep the resin off of them.
Luckily, my resin pour mostly dripped along the edges so I didn’t have to worry about resin on the legs. You will want to make sure you can pick up your plant stand so ensure the resin pooling around the legs doesn’t lock your plant stand in place!
Resin Pour DIY Plant Stand
Materials
Instructions
- Prepare you work surface.
- Cover, wrap, or remove the legs on the stool.
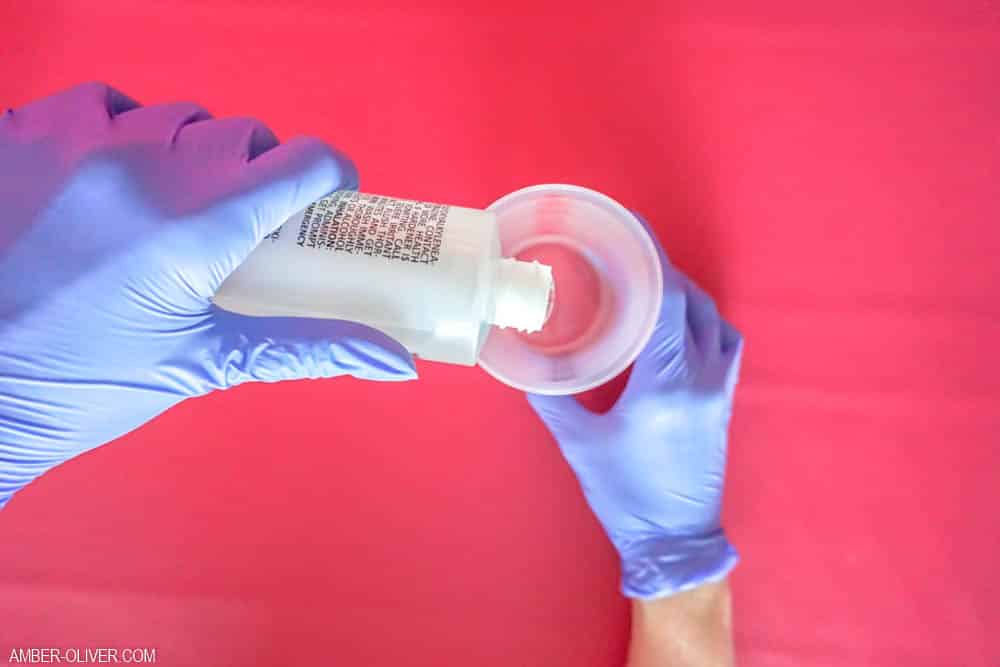
- Prepare your resin.This is a multi-step process so don’t start mixing until you are ready to do the whole project from the beginning to end! Start by mixing EQUAL parts of the Hardener and the Resin.
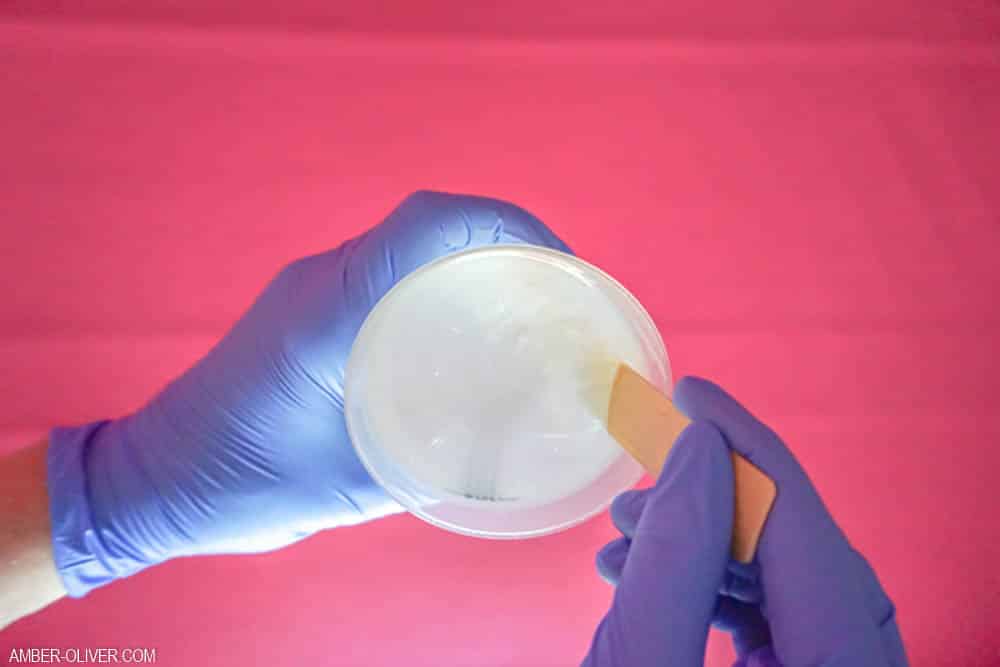
- Stir them together for 2 minutes! Be sure to scrap the bottom and sides of the cup gently.
- After 2 minutes, pour from the first cup to a new clean cup and mix for 1 more minute.
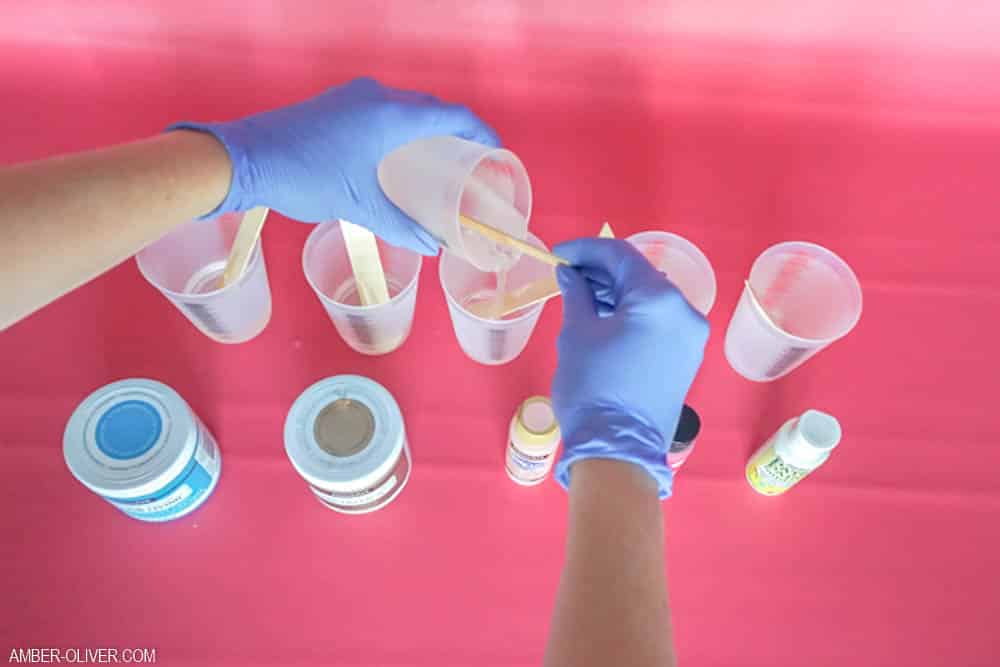
- Once the resin is ready, pour into separate cups for each color you'd like to use for your resin pour.
- Add just a couple drops of acrylic paint to each and stir gently to mix in.
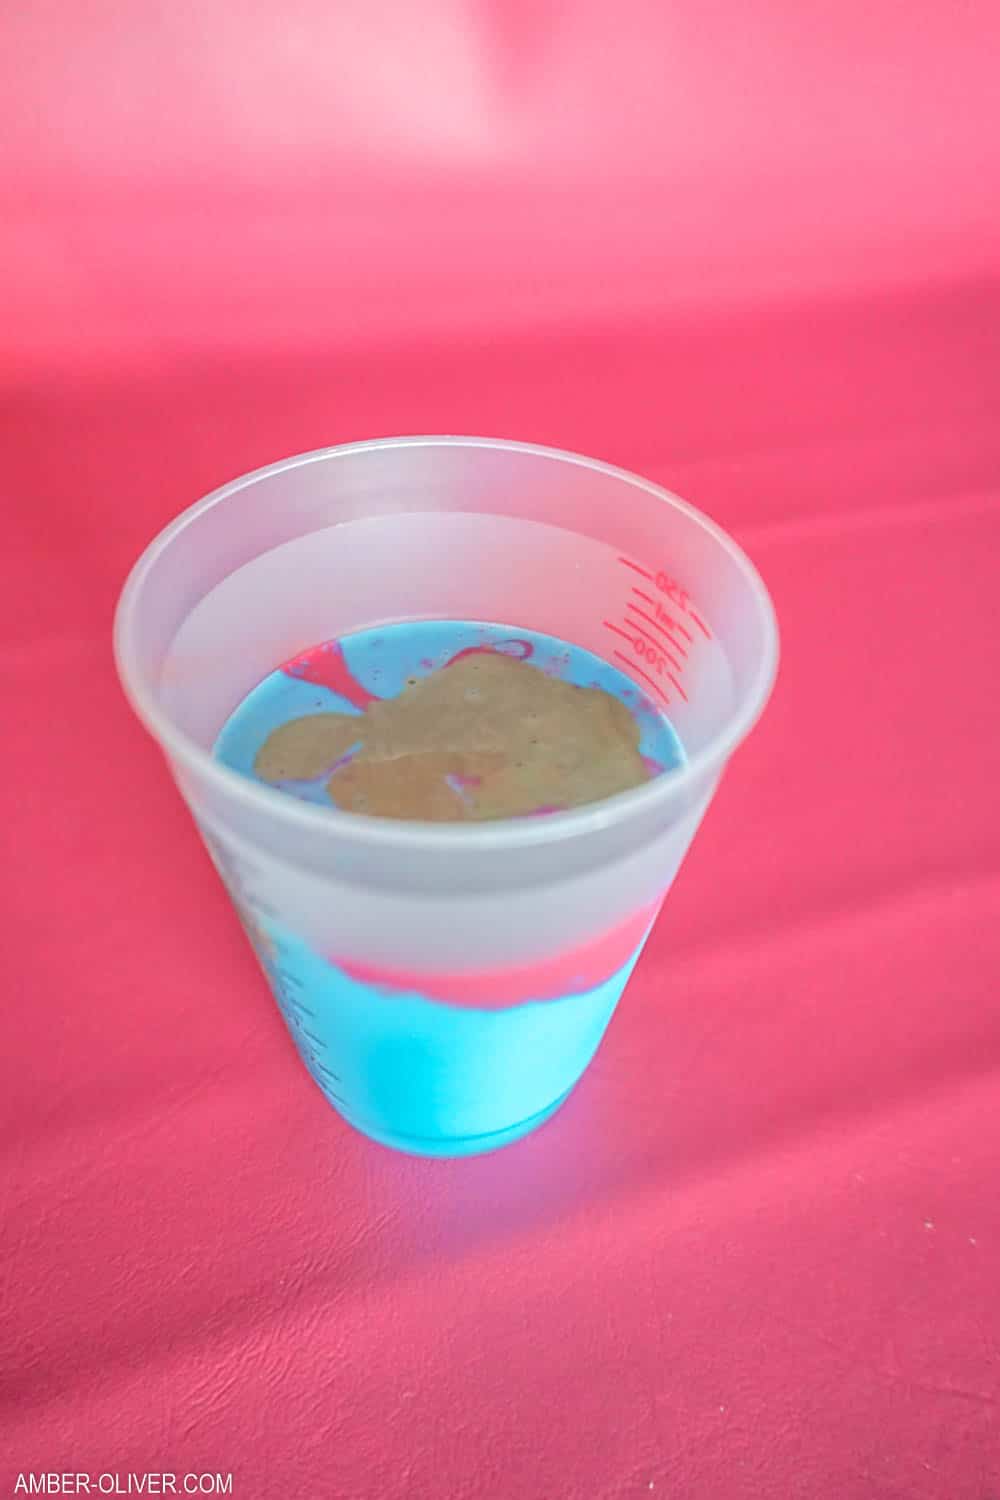
- Now pour ALL the colors into ONE cup! DO NOT MIX!
- Now's time for the fun! Pour the resin and paint mixture onto the surface of your project. Pour very slowly and allow the the resin to spread. PIckup and tilt to ensure the entire surface is covered.
- After about 20 minutes, wipe underneath the edge. to remove the excess resin This is also a good time to check for air bubbles!
- Allow the resin to set according the package instructions. (At LEAST 24 hours!)
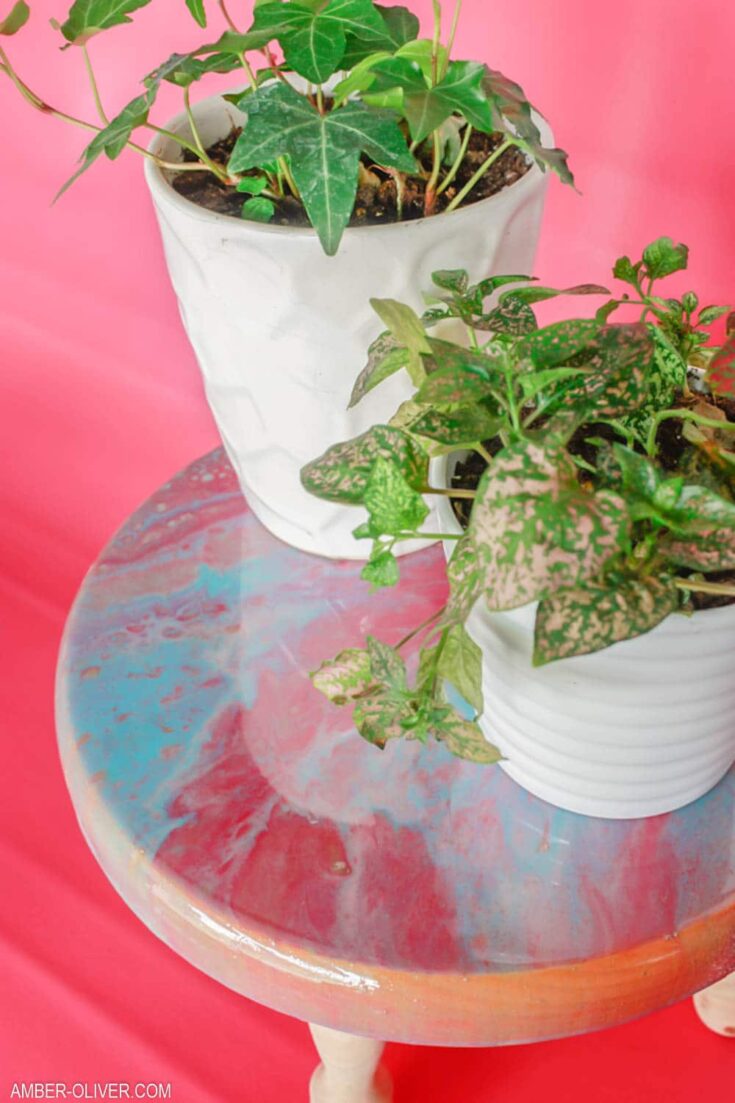
I love how my DIY plant stand turned out! The resin pour technique is so fun and now I keep seeing other surfaces I want to try this on!



Leave a Reply