Last updated October 25th, 2022 at 03:55 pm
Learn how to build DIY raised garden beds using inexpensive cedar fence pickets.
We had a big blank area on the side of our house in the backyard. Our home faces east so the front yard gets a lot of sun the first half of the day. Our backyard gets most of the afternoon sun. The side yard gets sun pretty much all day!
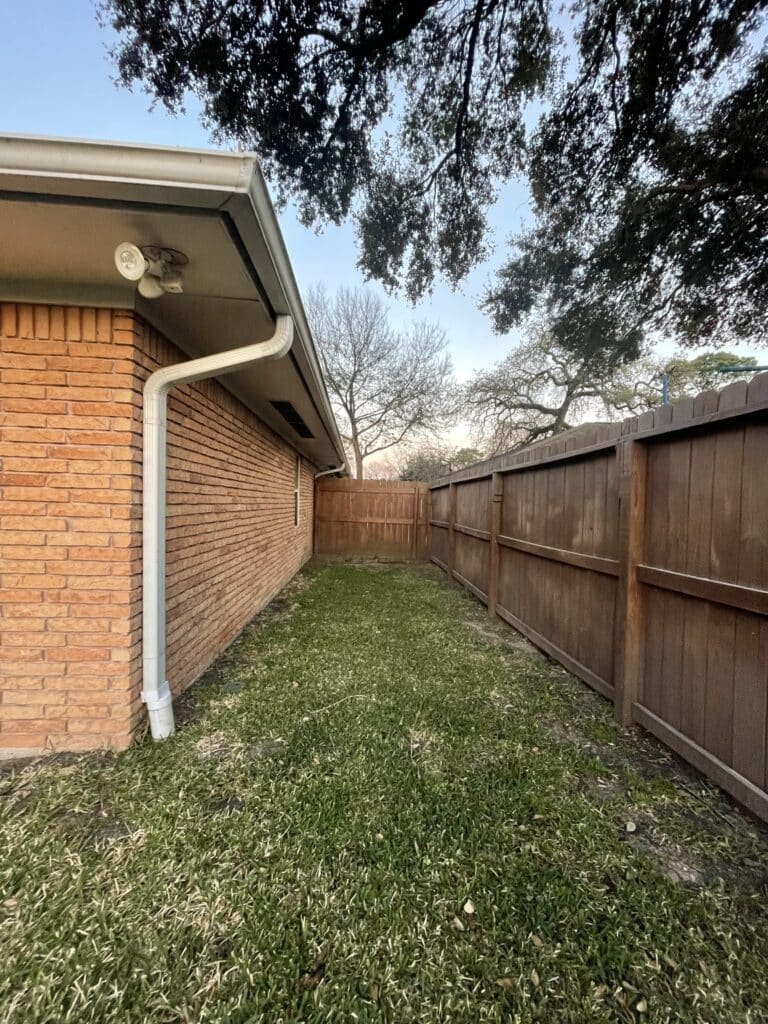
I knew this would be the perfect place to grow my long awaited cut garden. I decided instead of planting directly into the ground, I wanted to build DIY raised garden beds. With the cost of lumber so high, I was pleased when I remembered we had a bunch of cedar fence pickets from when we built our DIY Fence. I was able to use these for our cedar raised garden beds.
Don’t miss our DIY Drip Irrigation System for Raised Beds post!
DIY Raised Garden Beds
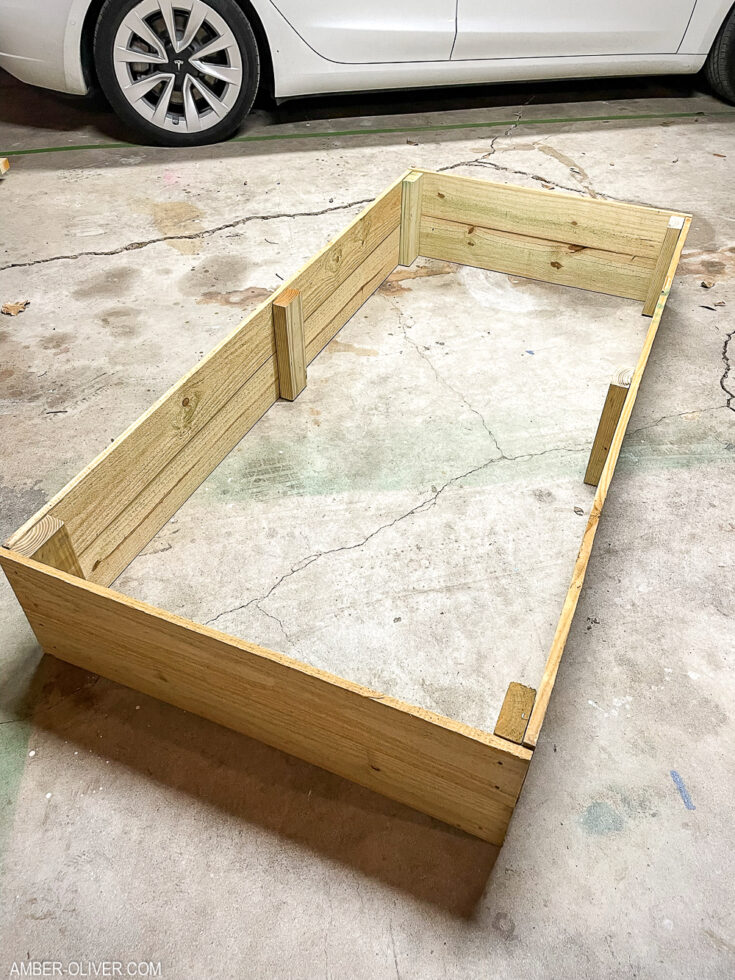
Learn how to build DIY raised garden beds using inexpensive cedar fence pickets.
Tools
Instructions
- Start by cutting the "dog ears" off your fence boards.
- You can then leave them at that length for the sides like I did or cut down to the length you want.
- Next cut two of the fence boards in half and use these for your sides. These can also be cut down to whatever size you need but I found them to be the perfect size so the beds aren't too deep.
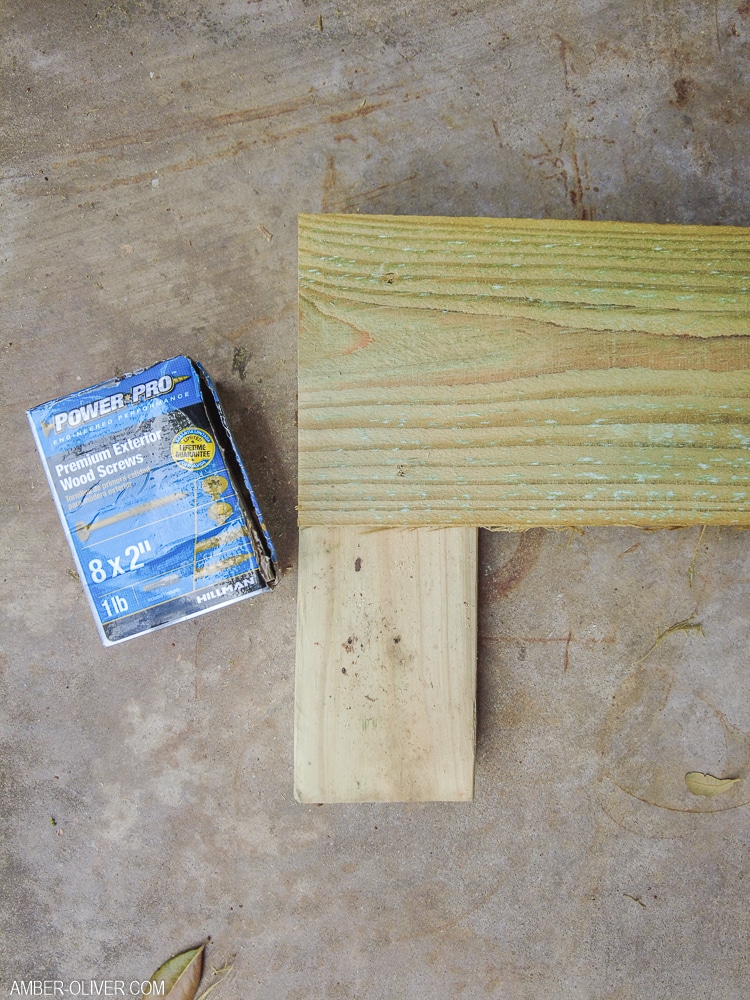
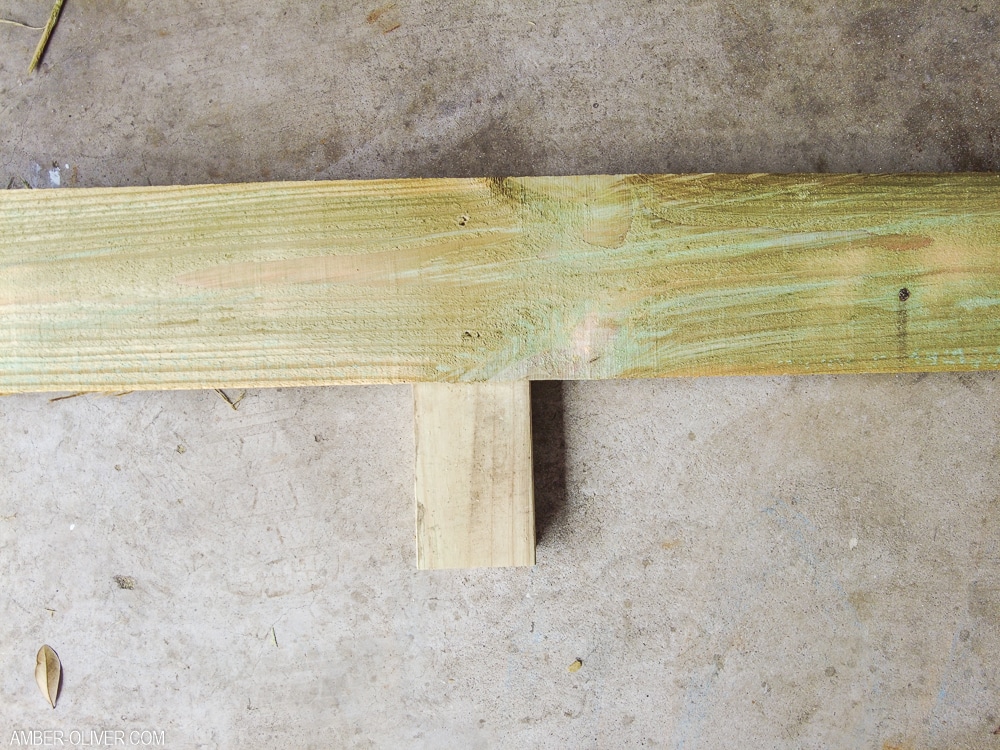
- Next cut the supports from 2x4s. I cut mine 11 inches so they would be covered by both horizontal boards on the sides.
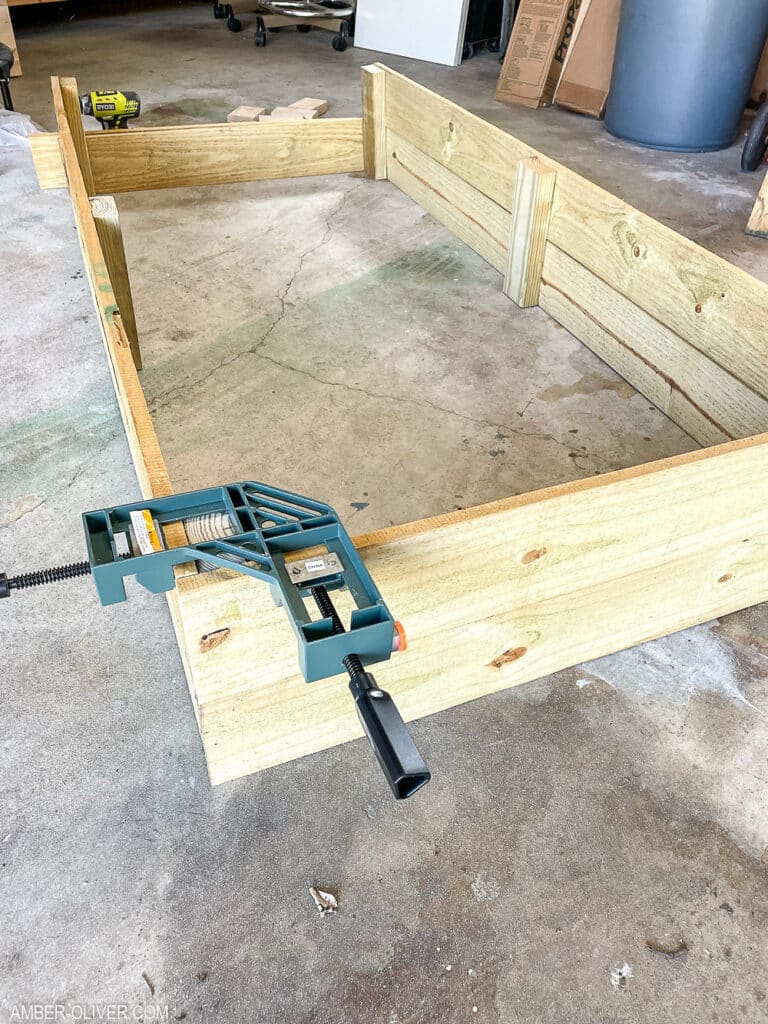
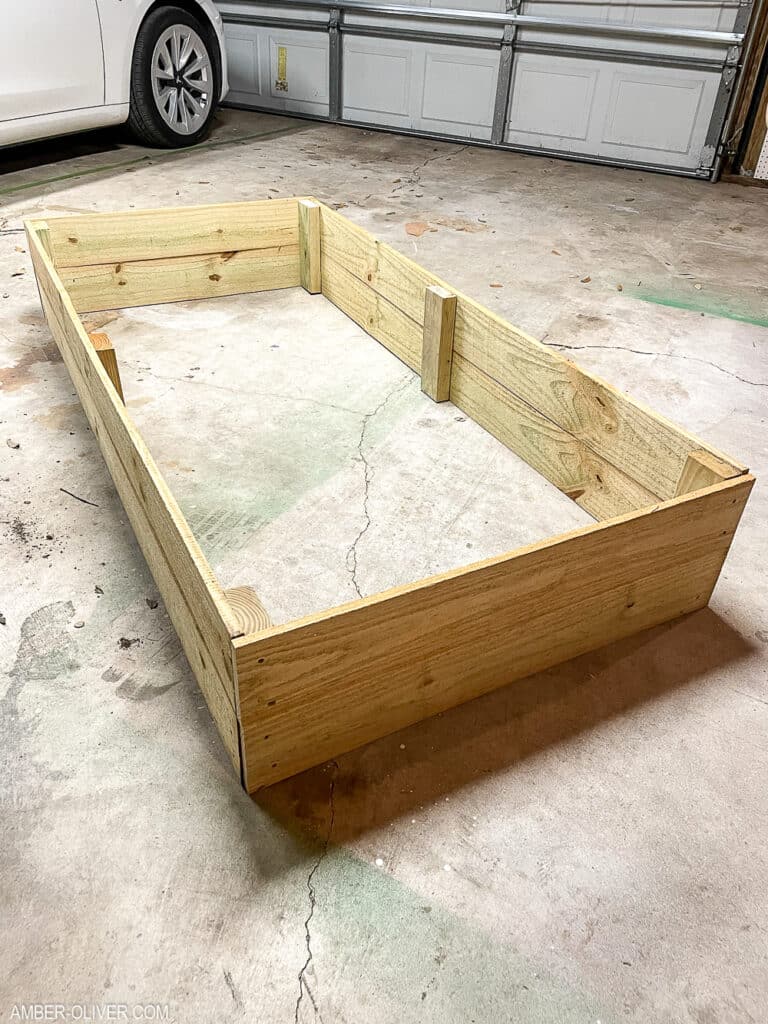
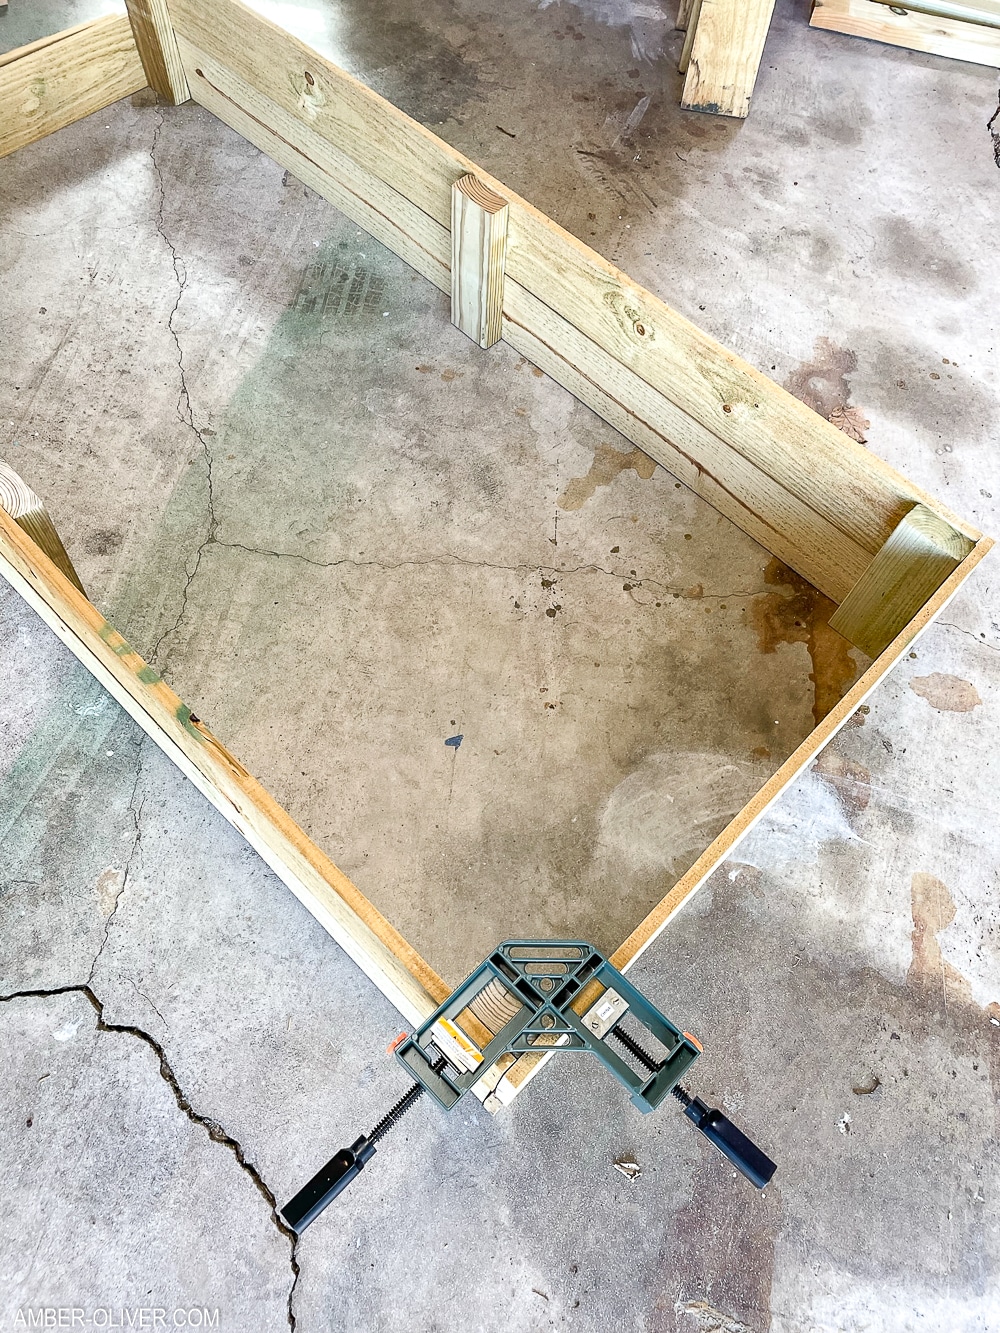
- To assemble, add 3 support pieces to your longer side boards (one in the middle and one at each end. Make sure you ends are flush.
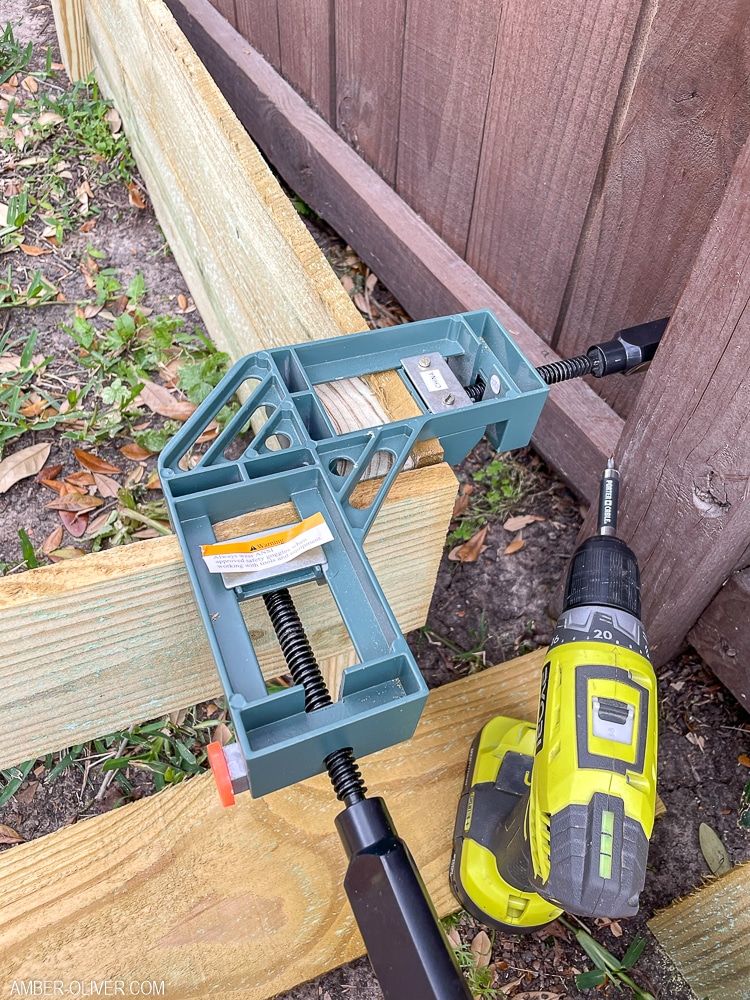
- Once the two longer sides are assembled, use two end pieces on each side. Add your screws into the corner supports you just added. Use a clamp or a second set of hands to help you hold in place.
Assembling DIY Raised Garden Beds
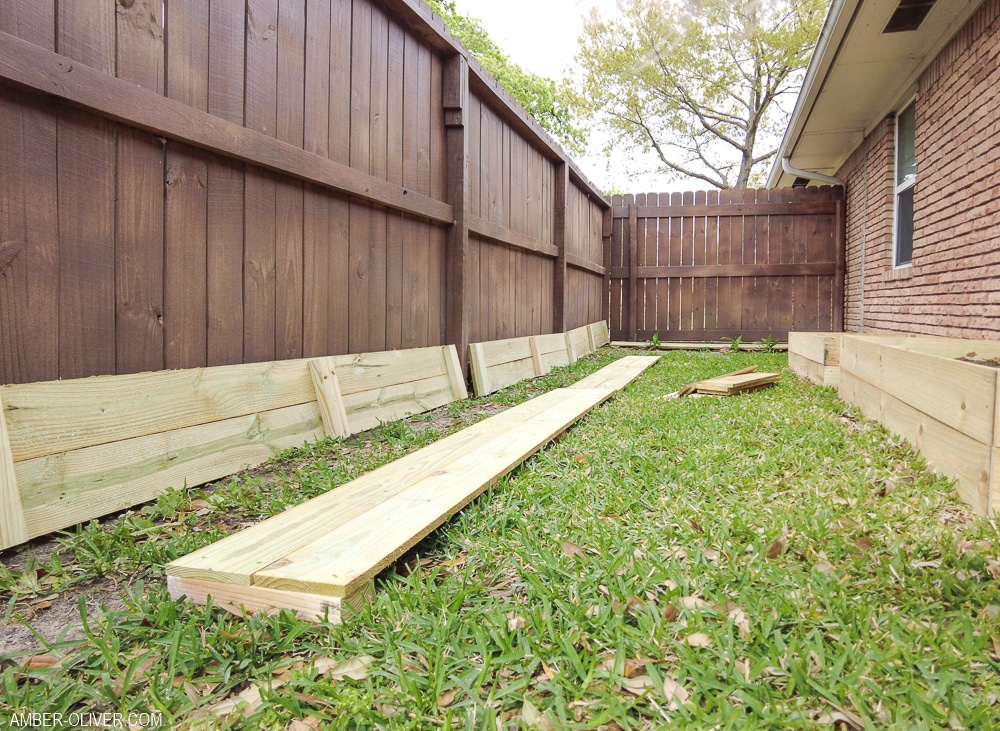
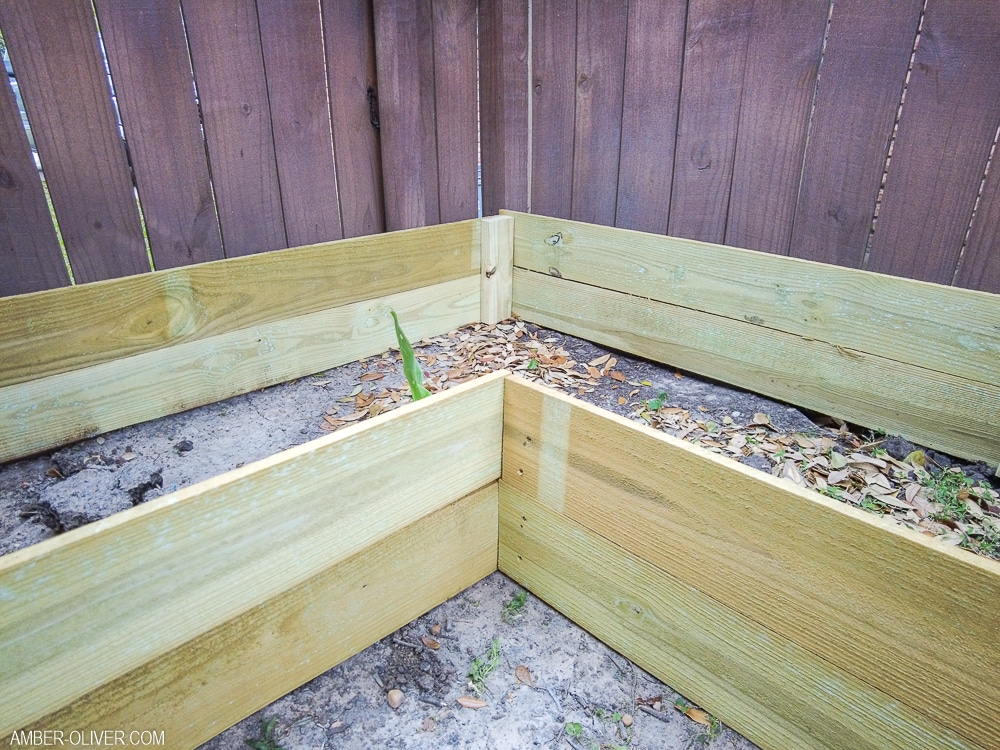
Here’s what the raised bed corners look like. At first I intended to do these as two seperate beds, but then I found 10 foot fence pickets. I decided to use them on this corner raised bed. It’s assembled similarly to the others. The support piece is attached on the front of the left side of the bed and on the front for the right side of the bed. You can see this in the video!
The leftover fence pickets I had were 8 feet long. You need 6 for each of these beds. Once you cut off the “dog ears” they will be approximately 8 foot long. These can be cut in two for the side connecting pieces.
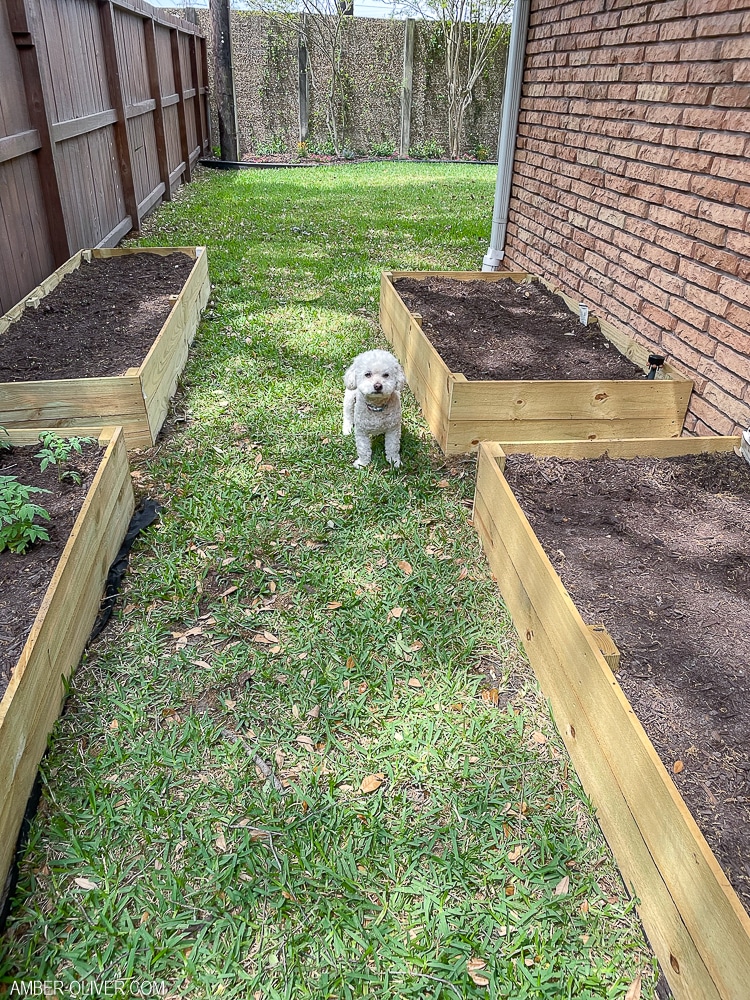
The back corner raised bed and the other on the right were a bit bigger. I purchased the longer 10 foot cedar fence pickets for these. I made them the same depth as the others, but these were a bit longer. The nice thing about this project is you can customize the measurements. You can fit whatever space you are working with in your yard!
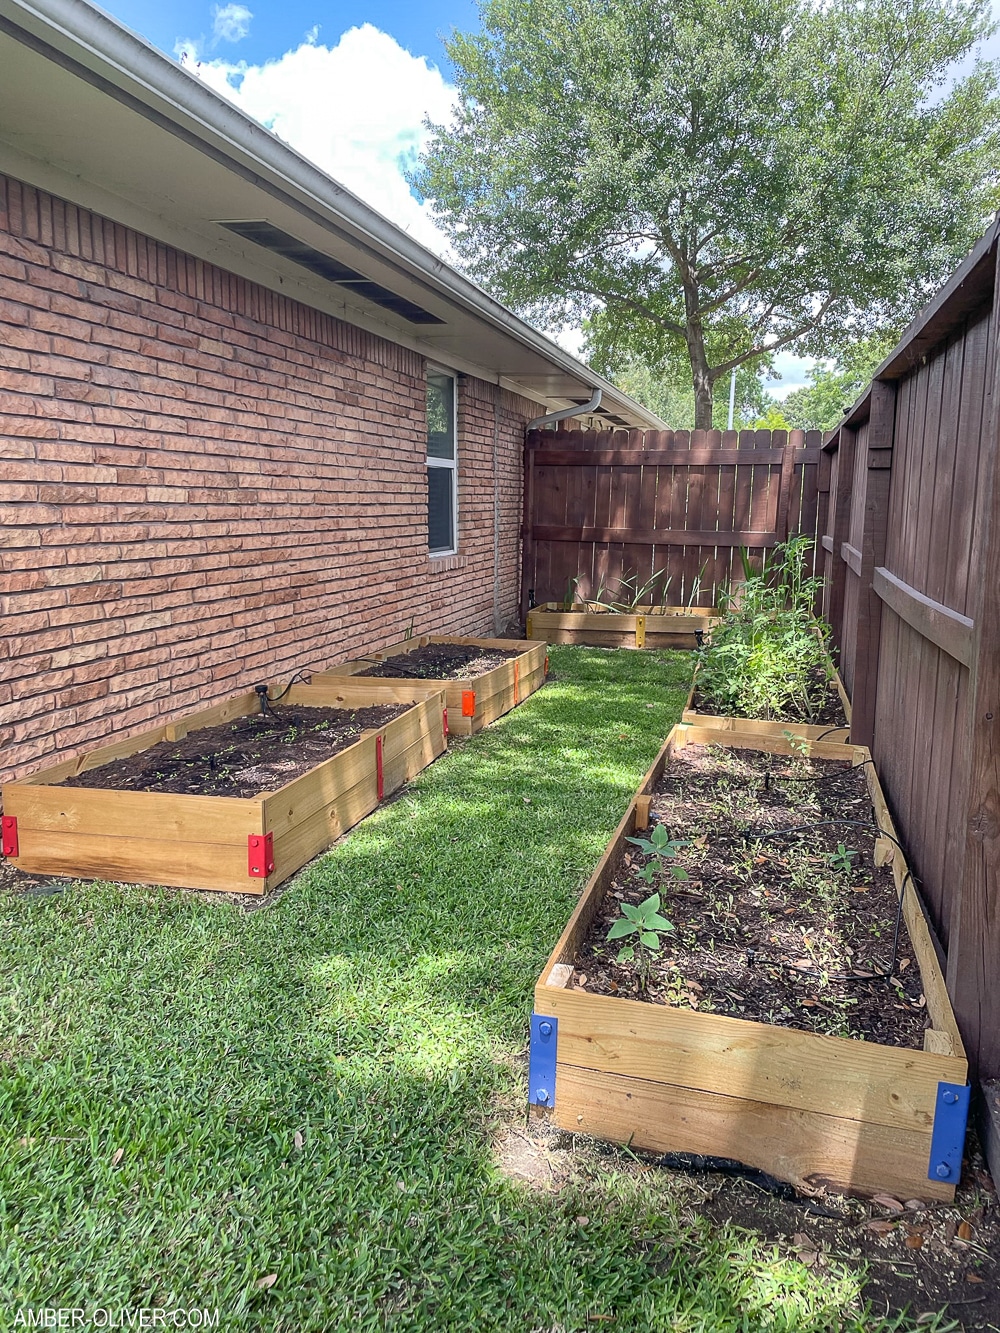
Finished DIY Raised Garden Beds
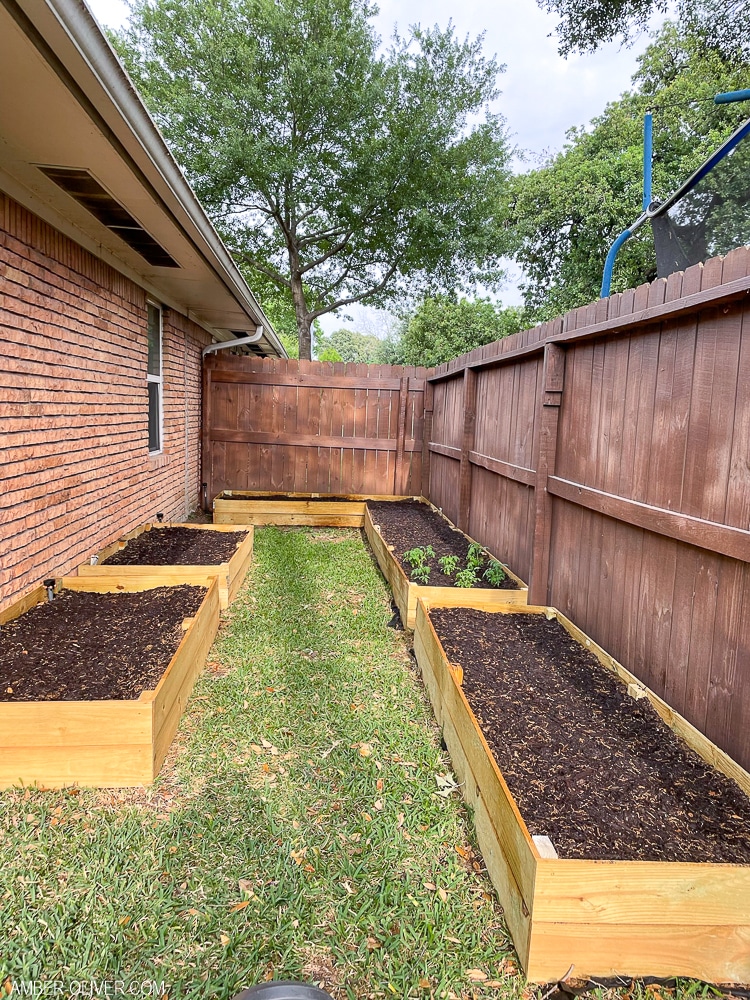
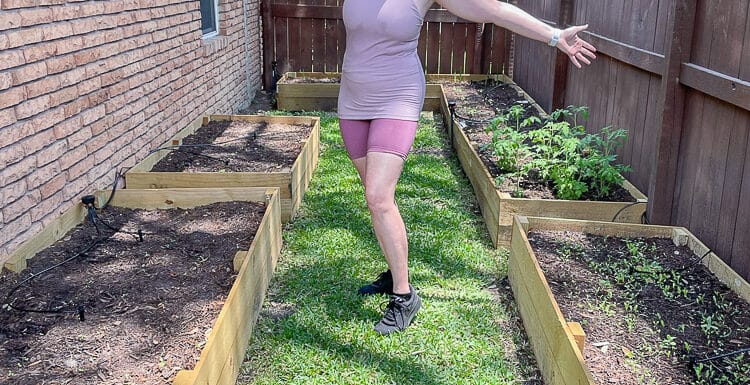
I am super proud of my DIY raised beds I built myself! (Eric helped me assemble a few of them – it’s always nice to have an extra set of hands!) I also swapped the sprinkler heads in this area and converted our sprinkler system for this zone into drip irrigation. If you’re interested in DIY drip irrigation, I have a tutorial for you!
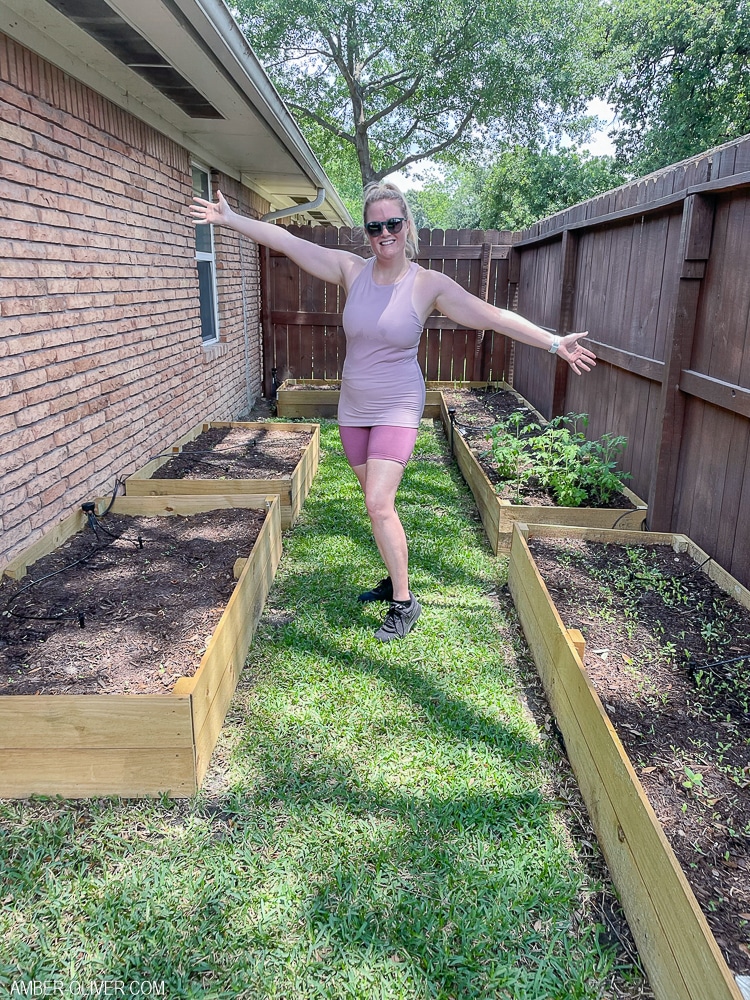
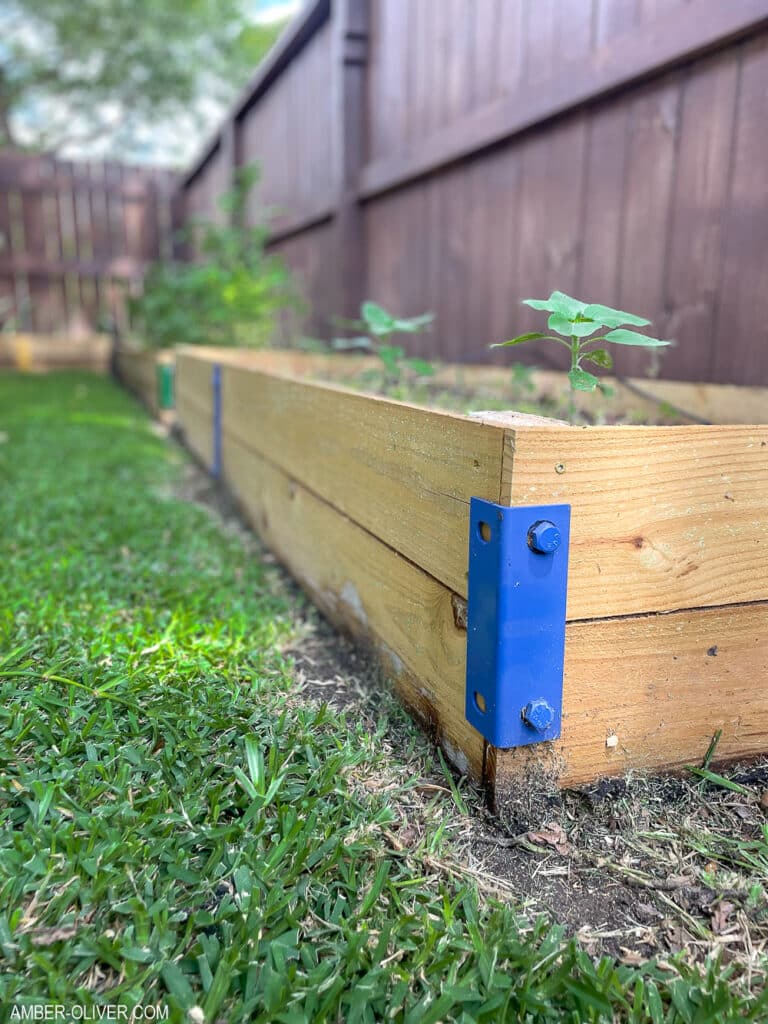
After I built and filled the beds I realized even with multiple screws on the support boards I had a problem. I needed some reinforcement hardware on the corners and where the beds connect.
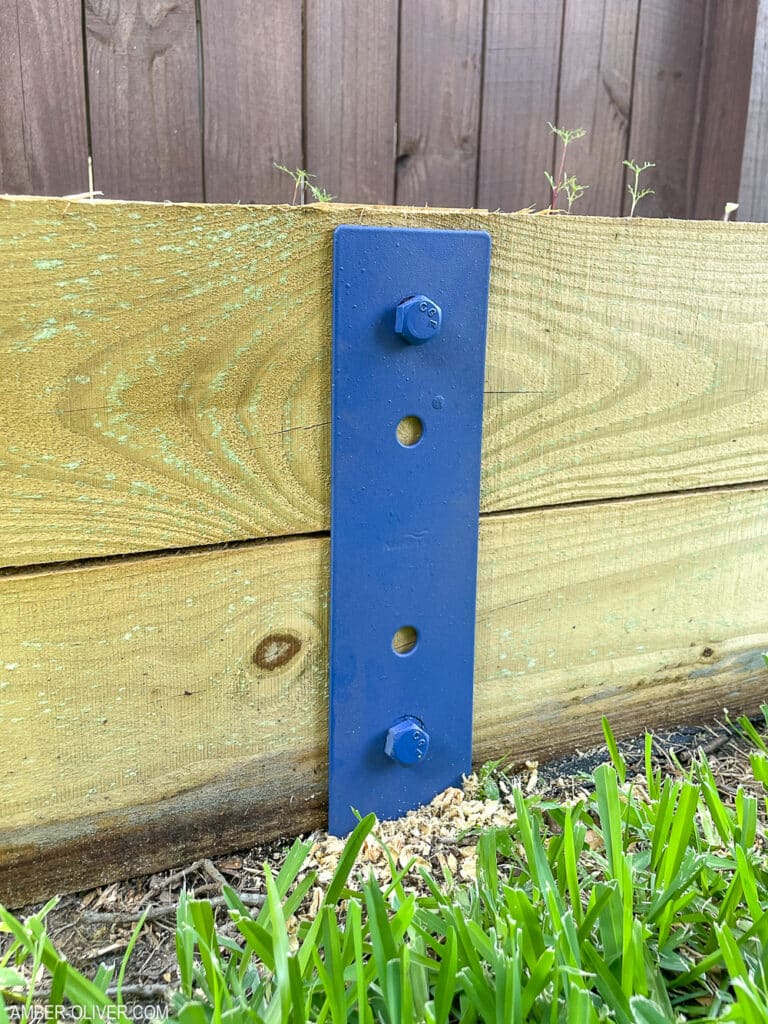
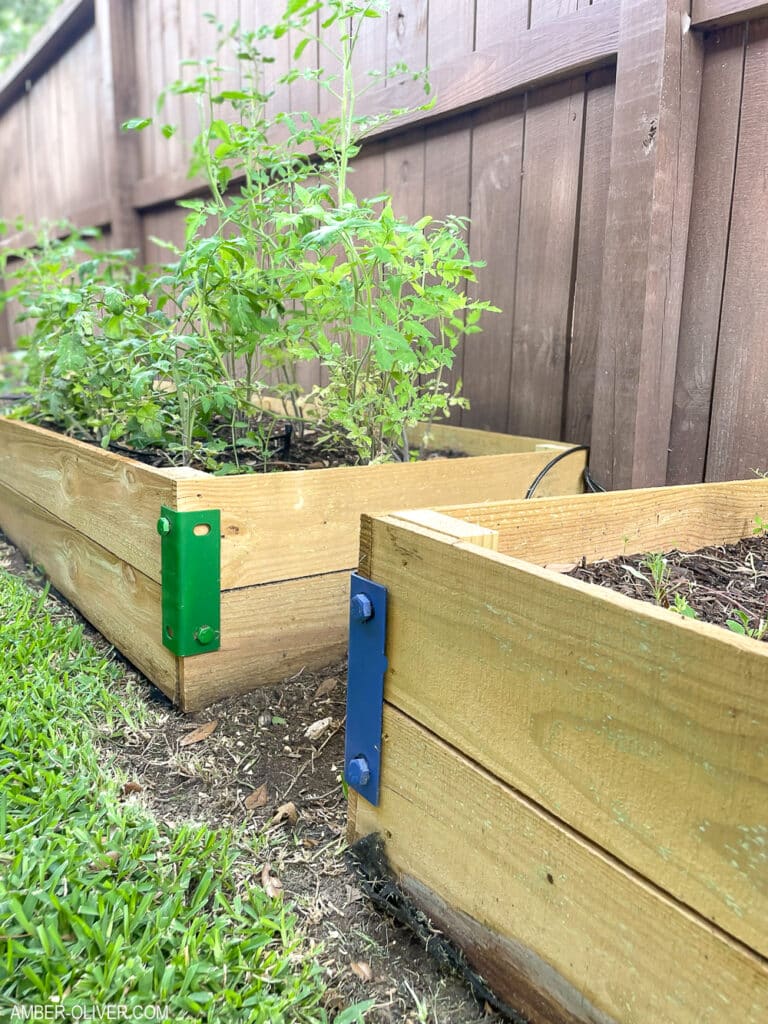
National Hardware sent me these Corner Braces and straps to help out! After adding a pop of color to them, I put added them to the raised beds. These will help ensure our beds are sturdy for years to come!
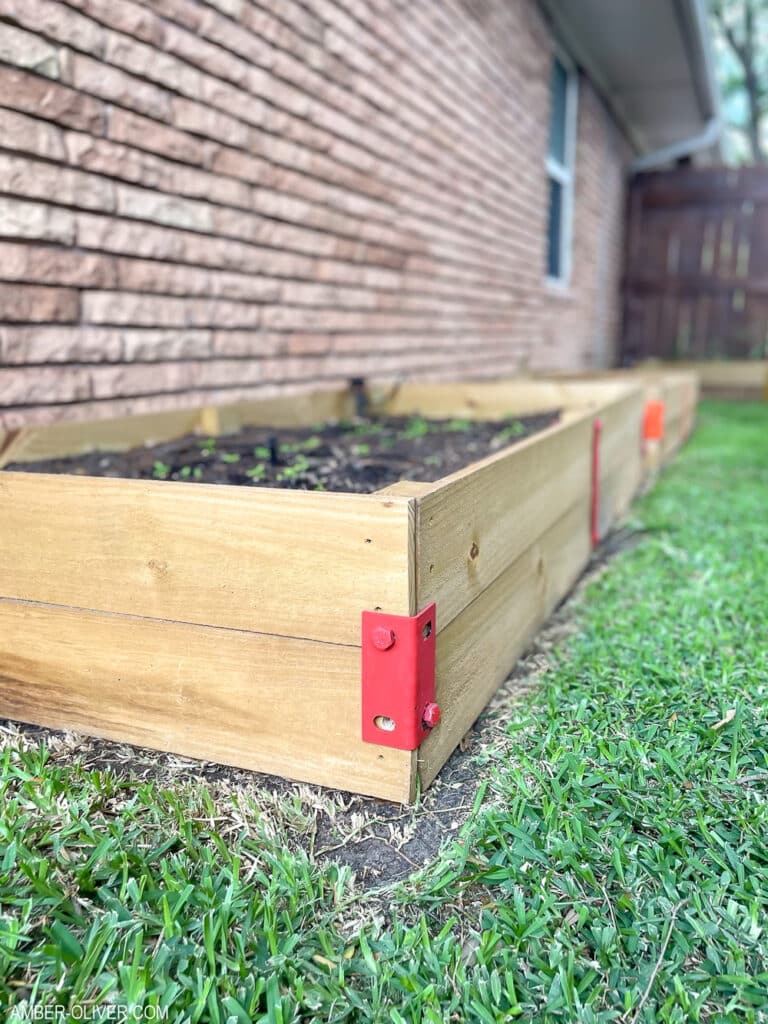
I hope this project inspires you to create your own cedar raised garden bed! Using fence pickets for the wood raised garden beds is an excellent cost saving way to achieve this project!


Polly says
Your new raised flower beds are beautiful!!! You did a great job!
Amber Oliver says
Thank you!!!
Gebby says
Hello. Thank you for sharing this brilliant article. It is beneficial for DIY-ers, especially those who want to save extra cash. I followed the materials and steps you listed, and now, I have 6 cedar-raised garden beds. But before I grow plants on them, I plan to install a screened panel fence to protect them against critters.