Sharing my experience and my microblading before and after photos. I’ll share the microblading healing process, microblading aftercare, and how they held up after 1 year!
Last year I was spending a LOT of time on FaceTime. Many of us have been on zoom more now than ever before and if you’re anything like me, you spend a good deal of that time looking at yourself on the camera. I know, I know, but it’s inevitable! I also wasn’t wearing much makeup as I was spending most of my time at home and alone. In addition to my “gobble wobble” or double chin bothering me, I noticed how faint my blonde eyebrows were. After getting Kybella treatments to get rid of double chin I decided to try microblading! (Click here to see my kybella before and after photos!)
Microblading Before and After
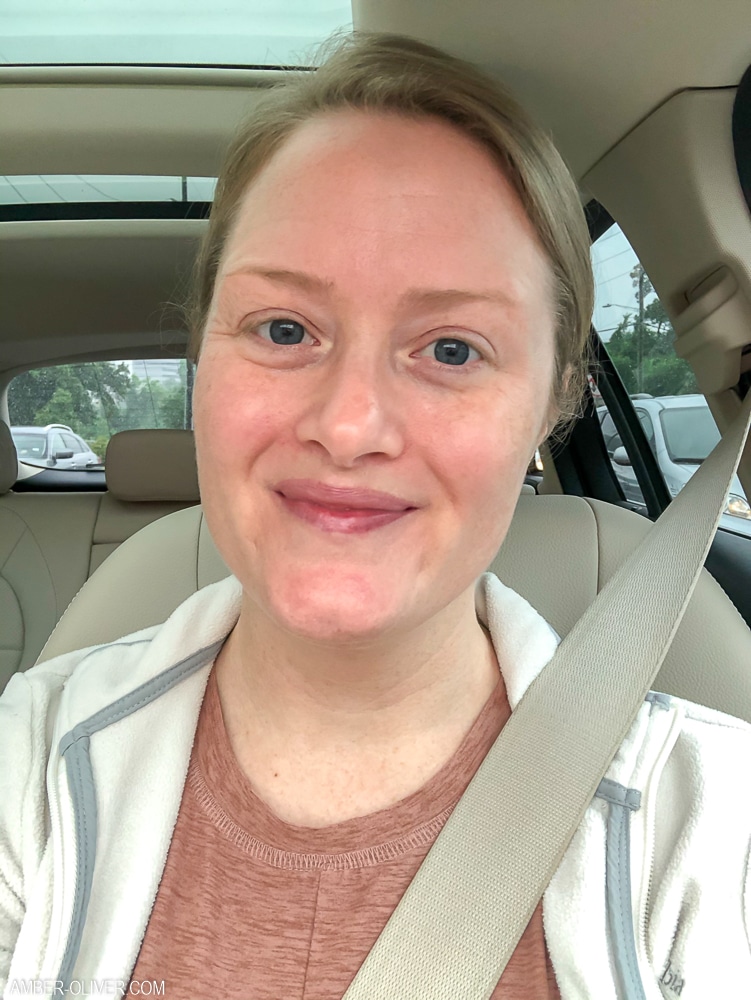
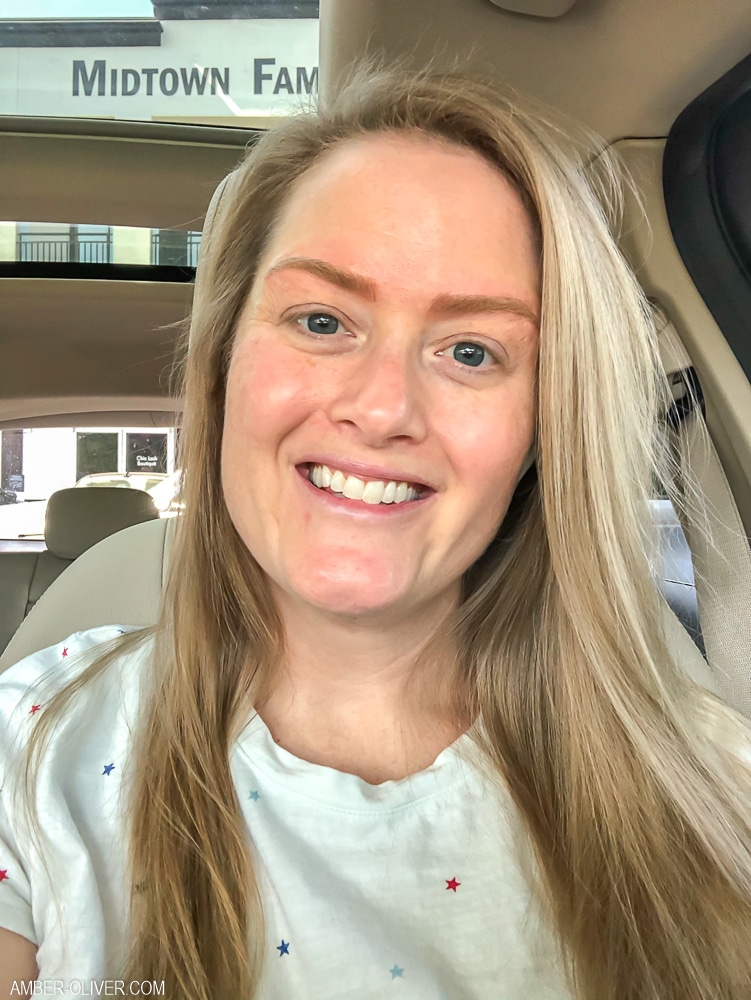
Microblading Healing Process
Day 1: Immediately after your appointment your skin will be red and your brows will be about 20-25% darker and wider looking that they will end up being once they heal. Because your skin is red it makes your brows look darker! Because of the needles, you’ll also be a bit swollen. You have a lot of tiny wounds, so it’s very important you keep the area clean. Use a damp cotton round to pat around the worked on area every hour or so. You can’t get your brows wet for the next 10 days!
Day 2: The second day your new brows will still be darker and wider than they are going to end up. Don’t worry – they are still healing! Continually keeping them clean.
Days 3-7: Around this time, the itching will start! This is the worst part! You may also notice they look much thicker. The exfoliation has begun! The excess pigment around the area will start flaking away and you’ll begin to notice them looking thinner. Your skin is healing (why they itch!) and once they heal they will look much softer in appearance.
Follow the steps below each morning and evening for microblading aftercare.
Days 7-10: Around this time is when your skin really starts flaking and peeling. You’ll notice the peeling first on the outside edges. Once the color finishes flaking off it’ll appear softer and grayer for a few days until the color clarifies. You may also notice scabs – DO NOT PICK AT THEM! This was also really hard for me – but you don’t want to touch them at all. It will actually seem like the color disappears during this part of the microblading healing process. Keep using the ointment and following the microblading aftercare process – the color will return!
Days 11-21: Through the final days of the healing process, the color of your brows will come in and become more refined. Not all the strokes will come back after fading and make it necessary for a touch up. The touch up will correct any of the areas that didn’t absorb the pigment.
Microblading Aftercare
To care for your new brows, pat the area clean with a damp cotton round then pat dry. Apply a rice grain sized amount of Aquaphor with a cotton swab and spread gently over your brows. You don’t need very much of the Aquaphor and should apply very lightly as too much could suffocate your skin and delay your healing. The ointment should be barely noticeable on your skin. You also want to make sure the area is completly dry when you apply the ointment. You’ll repeat this process each morning and evening. Remember you can’t get your brows we for 10 days which makes washing your face challenging. I used fragrance free facial cleansing wipes.
There are several things you want to avoid during the healing process. As part of your microblading aftercare: avoid sweating, getting your brows wet, sun or UV exposure, any laser or chemical treatments (Retin-A or Glycolic acid), and any touching/picking/scratching of your brows.
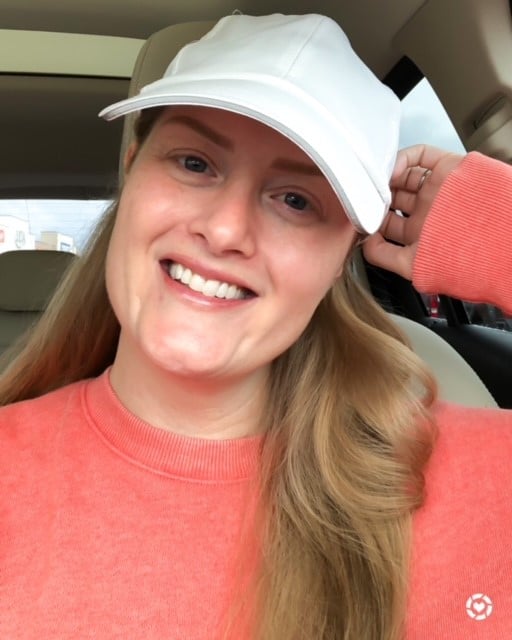
Once your brows are completely healed, consider applying sunscreen each morning when you apply your facial SPF. This can help keep them from fading. Sun exposure is the biggest culprit of microblading fading.
How Much Does Microblading Cost?
The cost can vary greatly depending on where you live. I’ve seen microblading cost anywhere between $300 and $800. I will warn you not to simply go with the cheapest option. Always compare salons and get reviews before choosing. My microblading cost around $600 and included a consultation, the initial work, and a two month touchup. I also got recommendations and specifically looked for someone who had a microblading before and after photos of blonde eyebrows!
Does Microblading Hurt?
The short answer is yes. Some salons will numb you and that may help. I would describe it as mostly uncomfortable instead of painful, but yes I did think microblading hurts. The worst part to me though was the sound – you can hear the blade scraping your skin and that made me suuuuper uncomfortable. I don’t think that would be any reason to not do it and encourage you to listen to music, talk, or do what ever helps keep you calm.
How Long Does Microblading Take?
One reason I struggled a bit during my microblading was because it does take quite a bit of time. I was there for almost 2 hours getting microblading. That being said, I’m glad I had such an excellent brow artist or took her time and made sure my brows looked their best!
How Long Does Microblading Last?
This is very important to understand: eyebrow microblading is not permanent. The main reason microblading is semi-permanent and not permanent like a traditional tattoo is because the ink is placed into the superficial layers of the skin. Traditional tattoos are not only put deeper in the skin – they use a different ink. Here’s an article that helps explain how tattoos last.
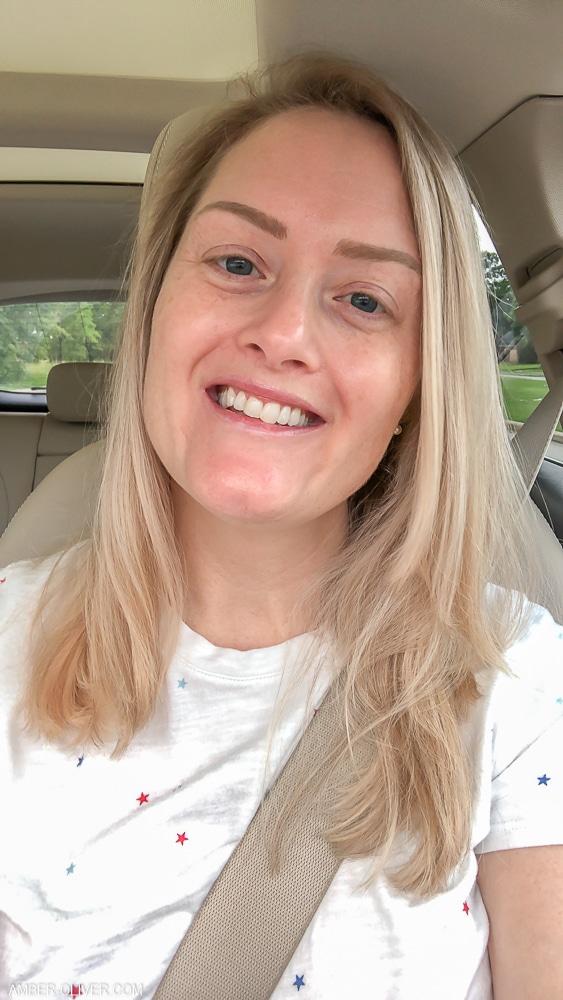
My Microblading Experience: One Year Later
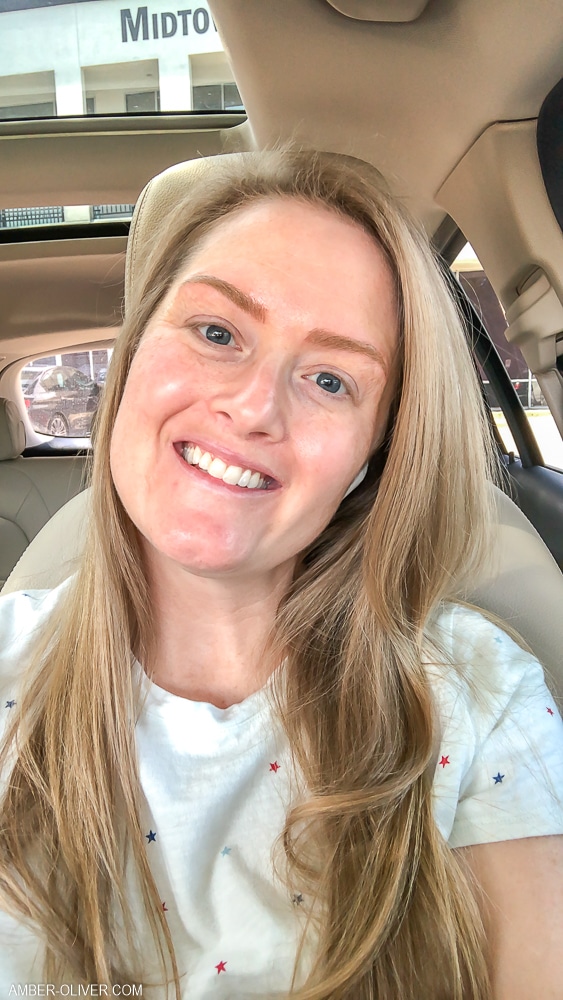
It’s been just over a year now since I did it and I’m still very happy with it! I shouldn’t need a touch up for at least another year but will eagerly keep them updated!


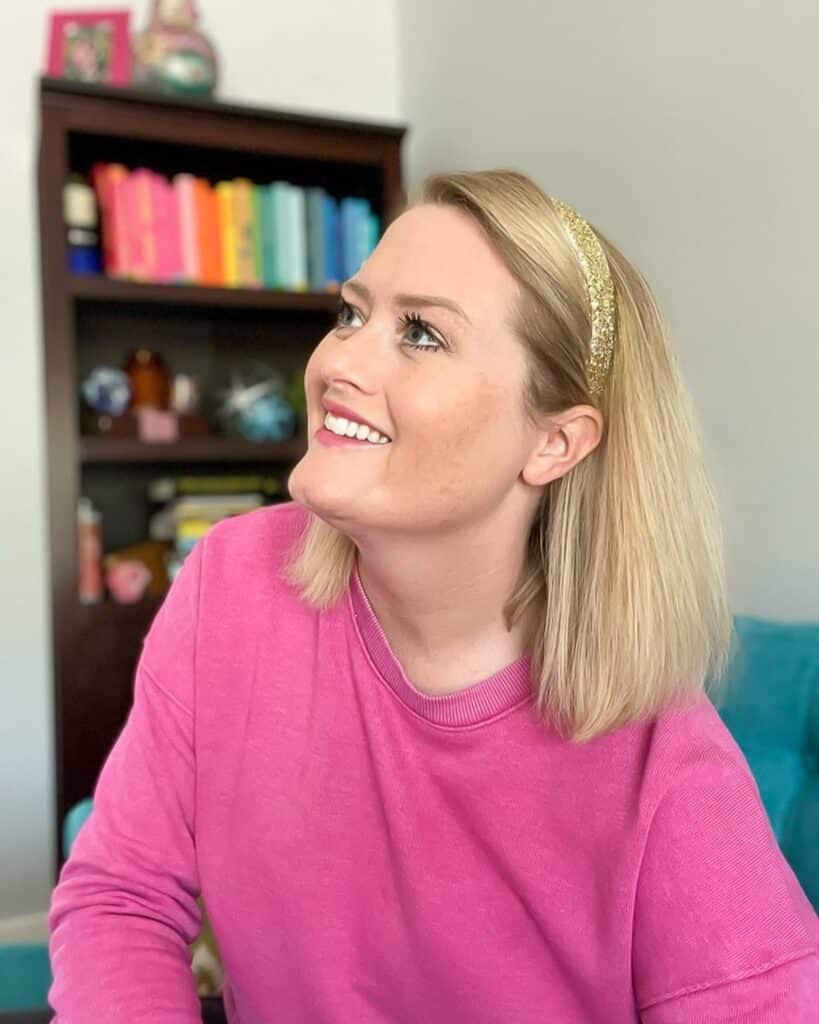
I hope my Microblading before and after photos as well as me sharing my experience inspires you to get microblading done!

Amber says
This was super helpful! I’ve been toying with the idea of getting my eyebrows done.
Having this more in-depth look into the “after” helps quell some of the anxiety I had.
Thanks for posting!