Last updated April 20th, 2024 at 02:17 pm
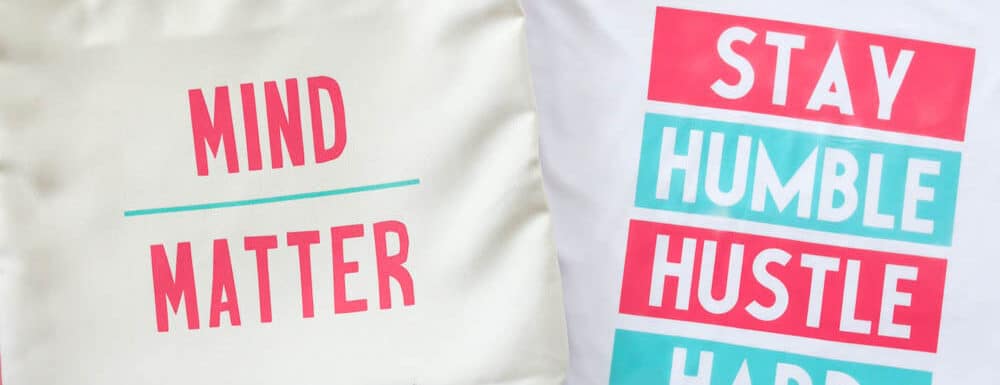
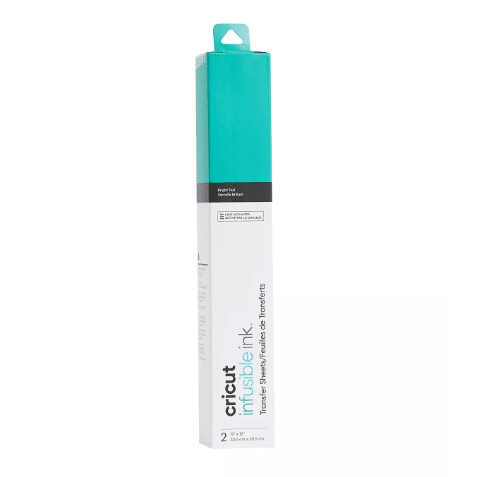
Get motivated this new year with a custom workout tee and tote created with Cricut Infusible Ink! This project is sponsored by JOANN.
A new decade is here! Whether your goal is to get fit, try new things, or simply be successful in whatever it is you’d endeavor to do – I’ve got the project for you. I created 2 files in Cricut Design space that are perfect for a workout tee and tote bag using Cricut Infusible Ink.
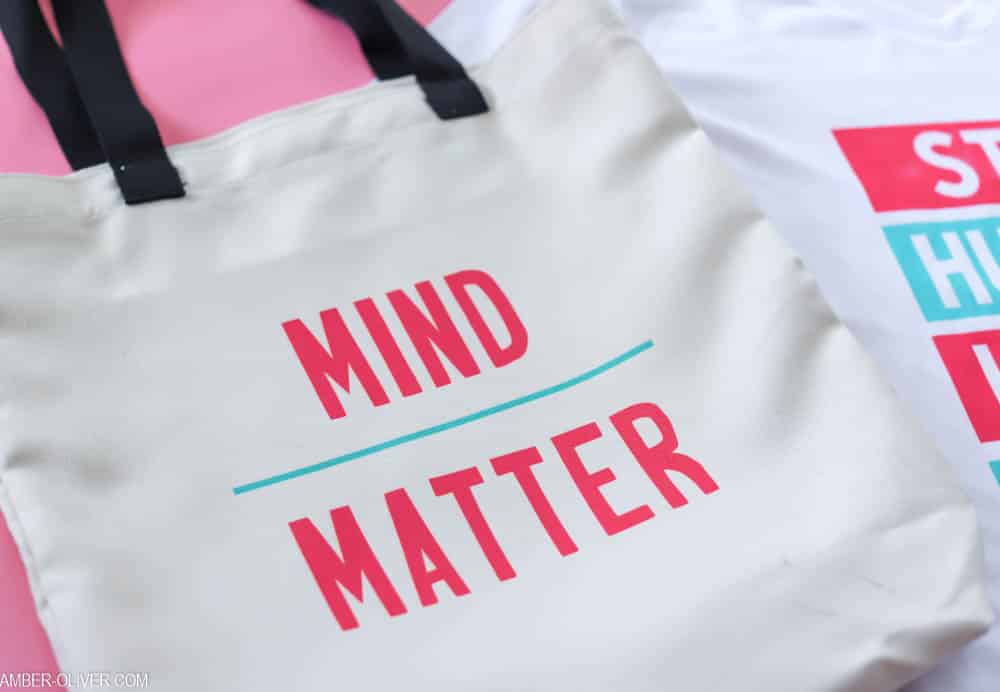
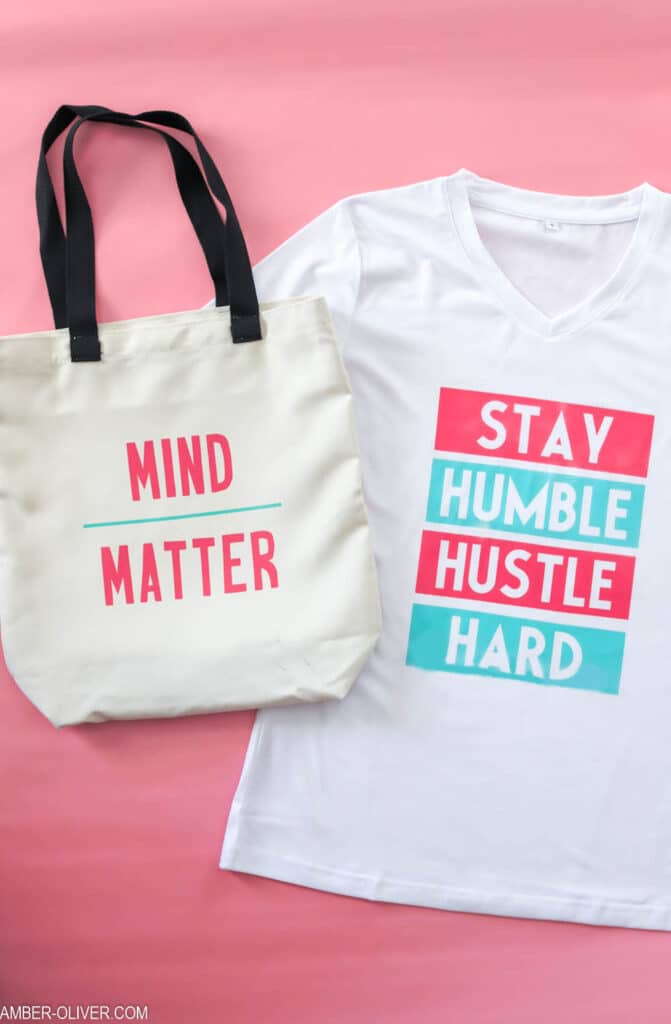
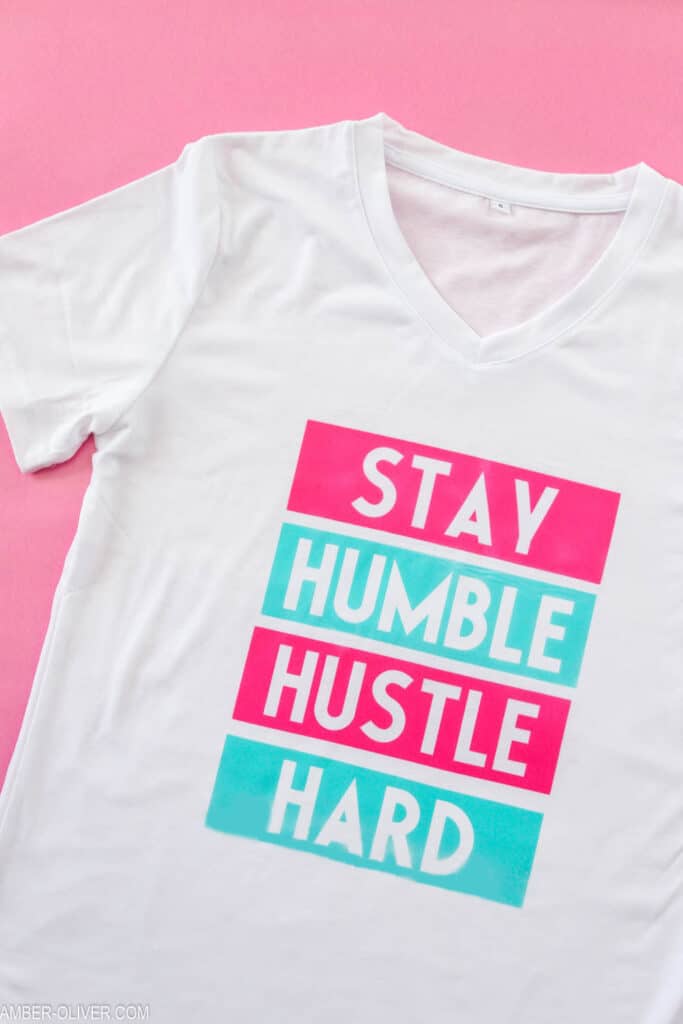
If you haven’t tried Cricut Infusible Ink – this is the perfect project for you! You can make an adorable DIY workout tee to wear to the gym if you have some new fitness goals this year. The tote is a great catch all the carry to the gym or simply out and about. No matter what you’d like to achieve this year – these cute quotes will help get you motivated!
Cricut Infusible Ink Workout Tee and Tote

Get motivated with these custom tee and tank designs using Cricut Infusible Ink!
Materials
Instructions
- Start by opening the cut file in Design Space. Resize it accordingly then click "Make it"!
- Cut the design using your Cricut. Don't forget to MIRROR!
- After the cut finishes, you can weed your design. (Remove the excess material.)
- Preheat you Cricut EasyPress to 385°F.
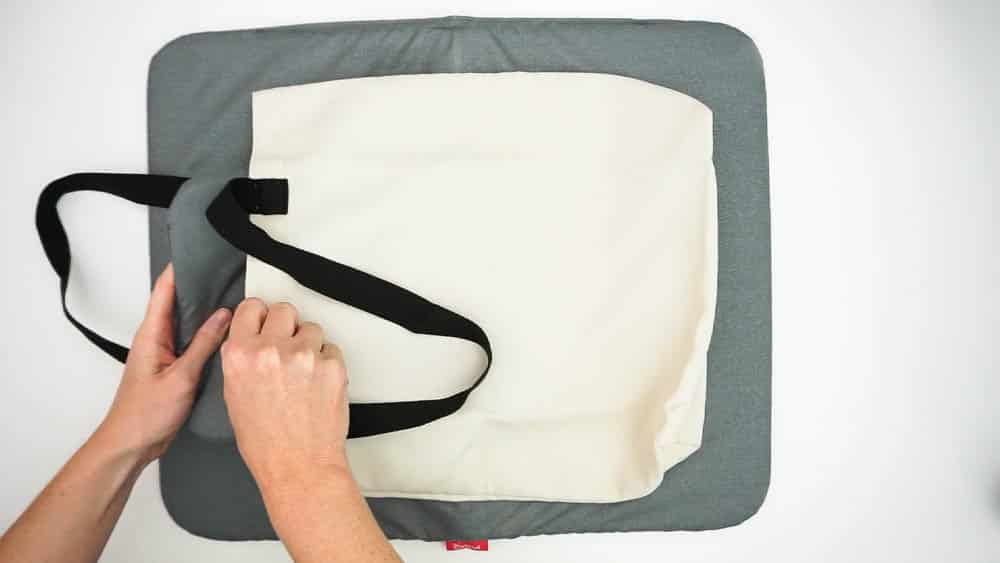
- Place the Easypress mat INSIDE the tote bag and place a thick piece of cardstock on inside on top of it. (The cardstock will protect the mat from ink transfer.)
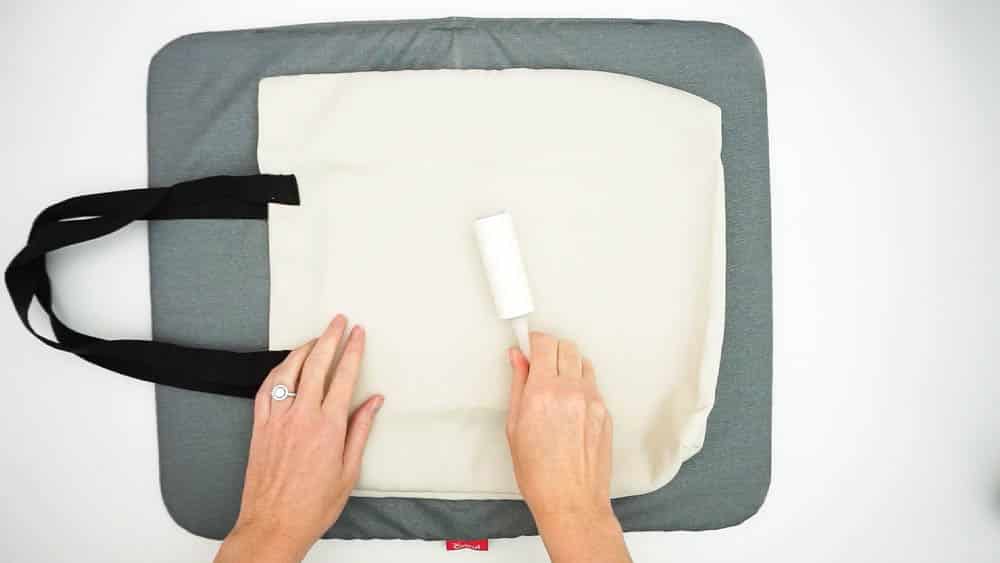
- Use a lint roller where your design will go. This is super important and will ensure success of your transfer!
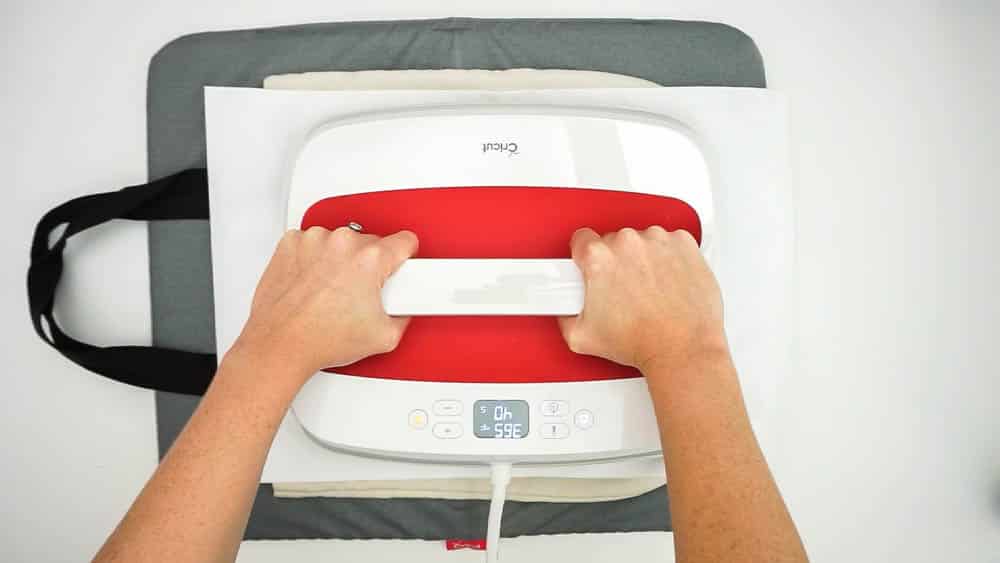
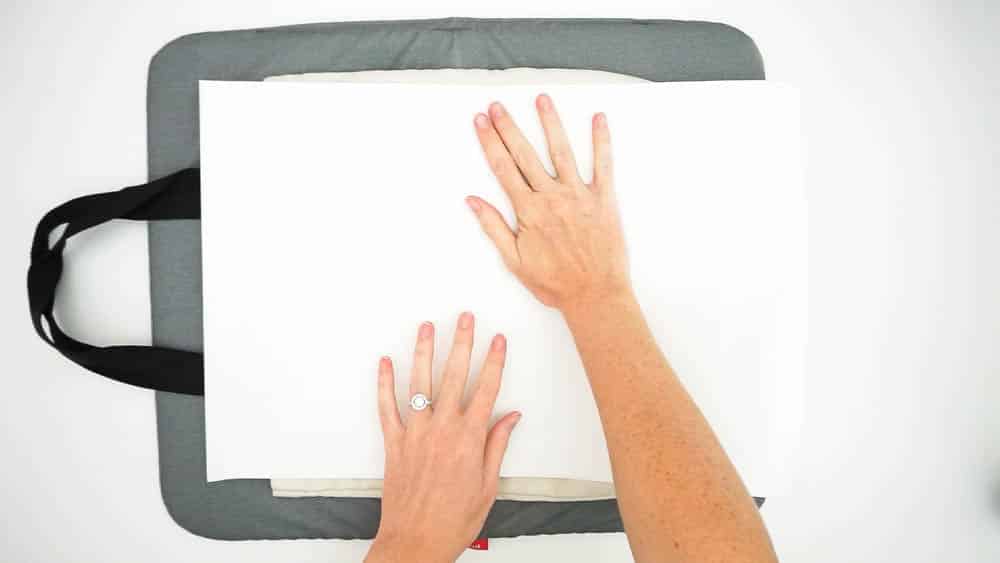
- Next, cover the project with the provided butcher paper and apply the Easypress for 15 seconds to prepare the surface for your design! Let the project to cool after you remove the paper.
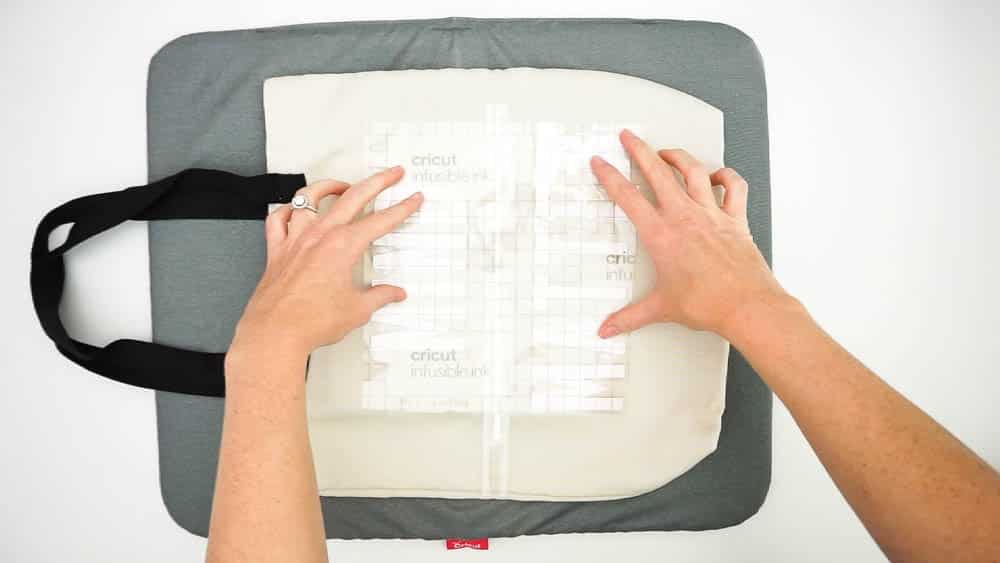
- Since both these designs use two different colors, line then up then flip over and lay in place (the shiny side up and the letters where you can read them!)
- Carefully place butcher over your design, and then press for 40 seconds.
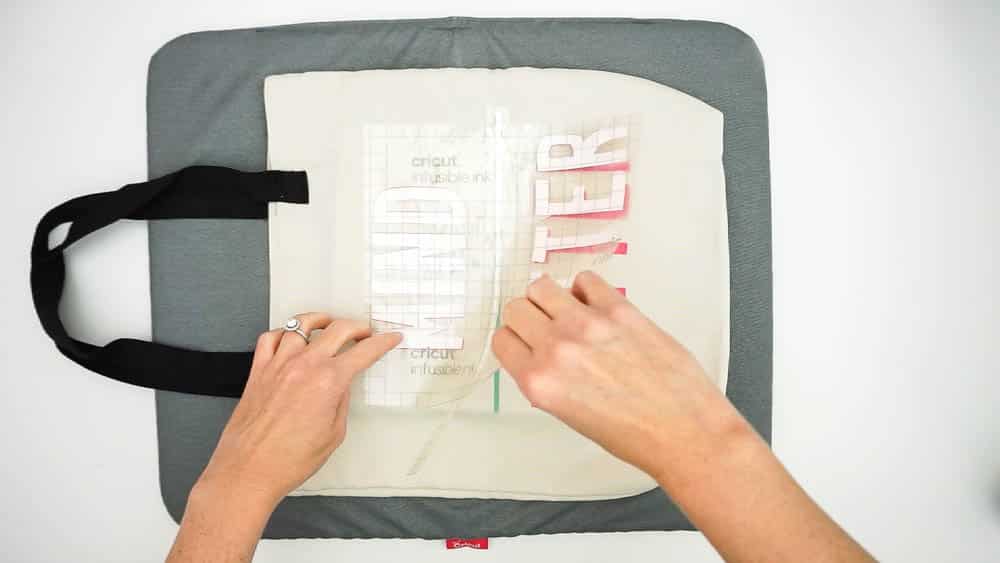
- Once the time is up, allow to cool then carefully remove the butcher paper and the clear liner to reveal your design!
Recommended Products
As an Amazon Associate and member of other affiliate programs, I earn from qualifying purchases.
Infusible Ink is a bit more complicated than Iron On Vinyl, but it is SO worth it! As long as you follow the directions you will get amazing results. Most of the extra steps like lint rolling your surface and using cardstock are simply to ensure the best quality results for your project.
Because your surface requires a bit of prep, I recommend setting up while your machine is cutting your design. You’ll prep the surface then have to allow to cool completely, so it’s the best use of your time if you do this while your machine works.
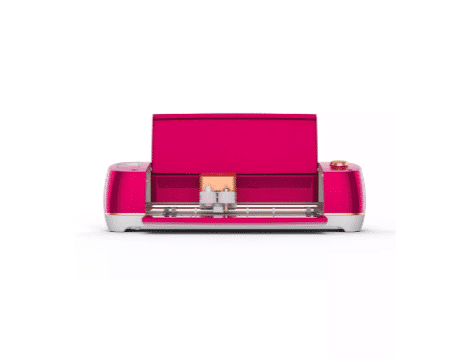
I used my Cricut Maker to create this Infusible Ink tote bag and t-shirt. My machine had a relatively new blade, so my first cut went all the way through the Infusible Ink transfer sheet. Yikes! Because of this, I found I had to set the material on the machine to “Iron On Vinyl” instead of “Infusible Ink Transfer Sheet”. My recommendation is to make a test cut so you don’t waste any material.
Get everything you need to create this Infusible Ink workout tee and tank from JOANN stores!
Don’t forget to PIN for later!




Leave a Reply