Last updated August 8th, 2022 at 03:03 pm
Make reverse canvas signs quickly and easily with the Cricut EasyPress and iron on vinyl. This project is sponsored by JOANN!
I love a quick and simple project. This project not only meets both those criteria – it’s also super customizable! I made my first reverse canvas sign in a simple black and white design with the classic “Home Sweet Home” quote. But you could literally put anything. you. want. on YOUR reverse canvas! This is an easy project you can create in under an hour with just a few inexpensive supplies from your local JOANN store!

How To Make Reverse Canvas Signs

Make reverse canvas signs quickly and easily with the Cricut EasyPress and iron on vinyl.
Materials
Tools
Instructions
- Use your Fiskars DIY Heavy-Duty Knife to cut the canvas from the back of the frame.
- Gently remove the canvas from the wooden inner frame.
- Paint the wooden frame and let dry.
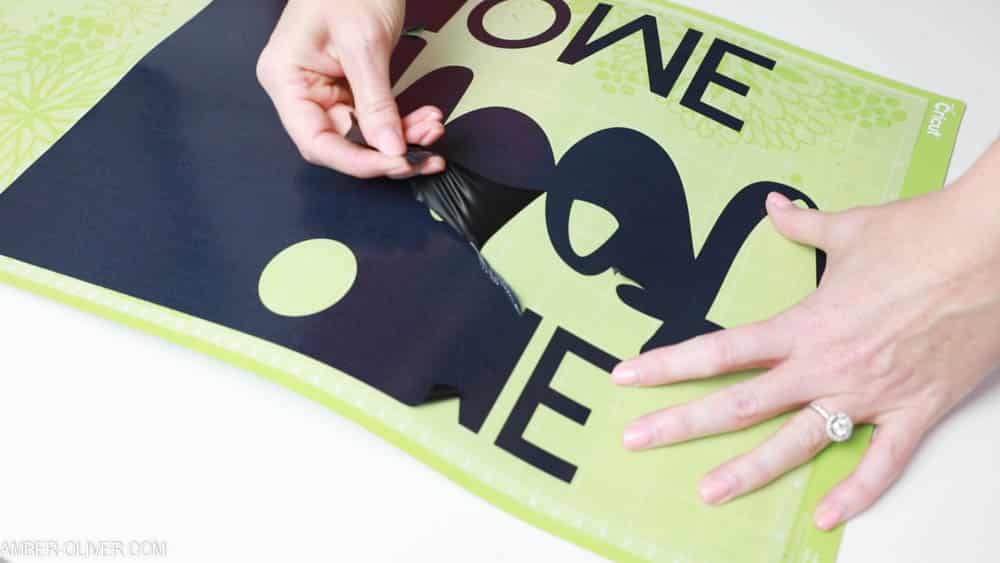
- Use your Cricut to cut the words for your reverse canvas signs. I used this design: "home sweet home". Weed the material once it's cut to remove the excess vinyl.
- Lay your cut out design onto the canvas you just cut from the frame.
- Use the EasyPress to adhere the vinyl.
- Gently remove the transfer sheet.
- Cut and remove any of the excess canvas so it'll fit back onto the wooden frame.
- Use a staple gun to add the canvas back onto the frame but this time on the back!


I used my Cricut Maker and Easypress 2 for this project and it makes it super easy! You technically *can* do this without those tools though. You could trace and cut a design out of iron on vinyl and you can use an iron instead of the Easypress, but these tools will totally change your craft game!
I can’t wait to create more of these in fun colors and designs. Who knew there was such a cute wooden frame hiding under those canvases!?
Don’t forget to PIN for later!


Leave a Reply