Last updated January 2nd, 2020 at 06:01 pm
This project is sponsored by Cricut. This flannel no sew blanket would be cozy in your home or makes a great custom gift idea thanks to the Cricut Explore Air 2.
The holiday season is officially upon us! That means it’s crafting and decorating season as well. While there are some dedicated individuals out there who use ANY holiday as an excuse to decorate (I’m looking at you with the 4th of July mantel decor!) for many it’s the fall and winter that hold the “decorating” holidays.
You may not have pulled the tree out *just* yet, but with the falling temperatures, it is time to start pulling out that cozy home decor. Throw blankets are all over our home.
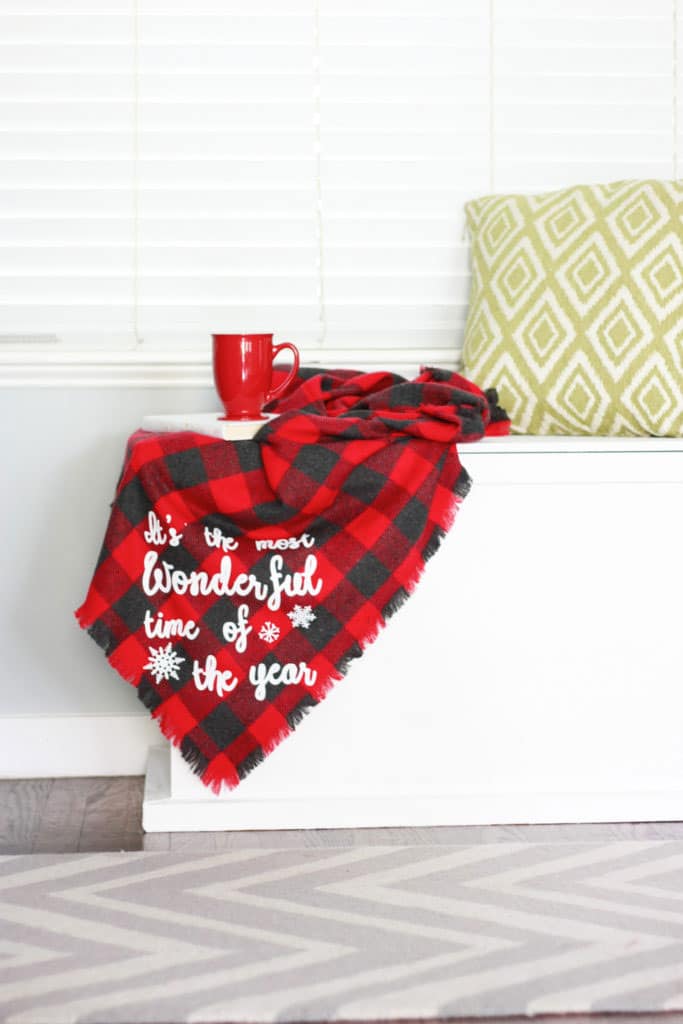
Even in the dead of summer, I like to cover up when I’m watching TV, reading, or even sitting at the computer. I consider myself a throw blanket connoisseur, and this DIY flannel no sew blanket is an A+ in my book! It’s lightweight, soft and cozy, plus the design I added with heat transfer vinyl and my Cricut Explore Air 2 is super cute!

No Sew Flannel Blanket

Instructions
- Trim your fabric to the desired size. I love fabric with lines because it makes it so easy to cut straight! You want to make sure all the sides are straight and be sure to cut the selvage.
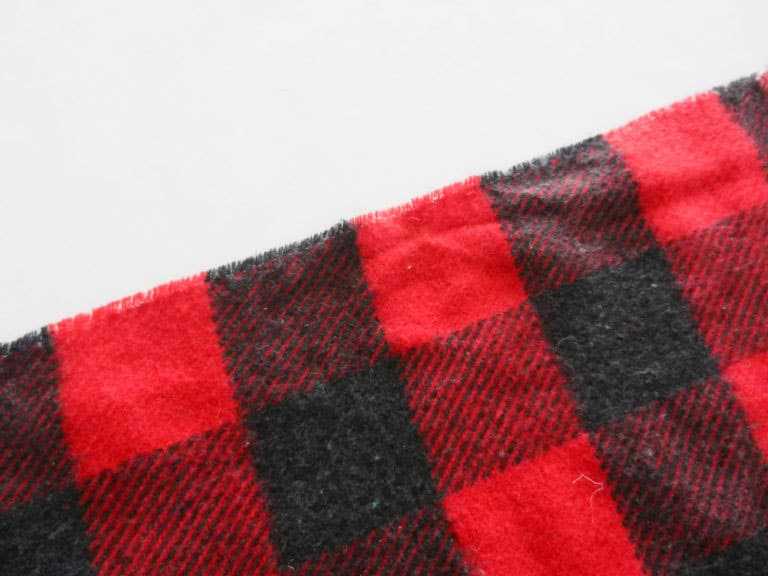
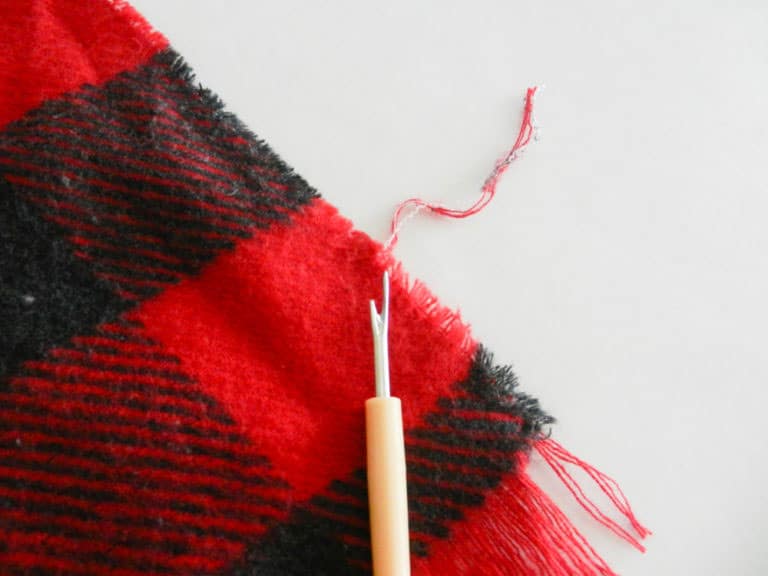
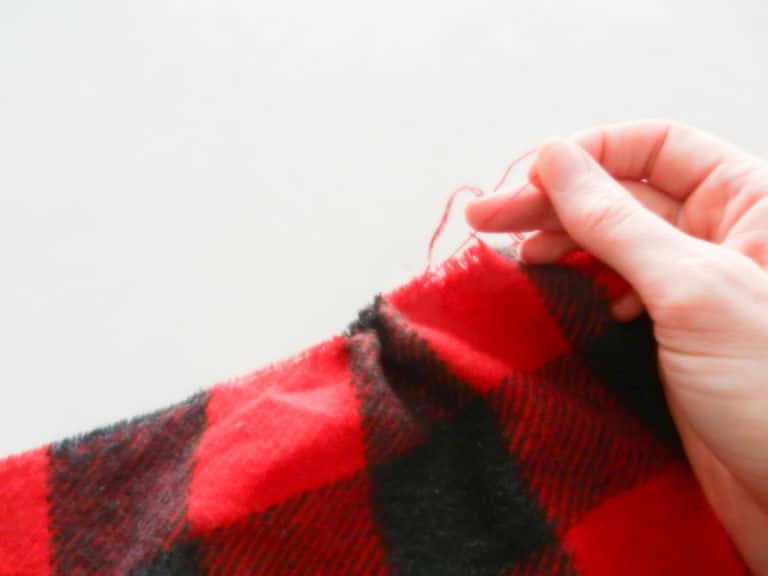
- Start pulling threads! I started in one corner and used the seam ripper to separate the first thread then gently started pulling it out. I found it you pull horizontally (instead of away from the fabric) it will actually pull out entirely from the other end! This worked best on the shorter ends of my fabric.
- Keep going! This part isn’t difficult, but it does take some time. It took me about an hour to go all the way around. I made my fringe about 3/4 of an inch. You’ll be left with a LOT of strings!
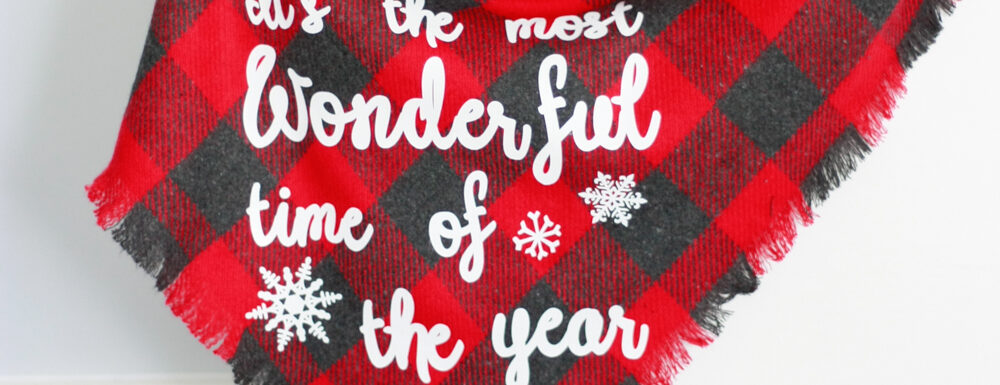
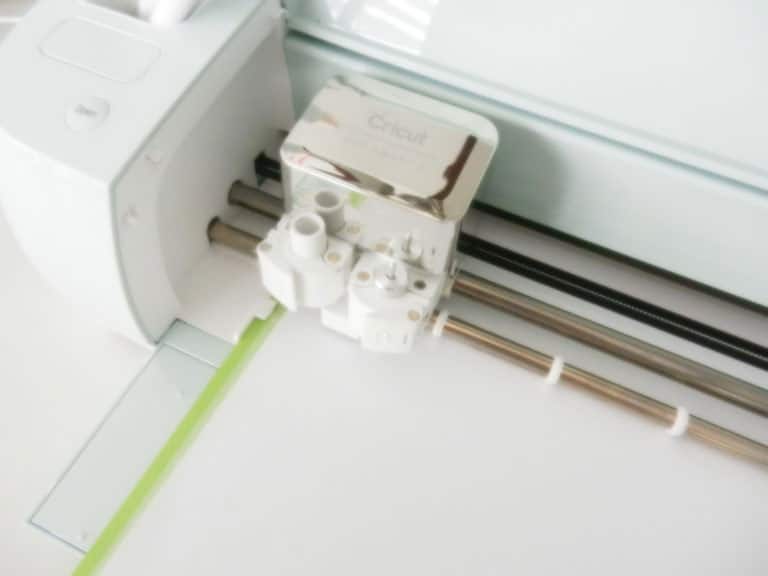
- Once your blanket is done, head over to Design Space! You can use this file to create the “It’s the most wonderful time of the year” blanket quickly and easily – or make your own! Design space is full of ready to cut projects that will get you in the holiday mood! I cut my design on the Cricut Explore Air 2. This machine seriously upped my craft game! Be sure to mirror your design before sending to the machine and put your heat transfer vinyl shiny side down on your mat.
- After you’ve cut and weeded your design, the last step is to add your HTV design to your flannel no sew blanket. I added mine with an iron and if that’s what you have too – it works just fine! I did add the Cricut Easy Press to my Christmas wish list though! Follow the instructions on your vinyl to figure out how long to apply the heat. You’ll also want to test your iron on a scrap piece of fabric before you begin! Some fabrics are made with synthetic materials and can’t be ironed!
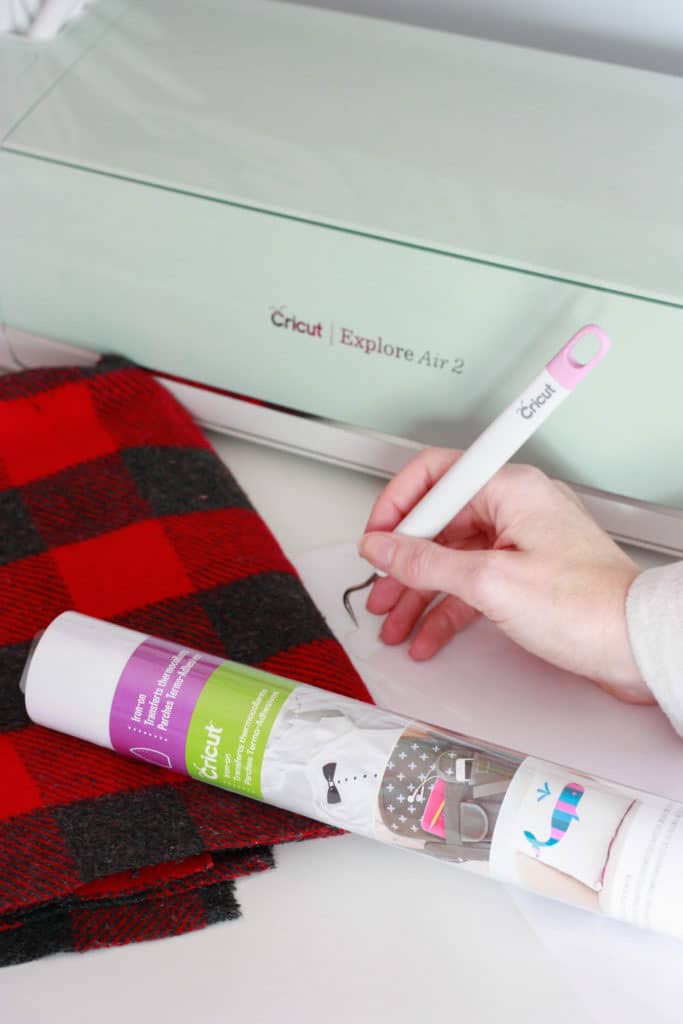
Enjoy this DIY flannel no sew blanket in your home this season or make a few as presents! A throw blanket makes a great gift idea and the quick and easy customization you can do with the Cricut Explore Air 2 will make a one of a kind gift.

This is a sponsored conversation written by me on behalf of Cricut. The opinions and text are all mine.


Laura says
Can you machine wash and dry the blanket?
Amber Oliver says
Sure can! I forgot to wash before I added the vinyl so did after and it was just fine 🙂
Makayla Ferrence says
Ho would you wash this? I know shirts with HTV have to be inside out but a blanket does not really have an inside and outside. I know people have asked me to do these for babies which spit up alot which means very many washes
Amber Oliver says
I throw it on the washing machine but don’t use hot water! I also dry on low or air dry ????????