Last updated April 12th, 2024 at 03:39 pm
Learn how to make a no sew clutch for a cute and easy way to store your phone and acessories.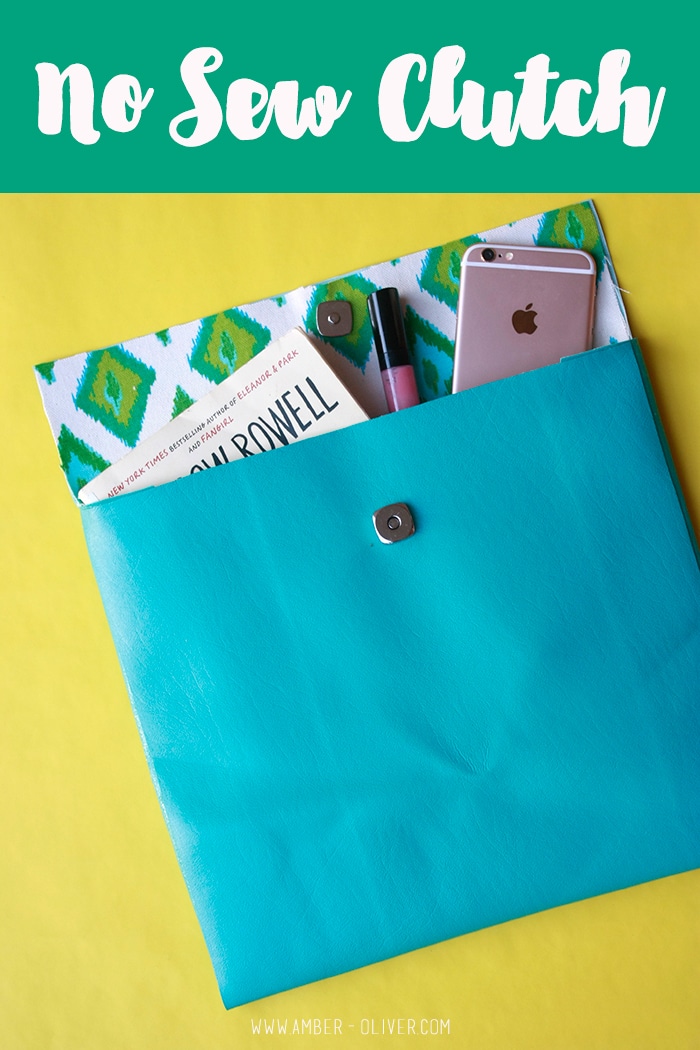
Sewing is one skill I haven’t mastered. I’m self taught on the basics: pillow cases, curtains, and pretty much anything that goes in a straight line! I never took Home Economics in school and so wish I’d had the opportunity. I wanted a new clutch for summer and knew I could DIY one. I used a few Scotch™Essentials products to put together a DIY No Sew Clutch!
Faux leather or vinyl (body)
Printed fabric (liner)
Scotch™ Essentials Adjustable Hem Tape
Scotch™ Essentials Permanent Hem Bonding Strips
Scissors
Clothespins (optional)
Measure out your purse on the faux leather or vinyl. I was using a remnant of beautiful teal blue vinyl so I came up with all the measurements from that piece. Make this No Sew Clutch your own and edit these measurements as you see fit!
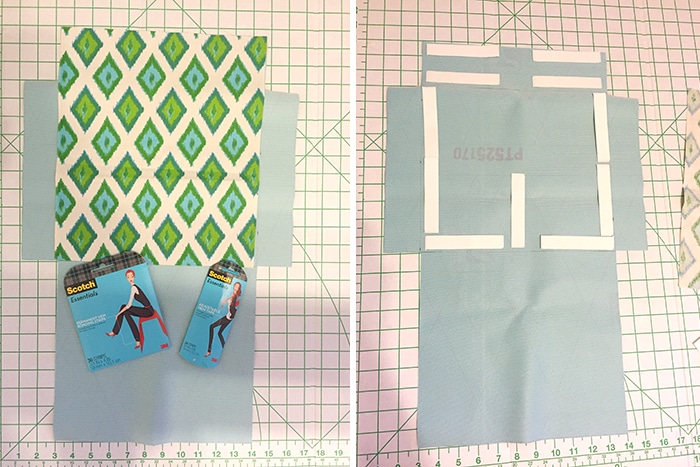
Cut your rectangle out first. Mine is 15 inches by 23 inches. Mark your top flap (mine is 3 inches). Next measure and mark the side pieces that will be folded in. Mine are 2 1/2 inches on either side leaving a 10 inch by 10 inch square for the back of the bag. The bottom 10 x 10 square is folded up to create the front panel of the bag. Cut away the extra pieces in all 4 corners to create the shape of the bag.
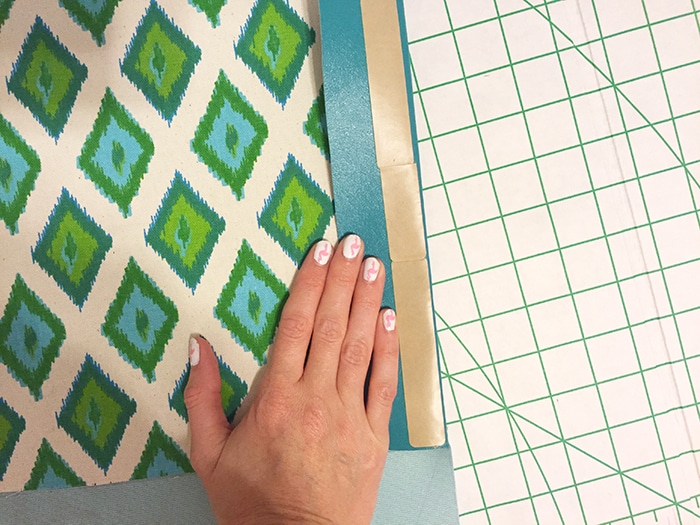
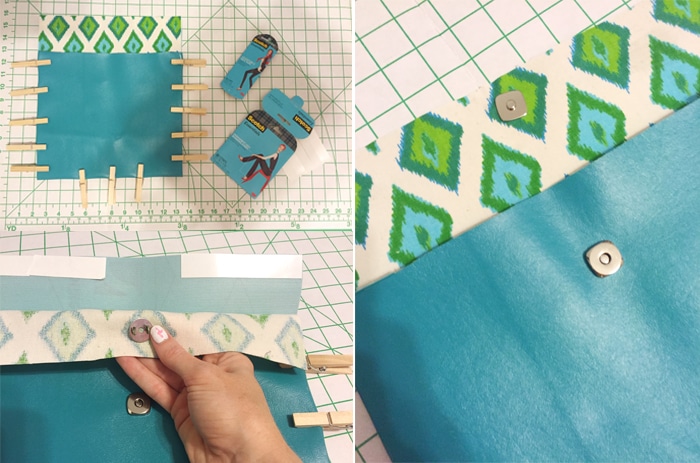
Next, cut your liner. I cut out a piece of fabric that was 10 inches wide by 13 inches tall. I only worried about covering the section you will see when you look in the bag. Use Scotch Essentials Wardrobe Tape Strips to adhere the fabric liner. These are quick and easy peel and stick strips. They worked great for this project and are great for making adjustments to clothing as well! ***Don’t adhere the fabric to the top flap just yet!
Before the next step, I folded the side pieces in and the front piece up and put something heavy on them for a while. (I used my sewing machine… oh the irony!) Doing this creases the material and helps when it’s time to attach the front piece.
Fold your side pieces in and line the edges with Scotch Essentials Permanent Hem Bonding Strips. These will instantly bond your fabric without sewing or ironing! These strips worked perfectly on the vinyl for this No Sew Clutch. Be sure to get the strips as close to the edge as possible. When you are ready, I suggest peeling one edge at at time so you can be sure your edges line up. I did both at one time and one of my sides is off just a little bit!
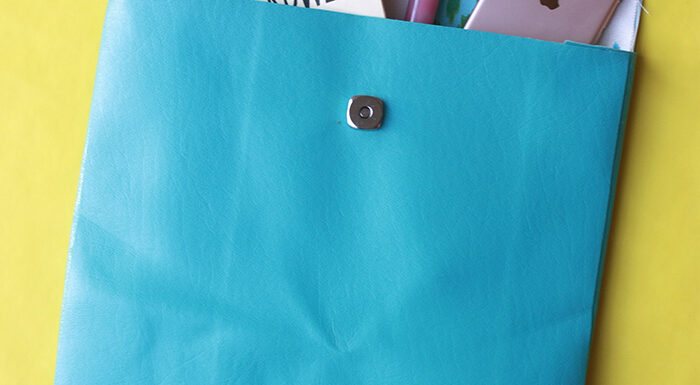
After your front piece is securely in place, you are almost done! I used clothespins on the edges to make sure the fabric bonds with the Permanent Hem Bonding Strips while I attach the magnetic snaps. These are so cool and so easy to use! Use the prongs to line it up, press it into the fabric to mark where it will go, then use an Xacto knife to cut a tiny hole for the prongs. Use pliers to bend them in place. The top snap will go through the LINER FABRIC ONLY. After you’ve attached the top snap, go ahead and adhere the liner fabric.
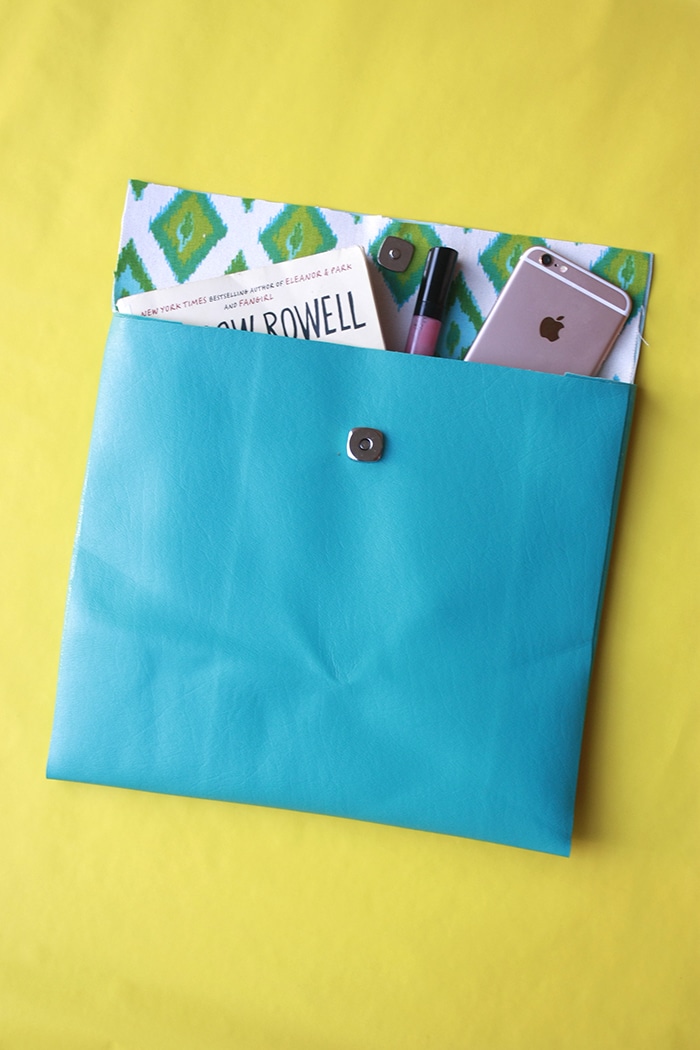
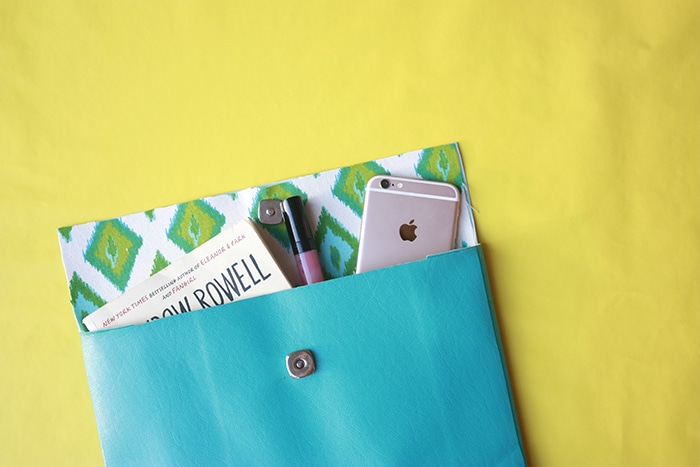
That’s it! You now have a No Sew Clutch. Who needs a sewing machine?
Follow me! INSTAGRAM | TWITTER | FACEBOOK | BLOGLOVIN
Shop this project:





Cait says
such a cute idea my friend!
Demelza says
Gorgeous. Perfect for someone like me who hasn’t mastered sewing yet either. Thanks 🙂
Bridget says
Such a super cute, fun and useful idea! Thanks for sharing 🙂
Linh says
This is such a cute and fun DIY! I am sewing challenged so this would be perfect for someone like me to make. Gonna try to make these for my little girl. She’s starting to get into purses and has been stealing mine 🙂
Amanda says
How cool is this! I love it. I love to sew but knowing there are other options are great for teaching the starting points to my kids.