Last updated April 12th, 2024 at 03:08 pm
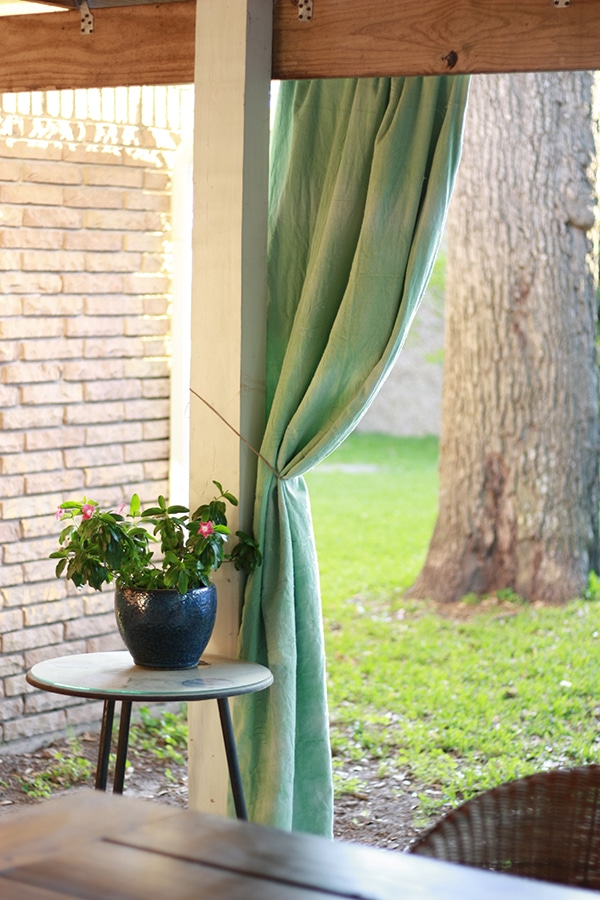
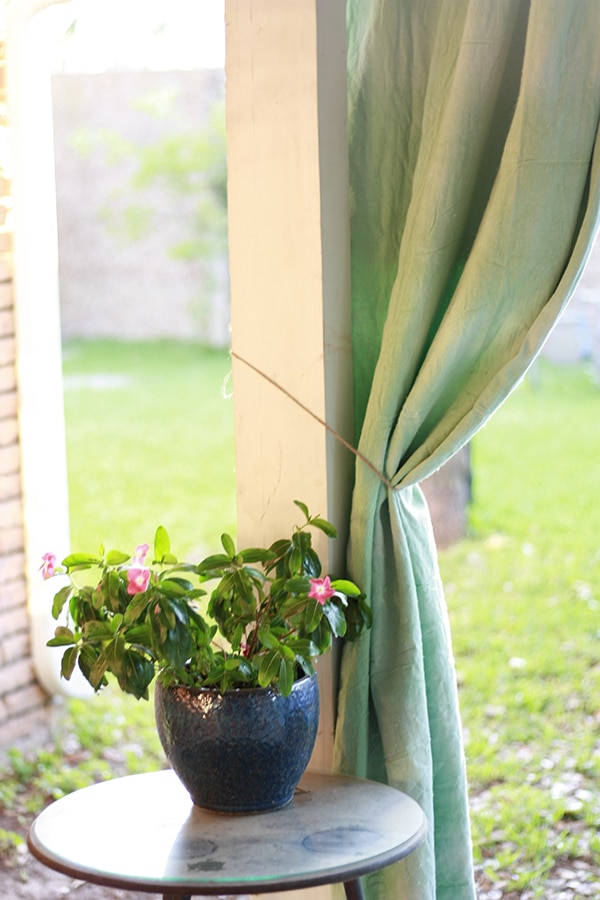
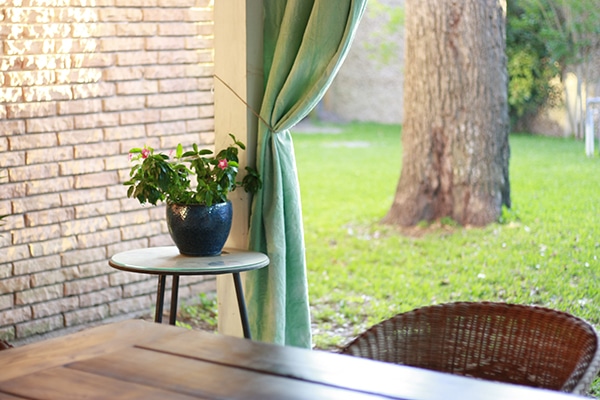
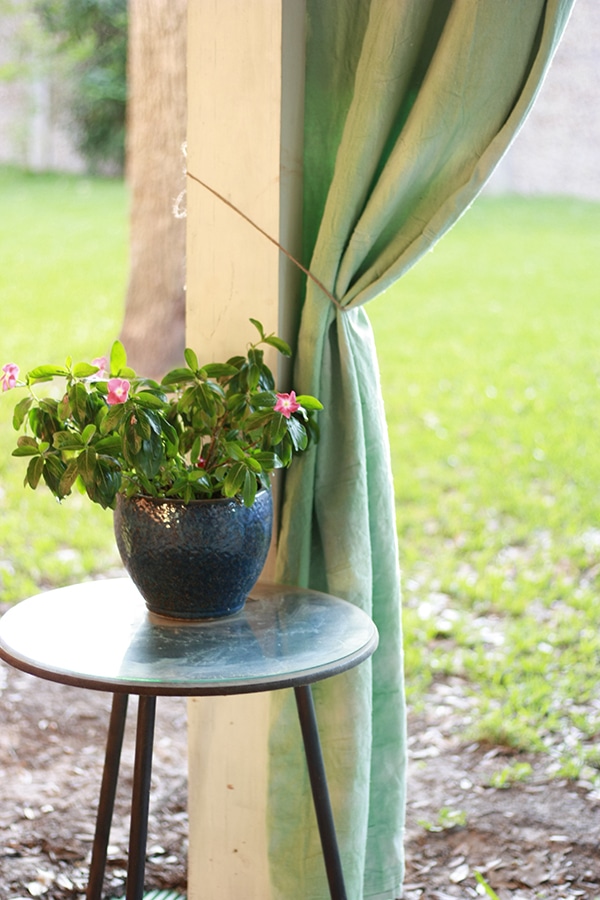
This month’s Ready, Set, Craft! Challenge item is FABRIC DYE! A few weeks ago, on one of the first beautiful days we had this spring, I was sitting on the back patio working on my laptop. I was enjoying the sunshine on our covered patio (thanks daylight savings!) when the sun dropped below the edge of our patio roof but was still above our back wall. There’s a sweet spot, when the sun is setting that it shines RIGHT in your eyes if you are sitting on the patio. It was at that moment I came up with the idea to add a curtain to our patio. DIY patio curtains fit perfectly with this month’s challenge since it gave me a chance to try fabric dye for the first time.
My original idea was to dye the patio curtains with an ombre effect. I figured if I slowly pulled the fabric out of the dye, it would make the ombre effect since the fabric left in the longest would be the darkest. UNFORTUNATELY, this was a DIY FAIL! While the final product didn’t turn out how I wanted, it was not a complete waste. It’s not like I ruined the fabric; it is still dyed and actually has a neat look to it. I realize my problem was the amount of fabric I used (I tried dying the entire drop cloth instead of cutting the curtain out first). So while this didn’t work for me, I still recommend trying the steps below to see if you can achieve the ever elusive OMBRE!
DIY Patio Curtains: Using Fabric Dye
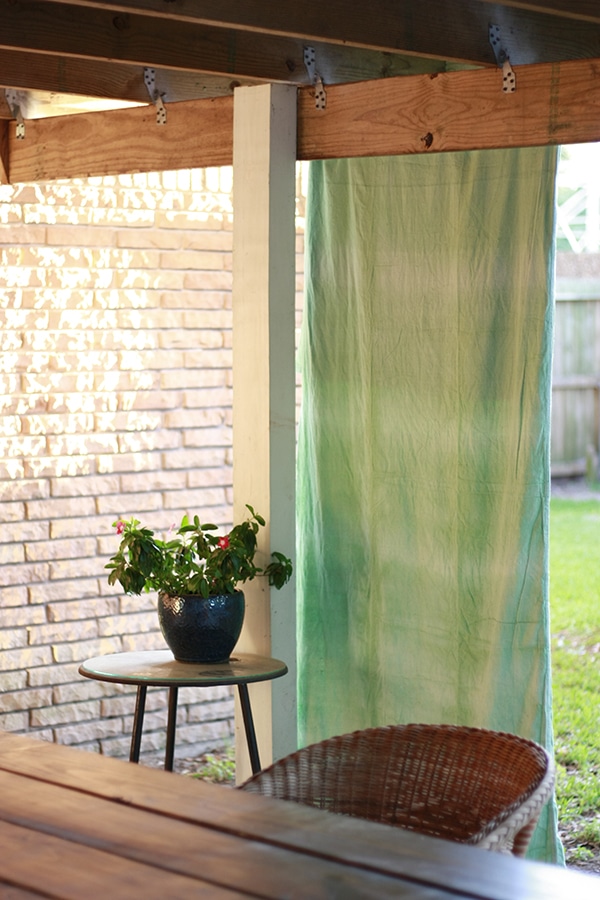
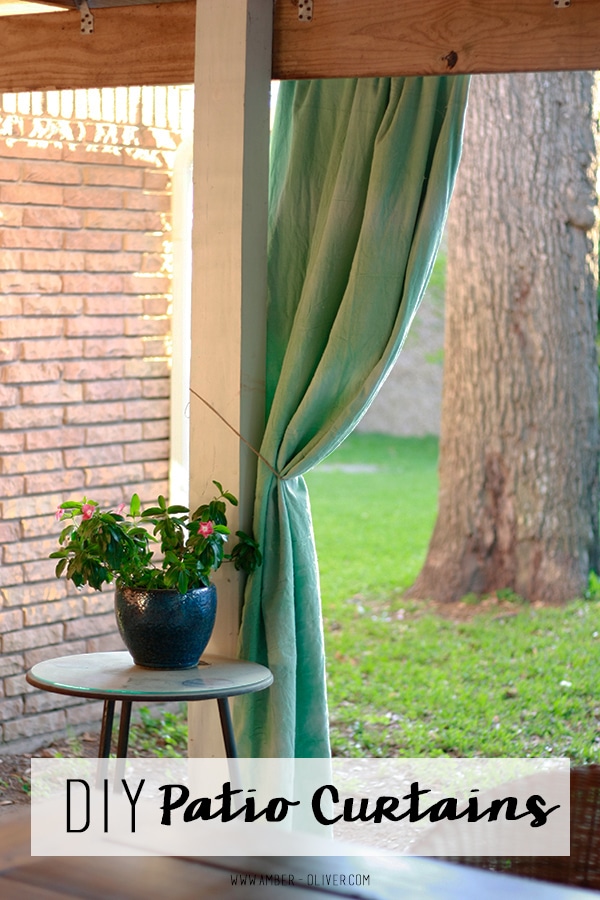
Using an inexpensive drop cloth and fabric dye, create beautiful patio curtains for added privacy or a shield from the sun.
Materials
Instructions
- First, put down something to protect the ground. I use a shower curtain liner that I picked up at the Dollar Tree. It’s cheap, water resistant, and I’ve used it over and over.
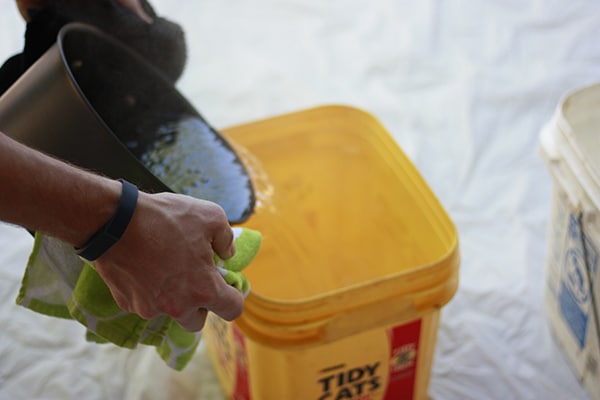
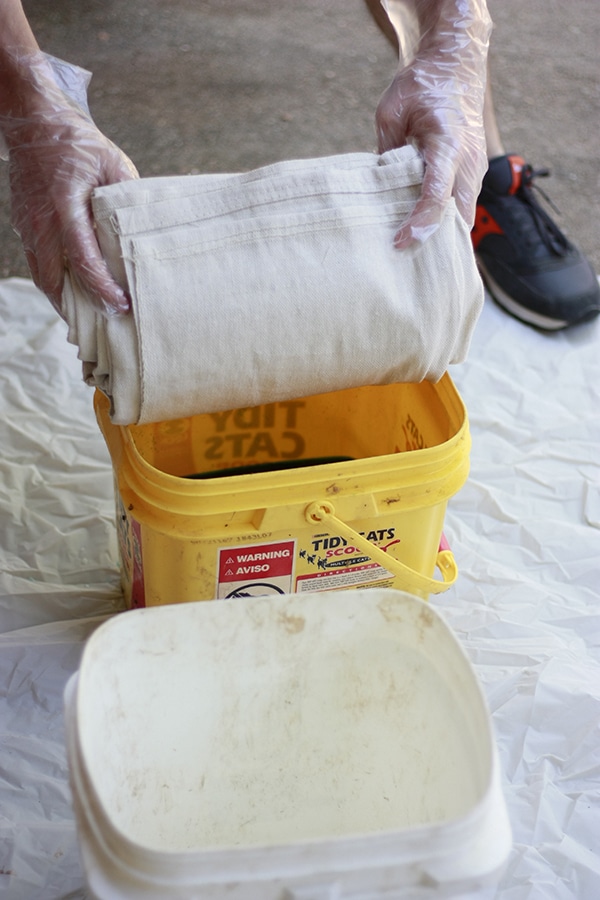
- Put out 2 buckets. The first will have your dye in it and the second is where you will move the dyed fabric.
- Using the guidelines on the fabric dye instructions, add hot water to your first bucket.
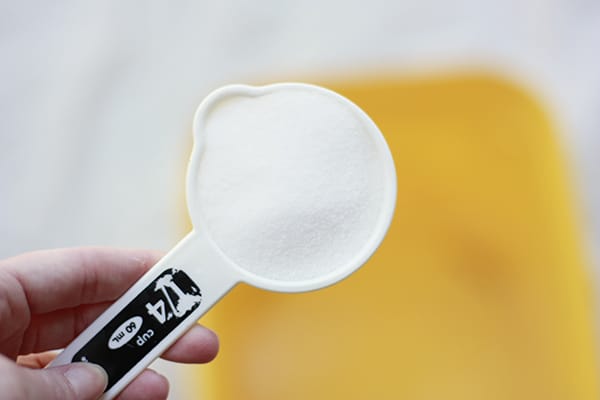
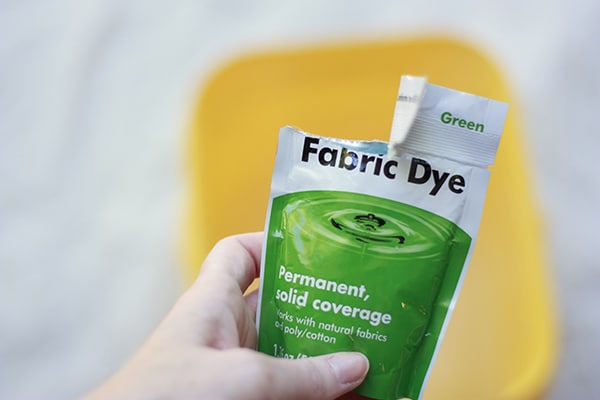
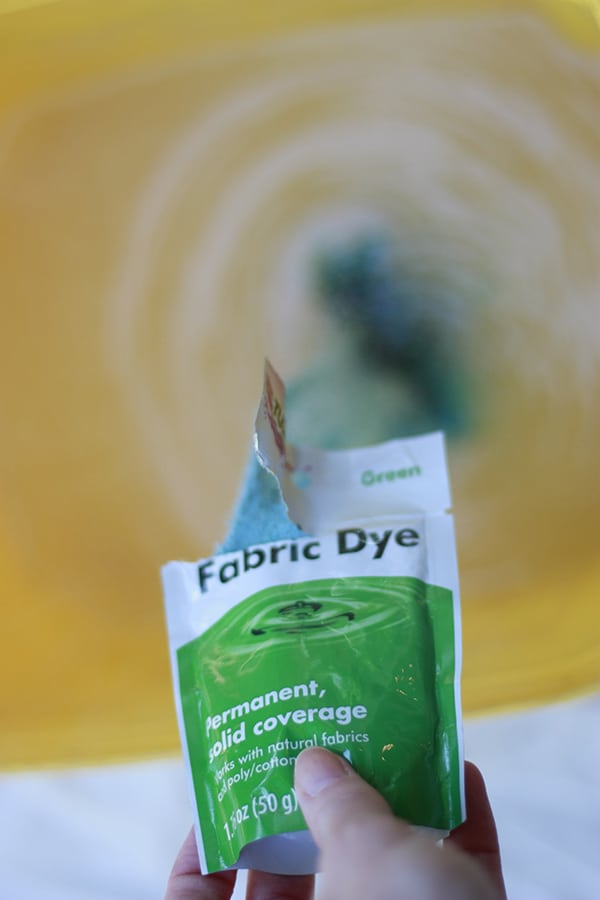
- Next, add the salt and the fabric dye. Mix thoroughly!
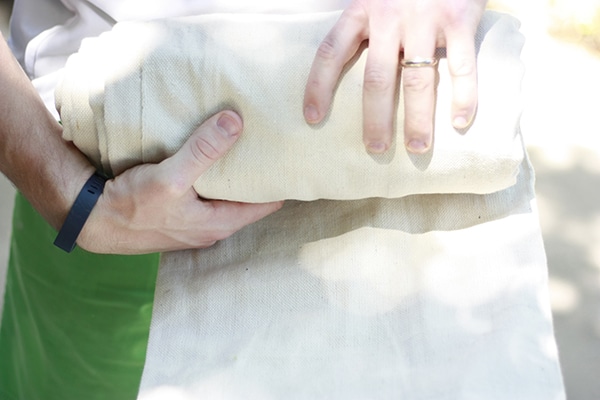
- Before adding the fabric to the water, we rolled it neatly so it would be easier to pull measured sections out every few minutes.
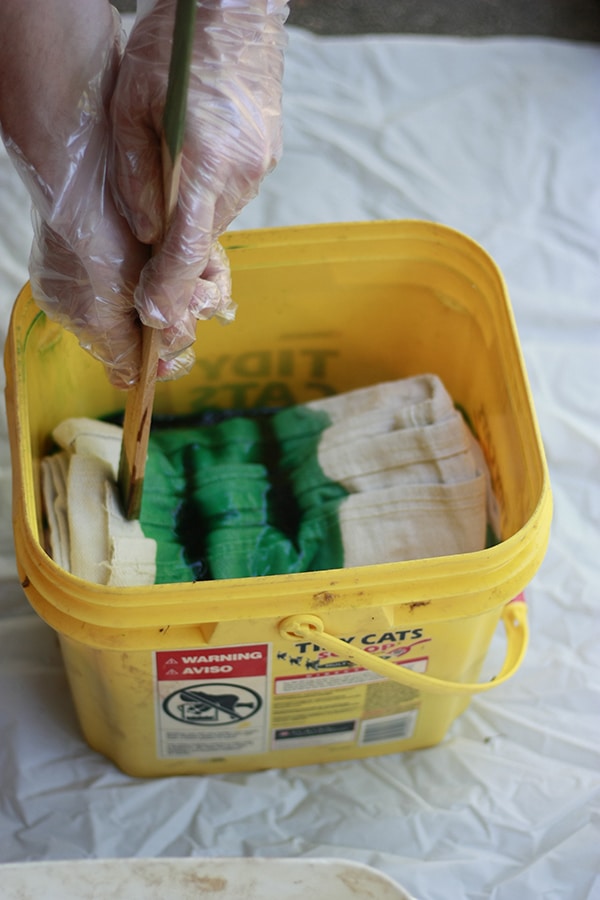
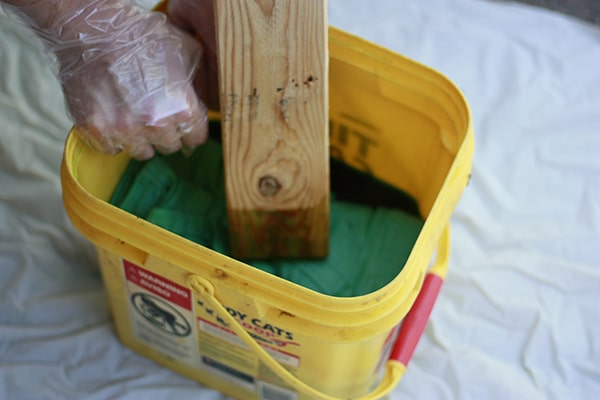
- The water is really hot! We used a stick and a piece of wood to push the fabric down into the water. This is the part we messed up – we added more water because we had too much fabric and we couldn’t get the fabric completely submerged. Less is better here!
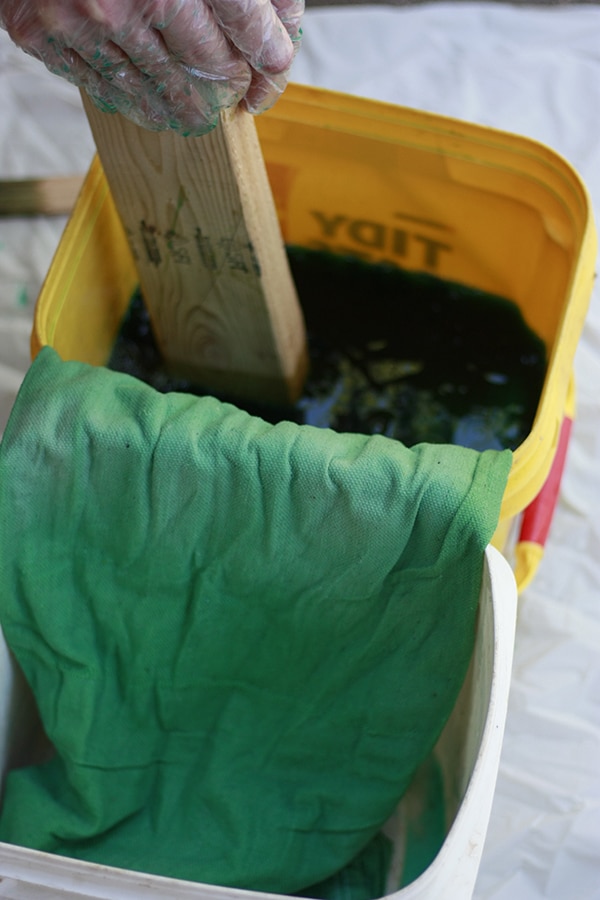
- Every 5-10 minutes pull a section of your fabric out of the fabric dye and put it into the 2nd bucket. We tried to wring the fabric out a bit as we went but it’s really hot! You also want to wear gloves when you’re touching the wet fabric. Unless green hands are yo thang.
- After 45 minutes or so, you are ready to rinse your fabric and run it through a wash cycle. Follow the directions on the dye package. Once it’s been washed and dried you are ready to hang your patio curtains! I used Drapery Curtain Rings with Clips so it was SUPER easy to hang. It will also be really easy to take the curtains down if they get dirty – they are outside after all!
These patio curtains are just one project in our huge undertaking of preparing our backyard for summer! We have a whole list of fun projects to get ready for outdoor dinners and movies on the lawn. The back patio was one of the reasons we really liked this house when we purchased it.
Next month, for the Ready, Set, Craft! Challenge I chose the challenge item PAPER! This is a very basic material that could be used in SO many ways! I can’t wait to see the projects created out of paper! Bring on the card stock! Link up your fabric dye project below and join us next month on the first Tuesday wit your paper craft! Be sure to follow the fun on INSTAGRAM as well! #ReadySetCraftChallenge


Ollie says
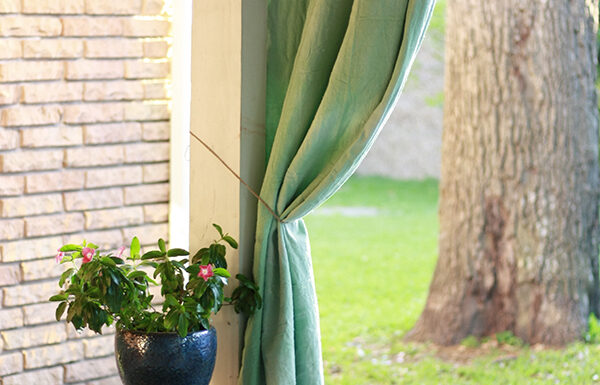
Tying off the curtain when not being used makes a big difference. I’d like to see if anyone successfully achieves ombre!
Michelle Heath says
You’re going to have such a beautiful outdoor space for summer. My only suggestion is that for ombre you need to keep your fabric vertical and let gravity be your friend. Letting the fabric sit on the lips of the bucket is pushing the dye to the left and right, giving you those lighter lines. Granted I really like how it gave it that effect and it goes well with the vibrant green yard!
Bonnie says
Great DIY blog! Everything I love doing! I’m actually redoing my patio right now as well! Using these tips for sure.
CorinneRConstable says
Love the simple idea of using canvas curtains for yard privacy. Do you have a photos of how you hung the curtains?
Amber Oliver says
Hey Corinne! I don’t have a photo on here, but if you send me your email address I can snap an iPhone pic for ya 🙂
Terry Knoll says
Please send same to me! Thanks.
Barbara Chapman ~ French Ethereal says
Super cute curtains, Amber!
I’m coming over from Debra’s dropcloth roundup at Shoppeno5 from Friday. I saw your super cute tie dyed curtain project there ~ sooo excited to try this now! I haven’t done any tie dying yet, but am just about to start trying stenciling on dropcloth. Happily pinned your curtains out on my DIY Projects and Dropcloth Projects boards!
Have a great rest of your weekend,
Barb 🙂
Amber Oliver says
Thanks, Barb!!
Roxanne Hunter says
Very creative… may I see how you hung the curtain rod
Amber Oliver says
Emailed you a photo!
Carolyn says
I, too, would like to see how you attached the curtain rod and the curtains ON the rod. I imagine they are very heavy. I love your idea!
Amber Oliver says
Just emailed you 🙂
Tammy Thompson says
Would you please share your mounting method with me as well?
Thank you in advance,
Amber Oliver says
Hi Tammy! Sorry for the delay! Here’s a photo: https://amber-oliver.com/wp-content/uploads/2018/06/MG_9752-1.jpg