Last updated September 16th, 2019 at 05:38 pm
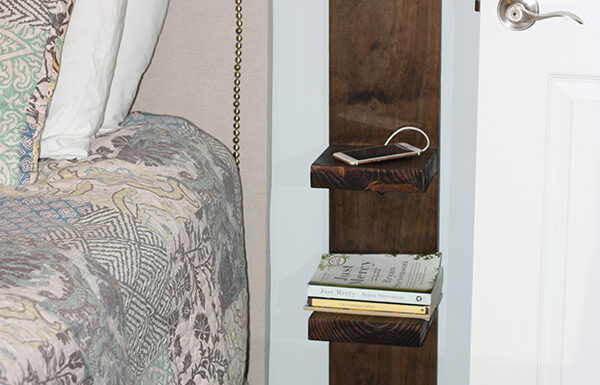
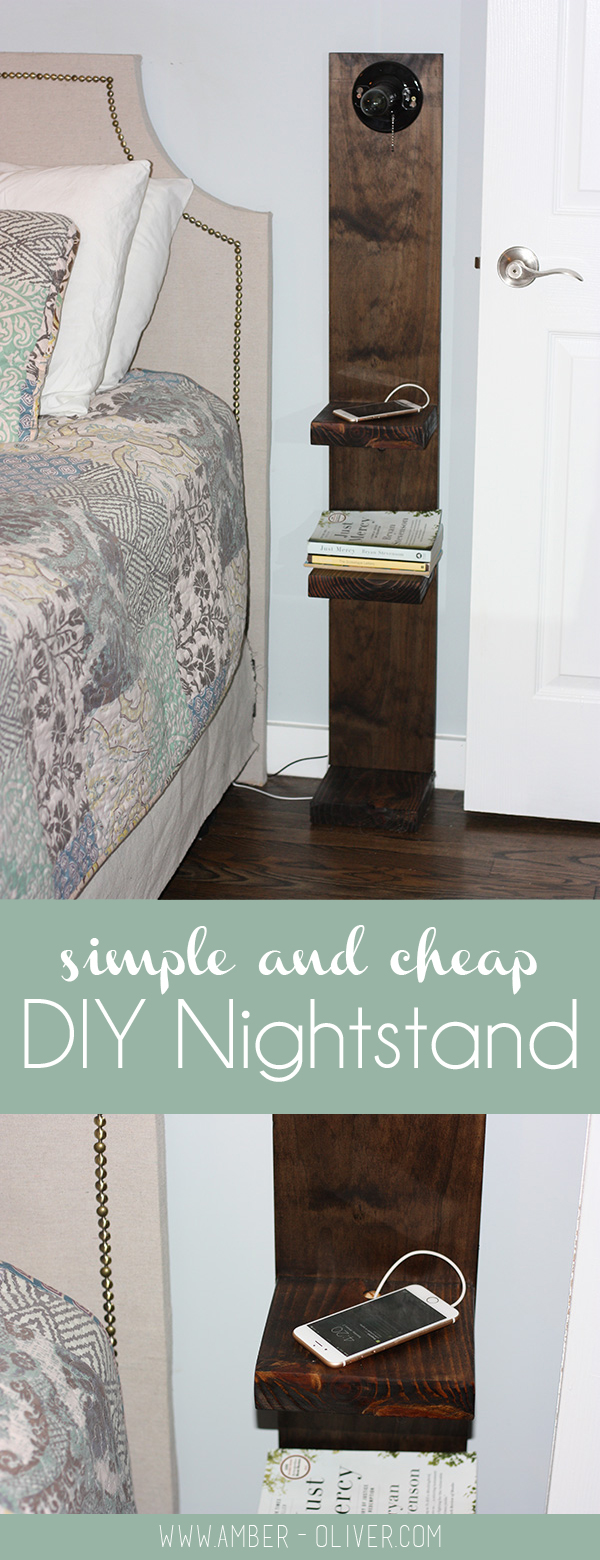
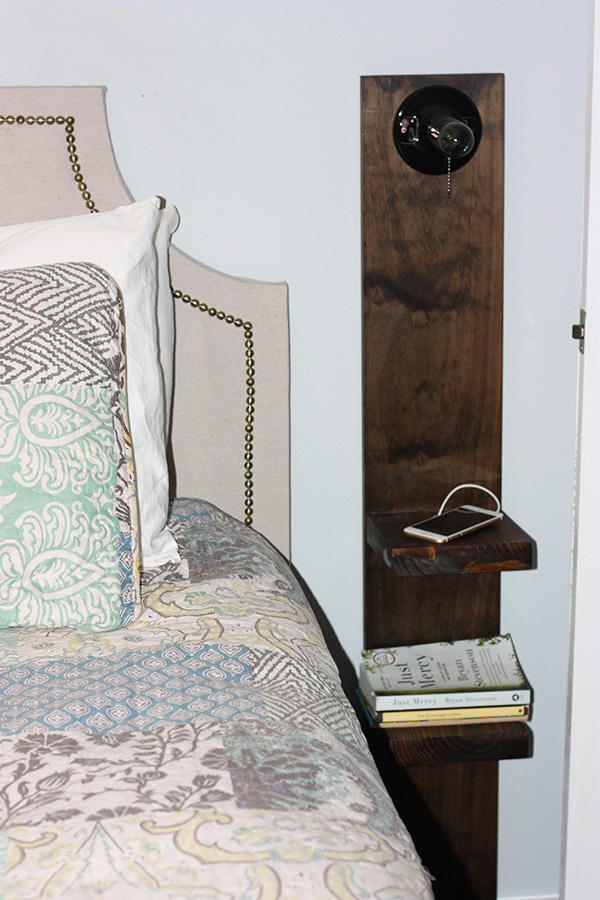
What do you do when you need a nightstand but can’t seem to find the right one? You make one! We needed something for the teeny tiny space between the door and the bed in our master bedroom and couldn’t find a table that would fit there. I came home one day and Eric was making his own DIY Nightstand. Figuring out the design took the longest; the actual building can be done in about an hour. Add in the time to sand, stain, and attach hardware and you can still have a new DIY nightstand in one afternoon. Perfect for those hard to fill spaces.
DIY Nightstand
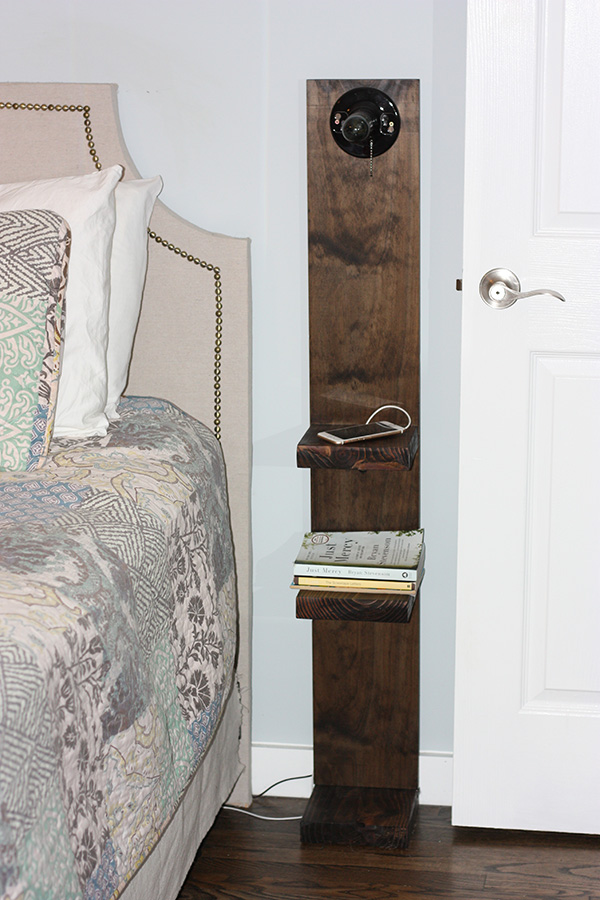
What do you do when you need a nightstand but can't seem to find the right one? You make one! Make your own DIY Nightstand in one afternoon.
Materials
Tools
Instructions
- Spray paint the light base first to give it time to dry.
- Measure your space. We cut the back board to be the same height as our headboard. At 50 inches tall this was the perfect height for the light next to the bed. You should only need one cut on this board.
- After you've cut the back board, cut the top 2 shelves. Ours are 7 inch squares. We screwed the top 2 shelves straight in from the back, but attached the bottom with recessed screws using the Kreg Jig.
- The bottom shelf is your anchor. It will be cut to 7 in. x 7 3/4 in. and the back piece sits on top of it. Using the Kreg Jig, create your pocket holes vertically so the back board is attached into the bottom shelf/base board.
- The nightstand is now assembled! Give it a good sanding and stain it to the desired color. Let dry thoroughly.
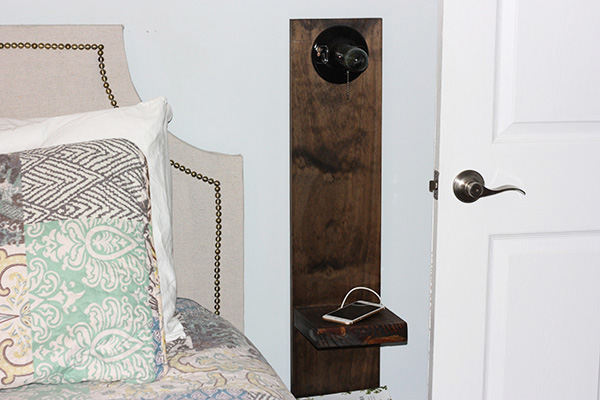
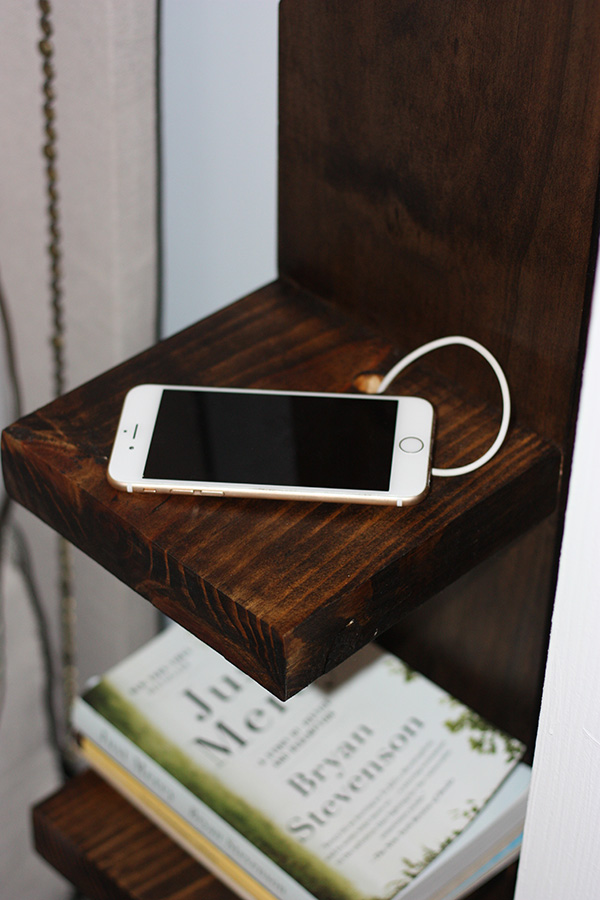
- Now it is time to drill five holes. Drill a hole about three inches from the top of the back board for the light fixture. This allows the power cord to run up the back side of the nightstand - hidden from plain sight. Drill one hole in each of the two shelves about one inch away from the backboard. The last two holes are drilled under the shelves, through the backboard. These holes allow for phone charging chords to conveniently pop out of the wood right where they are most handy.
- To assemble the light: feed the cord through the light fixture (hopefully your paint is dry now!) then attach the fixture to the back board with the included screws.
- Lastly, screw in your light bulb and plug it in!

Amber Ryan says
I love this!! Its so functional and trendy!
Cory says
This is a fantastic esthetic! I’m worried about stability, though. Have you had any tip overs on your hardwood floors? Have you tried it in a carpeted room? I’d love to build one for a carpeted room, but wanted to ask about general stability first 🙂 Thanks, Amber!
Amber Oliver says
Hey Cory! We haven’t had any issues with the nightstand on our hardwood floors. Definitely use wall fasteners to be safe. IKEA has a lot of options 🙂