Last updated August 29th, 2022 at 06:47 pm
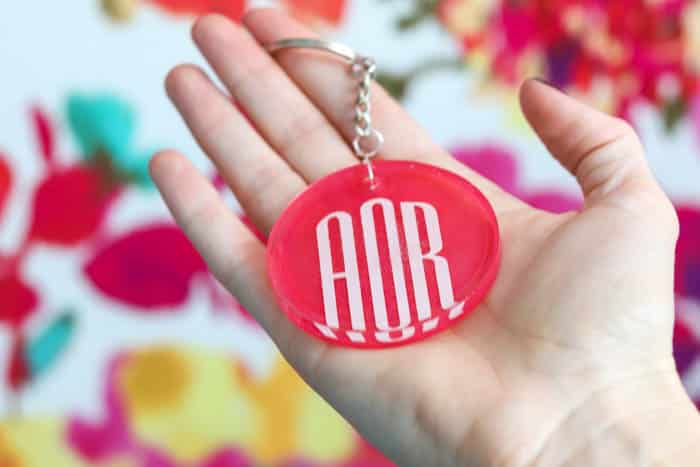
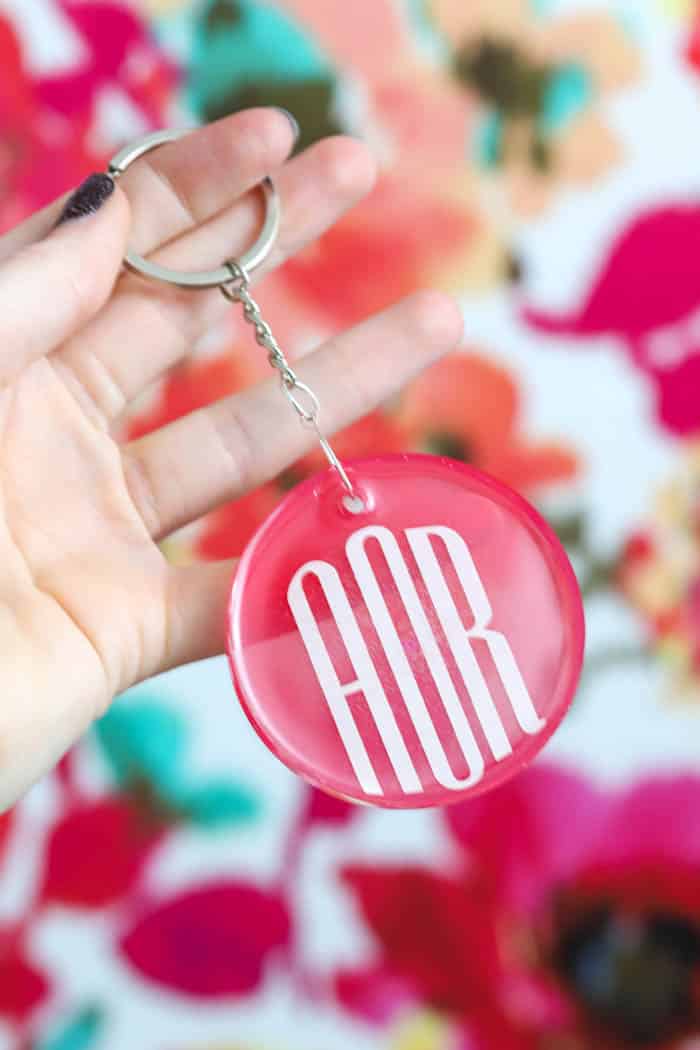
Create a DIY monogram resin keychain using two layers of EasyCast Clear Casting Epoxy, paint, and a vinyl cutout. This project is sponsored by ETI.
Resin has quickly become one of my favorite types of craft projects but my number one type of craft projects are my Cricut projects. I love creating with paper and vinyl and wondered if there was a way to bring the two types of projects together. I’ve seen adorable resin keychains for sale but wanted to make my own!
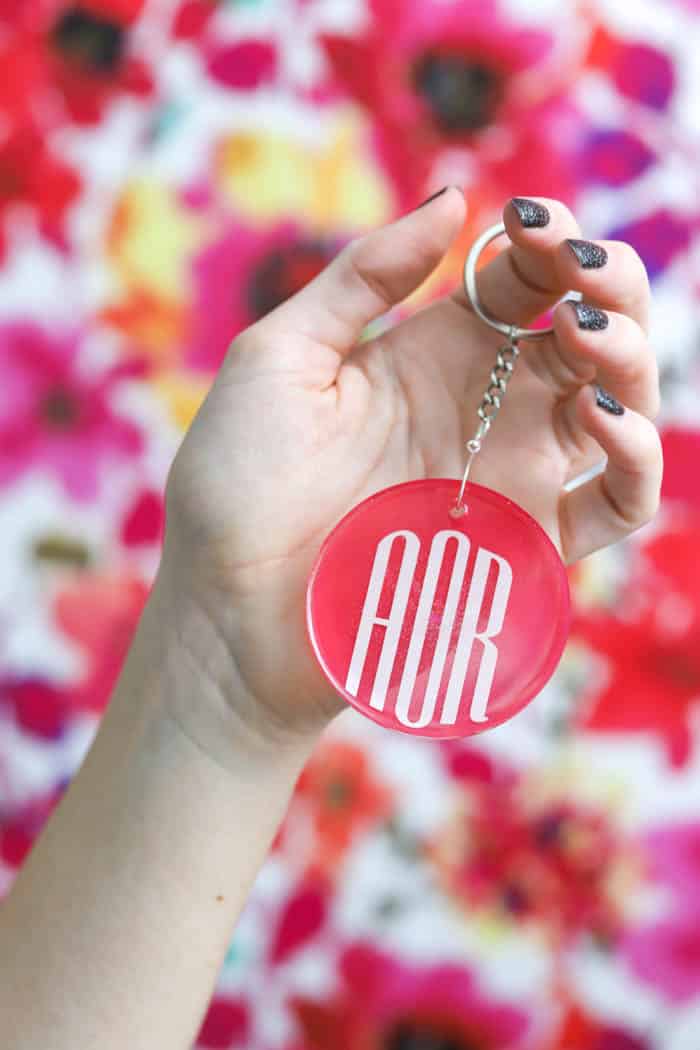
For this project, I used my Cricut machine (I love the Cricut Maker and the Cricut Joy!) to cut my monogram out of vinyl and added it between two layers of EasyCast Clear Casting Epoxy. I mixed the first layer of resin with a few drops of acrylic paint so that the vinyl cut outs would really pop. Putting the clear resin on top seals in your vinyl and finishes off your monogram resin key ring!
Love resin crafts? Be sure to check out our resin archives!
Resin Monogram Keychain
Materials
- EasyCast Clear Casting Epoxy Resin
- Keychain Mold
- Vinyl Cutout or sticker
- Acrylic Paint
- Mixing Cups (Measuring cups)
- Stir Sticks or Popsicle Stick
- Gloves
Instructions
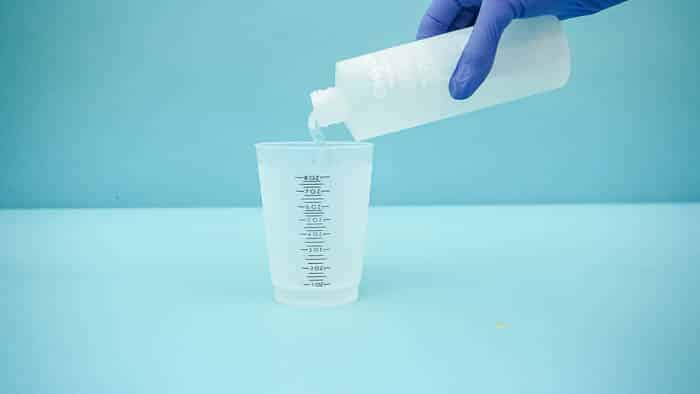
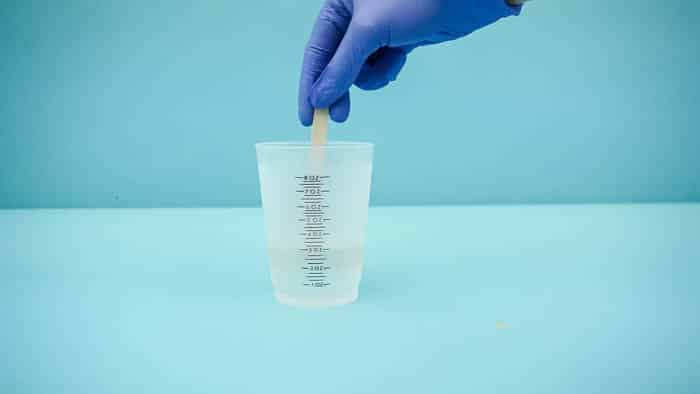
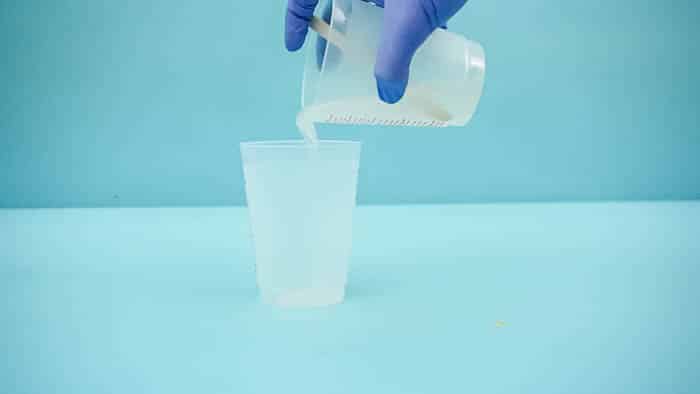
- First, prepare the epoxy resin for your key chains. This is a multi-step process so don’t start mixing until you are ready to do the whole process from beginning to end! Clear your work area (I like to work on a silicone mat) and always wear protective gear like gloves. Start by mixing EQUAL parts of resin and the hardener.
Start by mixing EQUAL parts of the Hardener and the Resin
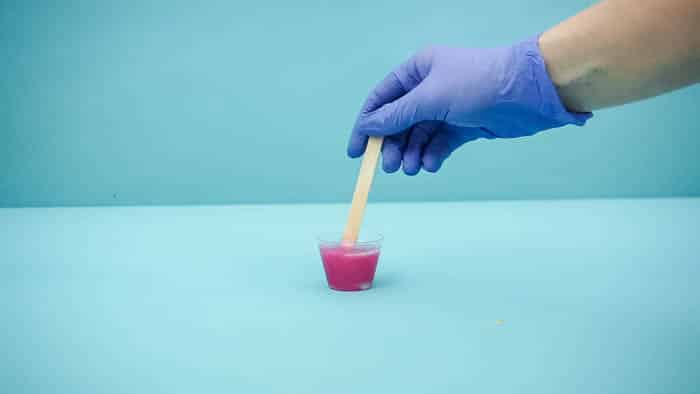
Stir for two minutes (be sure to scrape the bottoms and sides) then pour from the first mixing cup into a second and mix with a new stir stick for another minute. - Once your mixture is ready, add in a few drops of acrylic paint and mix thoroughly. You can also color your resin with: mica powder or alcohol inks.
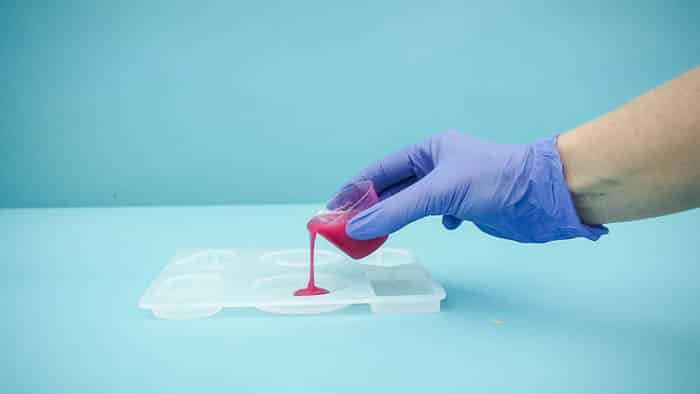
- When the color is ready, pour gently into your keychain mold. Only fill the mold halfway full.
- You want to work in thin layers. Let the first layer set overnight.
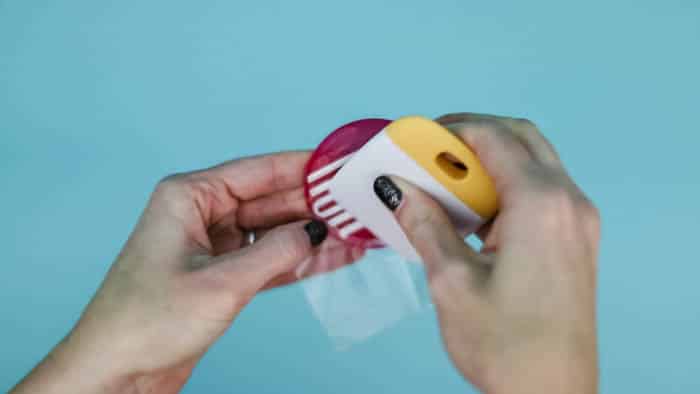
- Cut your monogram from vinyl and weed the design (remove the excess material). There are tons of different designs and free cut files out there - do whatever you'd like for your adorable keychains!
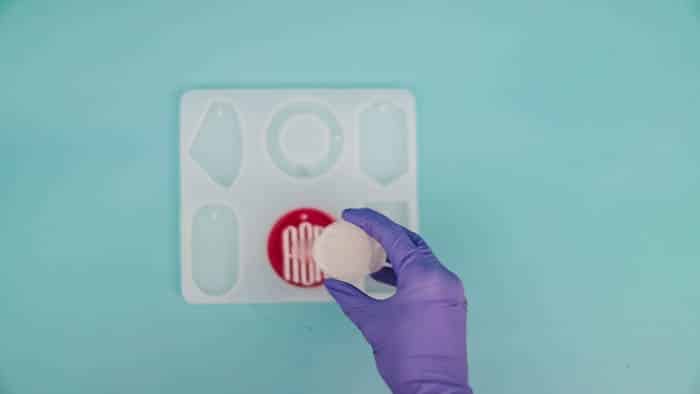
- Add the monogram onto the first layer of resin with a piece of transfer tape.
- For the next step, mix up a batch of resin and pour over your design.
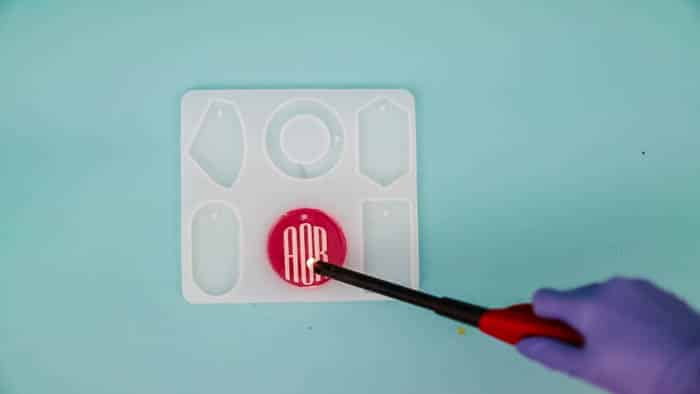
- You can use a lighter or heat gun to remove any air bubbles that rise to the surface. (My clear layer had a ton of bubbles - I think our house was a little to chilly when I mixed up the resin!) Pro Tip: try warming your resin before working with it!
For this project, I poured resin over the vinyl design instead of putting the vinyl on top of the resin. This will help it last a lot longer. I’m also using traditional two part epoxy – but you could use UV resin and UV light.
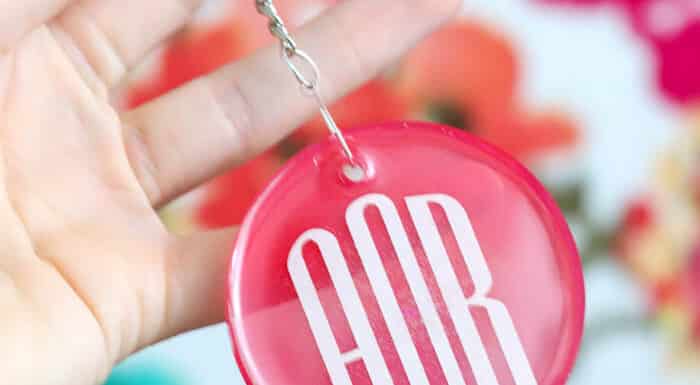
After enough time has passed for the resin to cure, you can remove the resin keychain from the mold! You may have to sand down any sharp edges or even it out. This sometimes happens if it’s not on a level surface. Once your resin keychain is out of the mold, you can add the hardware onto it. Instead of using an eye screw, I made a hole with a small drill bit and used a jump ring to connect and make my own keychain. These come in jewelry kit or you can buy keychain kits.
When it’s ready, you can add it to your keychain and carry it with you everyday! Remember, resin cure time depends on the climate where you live. Instead of a monogram you could print any words you like – maybe even making separate resin keychains for different sets of keys. Use this as a creative way to identify your keys! It would also be a great gift!

Gemma says
I’m obsessed with monograms but buying anything monogrammed can be so expensive. This keychain is so cute, and they’d make such lovely gifts too xx