Last updated August 8th, 2022 at 03:01 pm
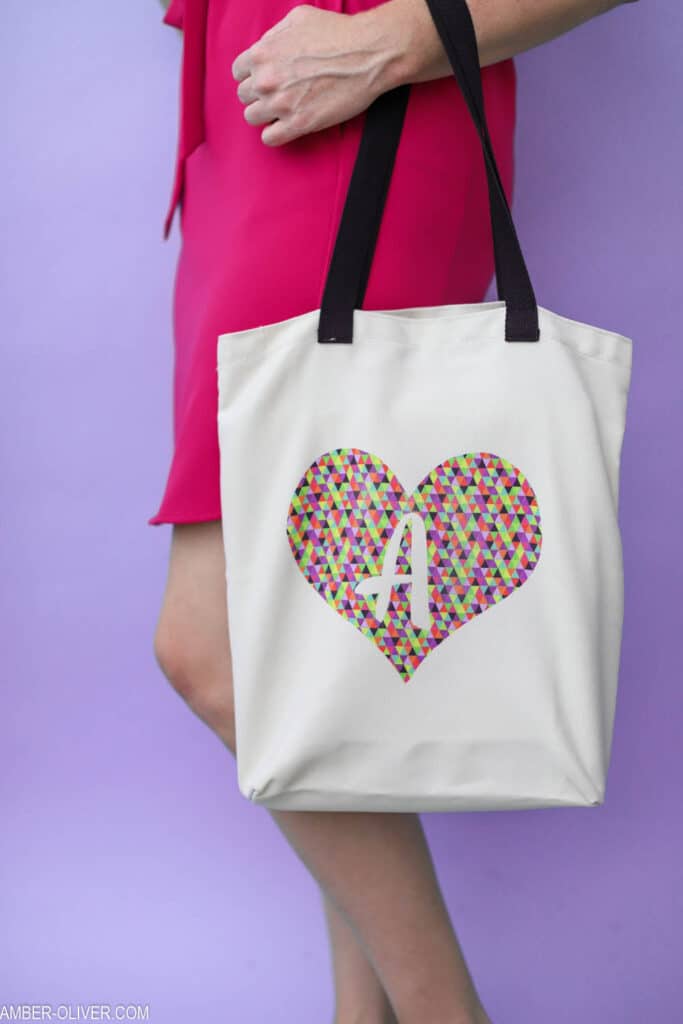
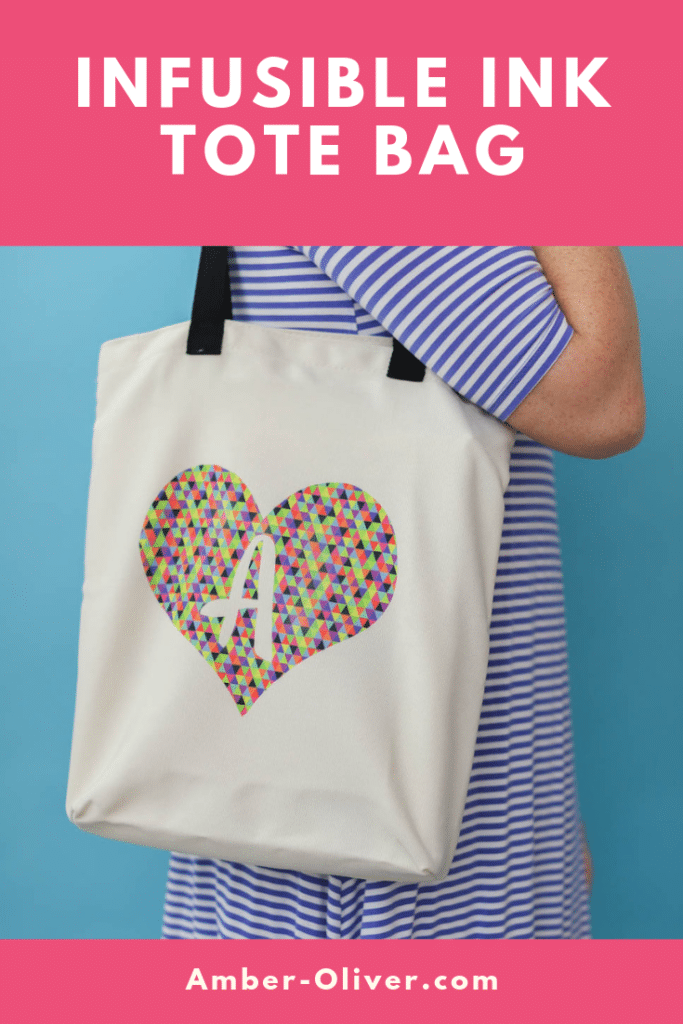
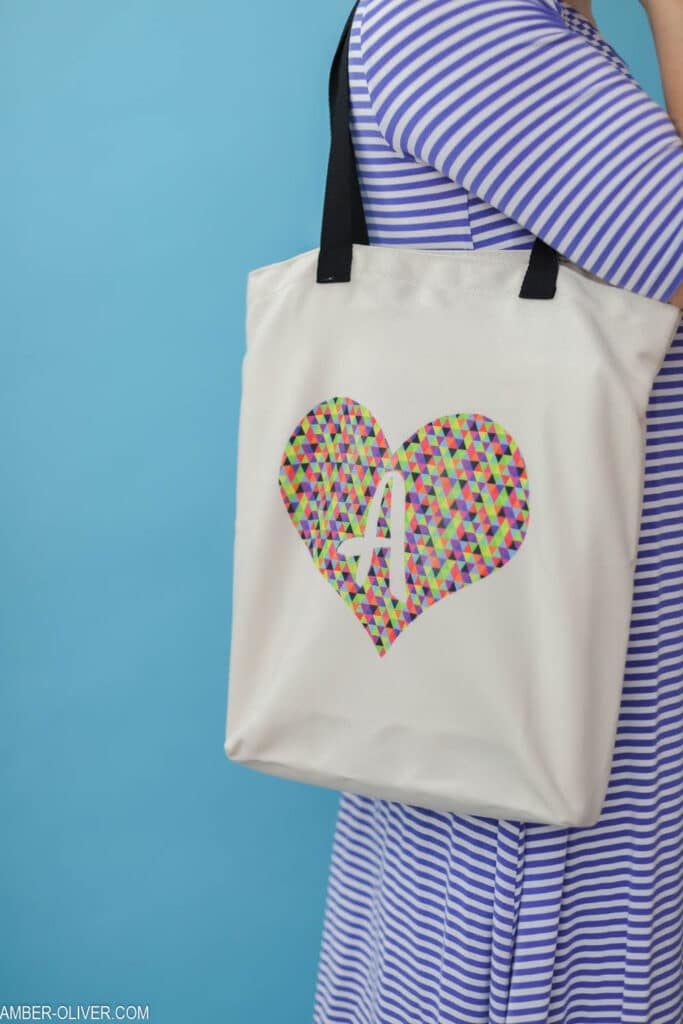
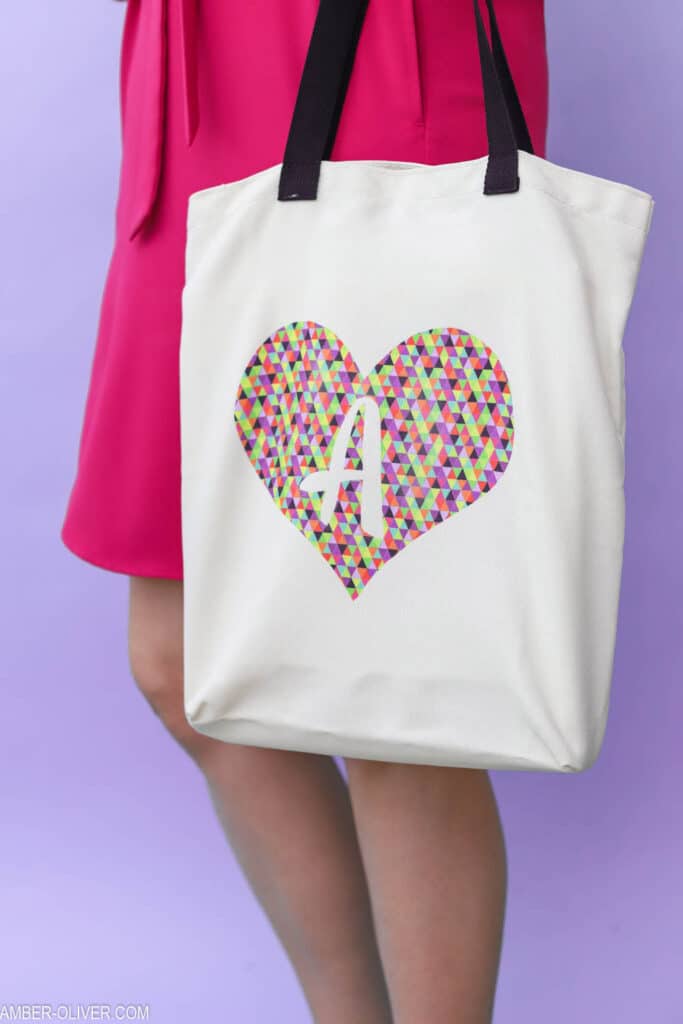
Learn how to use Cricut Infusible Ink to create a custom tote. This project is sponsored by JOANN.
Don’t you hate when you’re browsing Pinterest or scrolling through your Instagram feed and see a cool project you want to re-create but soon realize you don’t have the right tools? I absolutely love my Cricut machines (Cricut Explore Air 2 and the Cricut Maker) but I know not everyone has one. So when Cricut launched their new line of Cricut Infusible Ink at JOANN, I wanted to share a fun tutorial on how to use Cricut Infusible Ink WITHOUT an electronic cutting machine! That’s right, you won’t need a Cricut machine to complete this project!
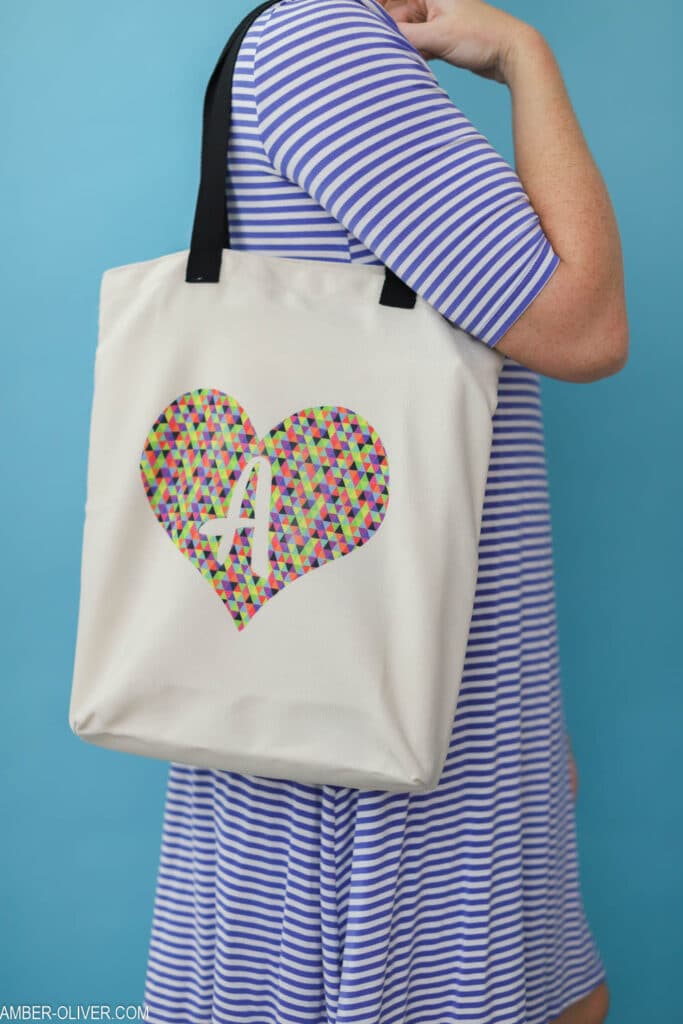
How to Use Cricut Infusible Ink
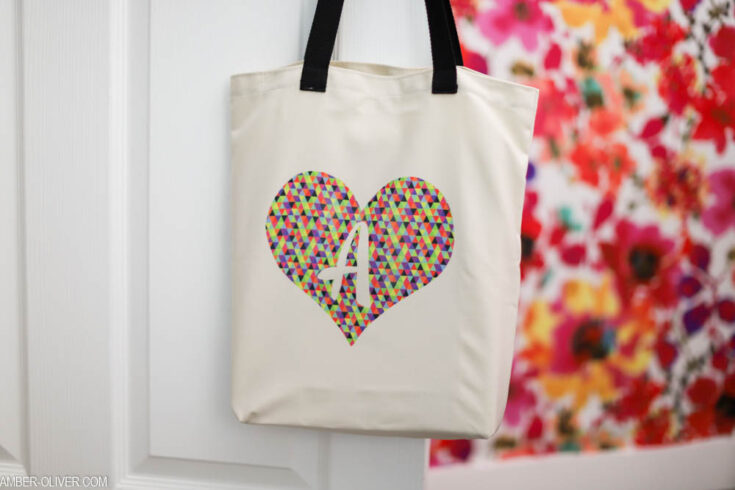
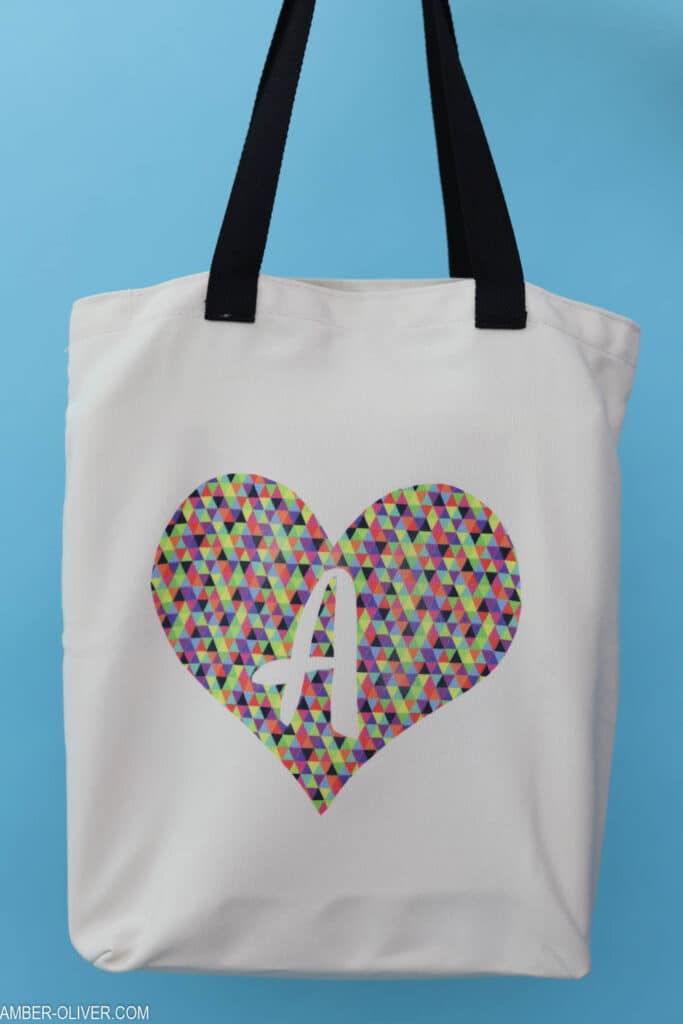
Learn how to use Cricut Infusible Ink to create a monogram tote bag. You do NOT need a Cricut machine for this project! You can use Cricut Infusible Ink without a cutting machine.
Tools
- X-acto knife
- Easypress (or Iron)
Instructions
- Start by printing your design. You can download a "letter heart" like mine below.
- Use an x-acto knife and scissors to cut out your design from paper.
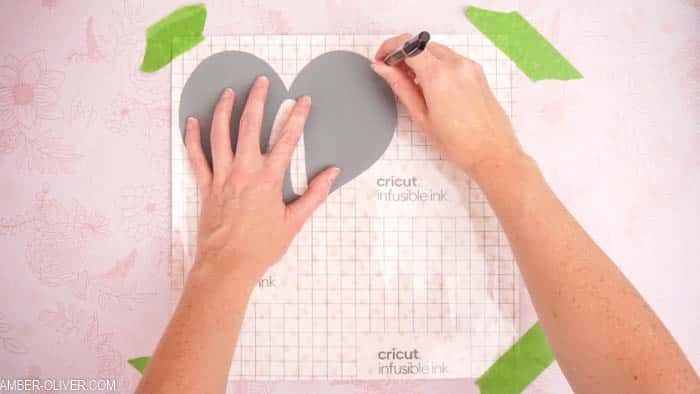
- Use your paper design to trace onto your Infusible Ink transfer sheet. (Make sure you trace onto the shiny side with the clear liner - not the patterned side.)
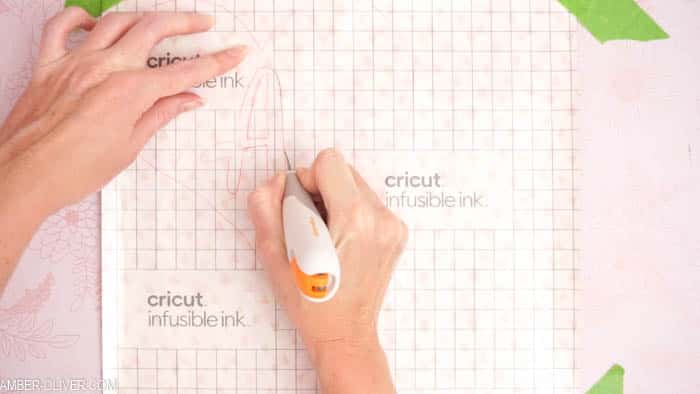
- Use an x-acto knife and scissors to cut out your design the Infusible Ink transfer sheet.
- Preheat your Cricut EasyPress to 385°F.
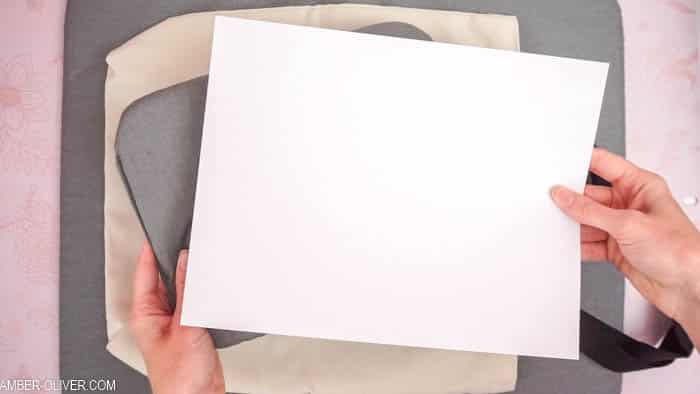
- Place the Easypress mat INSIDE the tote bag and place a thick piece of cardstock on top of it. (The cardstock will protect the mat from ink transfer.)
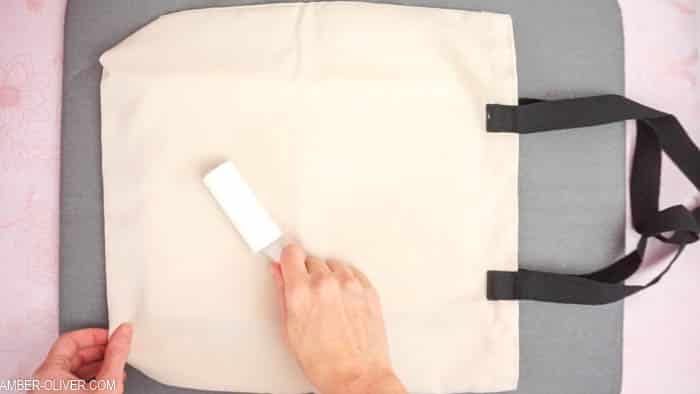
- Use a lint roller on the tote where your design will go. This is super important and will ensure success of your transfer!
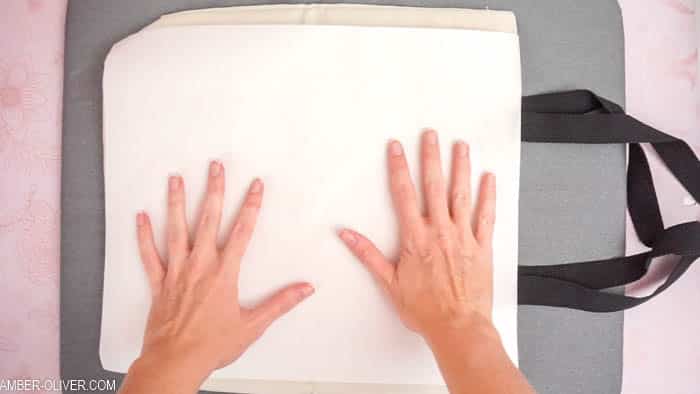
- Next, cover the tote with the provided butcher paper and apply the Easypress for 15 seconds to prepare the surface for your design! Let the bag cool after you remove the paper.
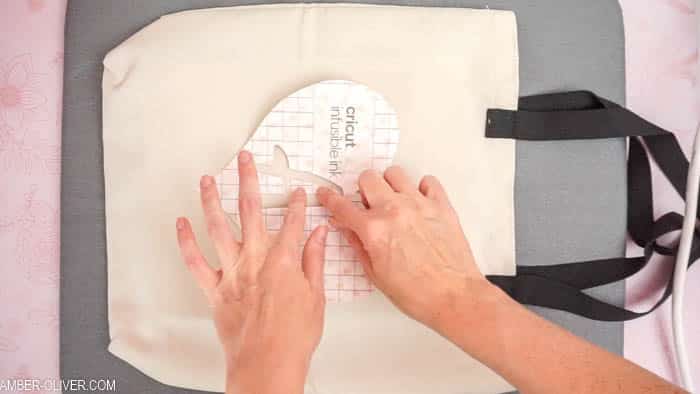
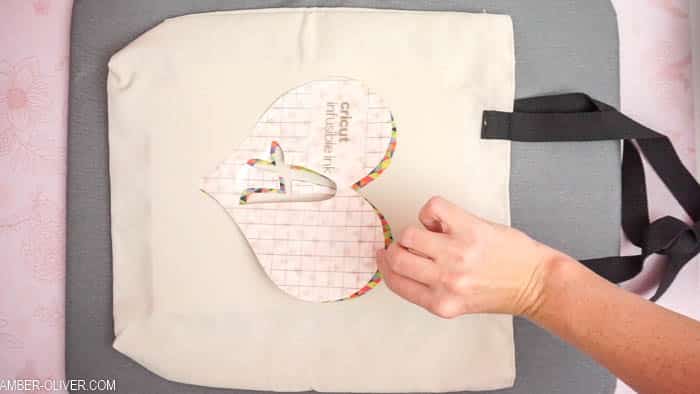
- Arrange your design on the tote bag shiny, clear liner side up. Be sure you place the center pieces (like the middle of the A) if you have any.
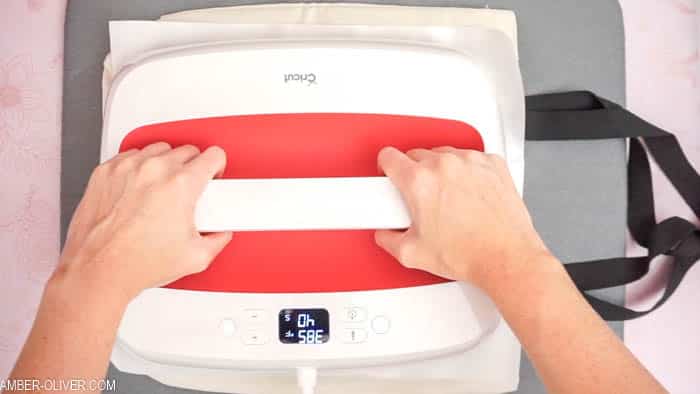
- Carefully place butcher over your design, and press for 40 seconds.
- Once the time is up, allow to cool then carefully remove the butcher paper and the clear liner.
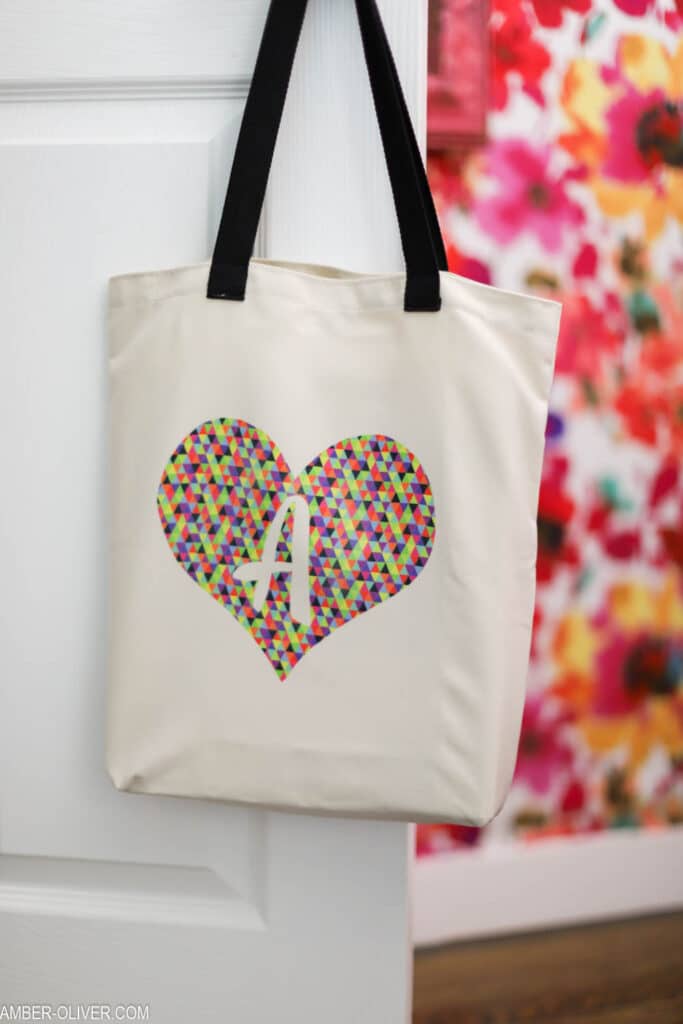
While I didn’t use my Explore Air 2 or Maker for this project, I DID use my Cricut Easypress. This machine was one of the best investments you can make in your creative tools because the large plates heat evenly and you can get the precise temperature you need. That being said, you CAN do this project with a household iron, just know that results may vary.
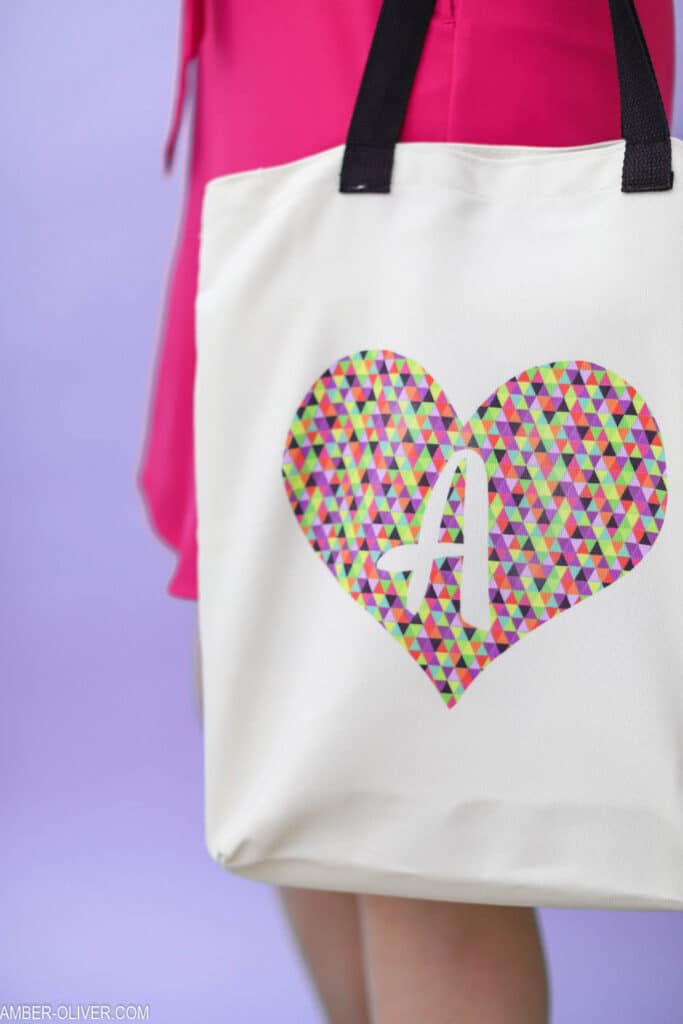
Cricut Infusible Ink is seriously next level heat transfer. Instead of adhering to the surface of your project like iron on vinyl does, Infusible Ink actually becomes one with the material! This means you won’t have to worry about peel, cracking, or wrinkling.
A few notes on how to use Cricut Infusible Ink
- Whereas iron on vinyl can be applied to almost any surface, Infusible Ink requires a compatible base.
- You can use iron on with any color surface, but Infusible ink MUST be used on a white or light colored surface.
- Infusible ink can be used with any Cricut machine and as I’ve shown you in this project – WITHOUT a machine at all!
- Before working with the Infusible Ink, I recommend UNROLLING it and letting it flatten first!
- Don’t skip any of the steps in the instructions! The cardstock is important to prevent color transfer and the lint roller will keep your design from having imperfections!
I hope this project inspires you to try Cricut Infusible Ink, now available at JOANN! For my next project, I’m excited to try the Infusible Ink PENS!
Don’t forget to PIN for later!


Leave a Reply