
Last updated August 8th, 2022 at 03:02 pm
This is a sponsored conversation written by me on behalf of Cricut. The opinions and text are all mine.
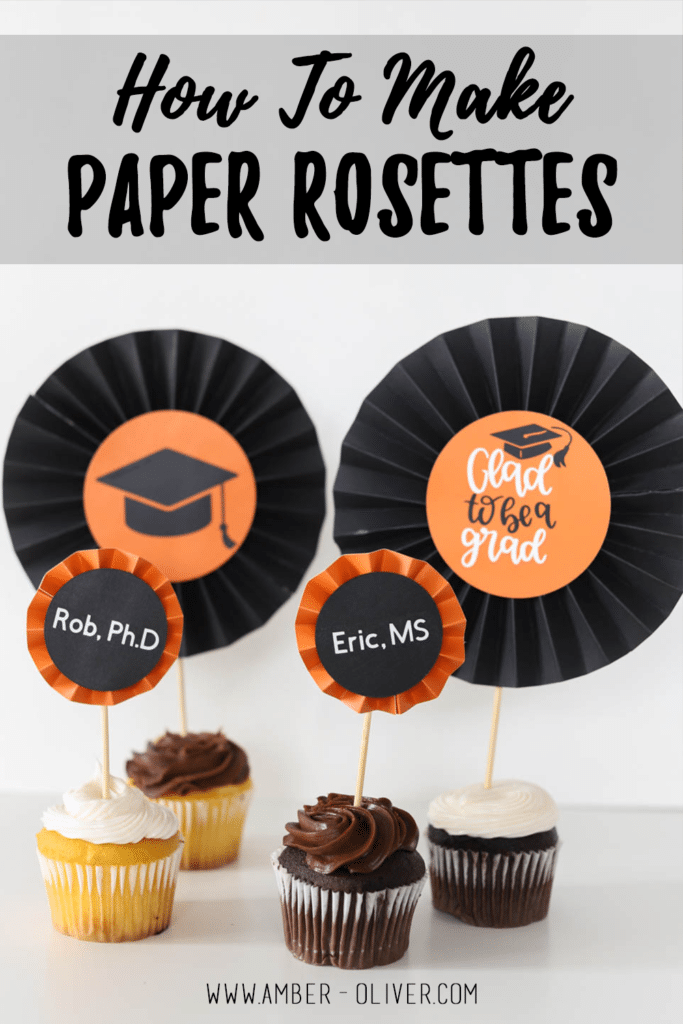
Learn how to make paper rosettes quickly and easily with the Cricut Maker and the Cricut Scoring Wheel.
There’s always something to celebrate – from birthdays and anniversaries to weddings, baby showers, and everything in between! Life is full of reasons to celebrate and I believe in going the extra mile to make sure every single one of these milestones gets recognition. Not everyone likes a big fuss, but everyone deserves to have their achievements highlighted! My husband is one of those folks, but he’s someone I’m proud of everyday! With his upcoming graduation from graduate school, I wanted to create some super cute DIY cupcake toppers to celebrate his achievements. As a little extra icing on the cupcake, our brother in law is also graduating (he gets an extra large cupcake for his Ph.D!)

How To Make Paper Rosettes

Learn how to make paper rosettes quickly and easily with the Cricut Maker and the Cricut Scoring Wheel.
Materials
- Cardstock (2 colors)
- Everyday Vinyl (2 colors)
- Hot Glue Gun
- Wooden Stick or Skewer
Instructions
- Open this file in Cricut Design Space and select "Customize". This project uses the following files from Cricut Access: Citrus Rosette(#M54B7EEC), Glad to be a grad(#M9AE54B3), Graduation Cap Icon(#MA0023F2), and Font (Cricut Sans).
- Select the text layers and add your own text.
- Select "Make It"
- Design Space will separate the project onto 4 different mats: white is VINYL, gray is VINYL, black is CARDSTOCK, and orange is CARDSTOCK. Remember you can change the colors in the color sync section of the layers panel on the project.
- After cutting the vinyl, you'll need to load your Cricut Scoring Wheel on the 3rd mat - this will give you perfectly scored lines so you can easily fold your paper rosettes.

- Follow the machine prompts and reload the cutting blade when prompted.
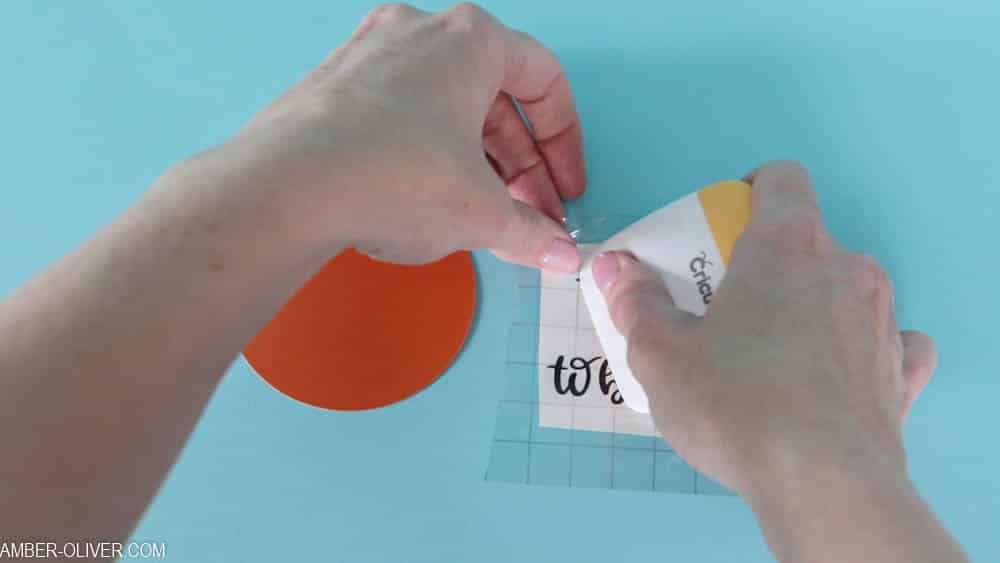
- After everything is cut and your vinyl is weeded, add the text and images to the cardstock circles.

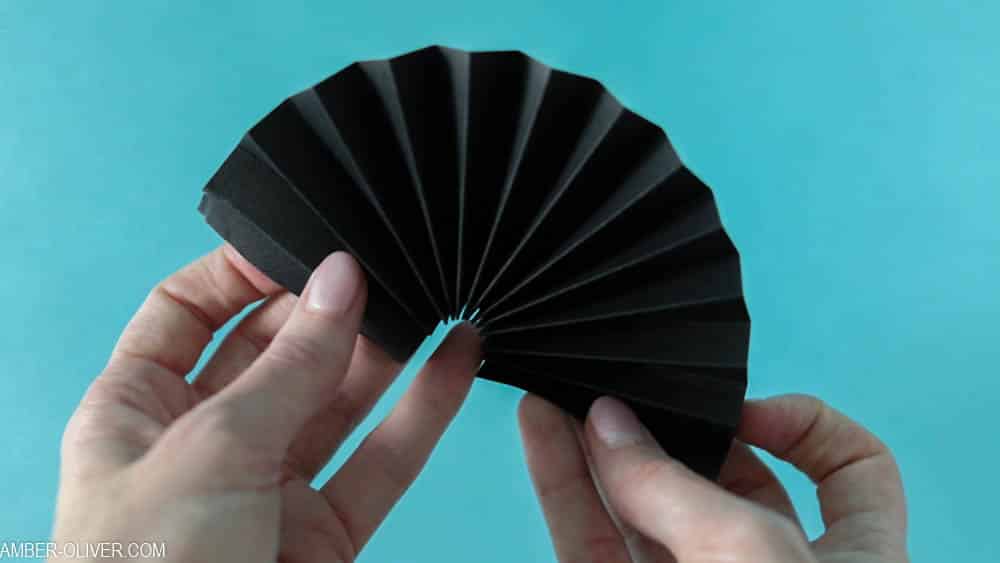
- Use the scored lines to fold your paper rosettes. The larger ones use two pieces. Use hot glue to glue the ends together then flatten.
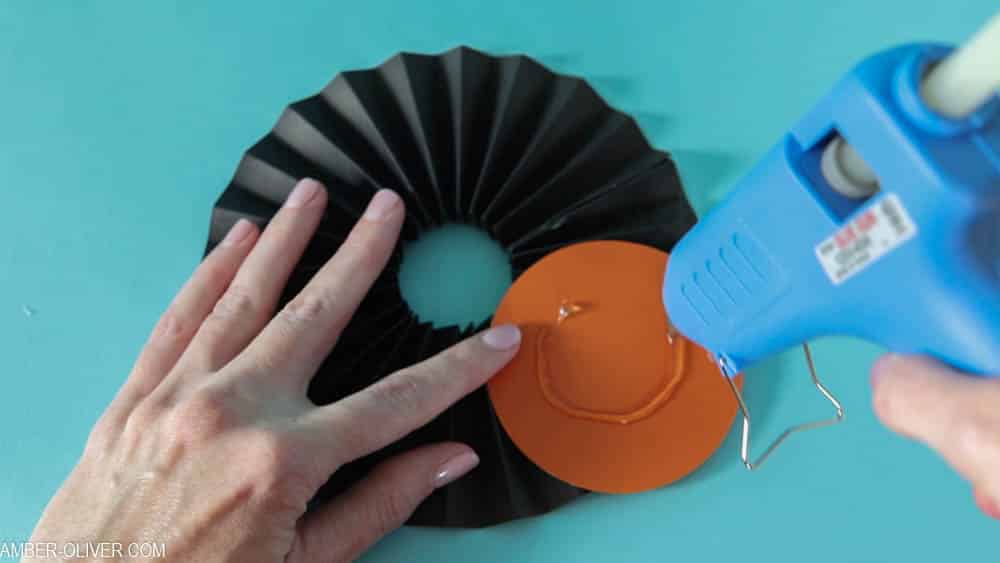
- After the paper rosette is created, glue the circle onto the front.
- Lastly, glue a wooden stick onto the back of each rosette so you can easily insert your DIY cupcake toppers!
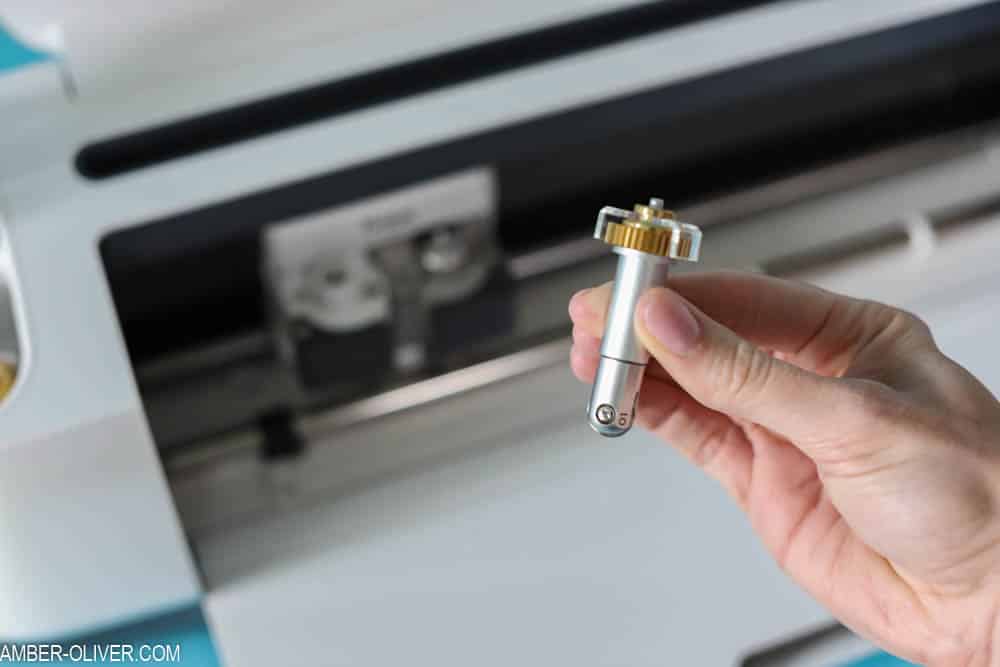
The Cricut Scoring Wheel makes creating these paper rosettes a breeze. The scoring wheel creates extra-deep score lines and a flawless finish so you can make perfect, effortless folds. The Cricut Scoring Wheel is only compatible with the Cricut Maker and is 10x more pressure than the Scoring Stylus!

Paper rosettes are a simple way to bring your cakes and cupcakes to the next level. No one needs to know they were store bought 😉 The Cricut Maker makes it easy to personalize your creations and make even the simplest celebrations, a bit more special!
Don’t forget to PIN for later!
Michelle says
These are so cute!