Last updated November 9th, 2019 at 03:27 pm
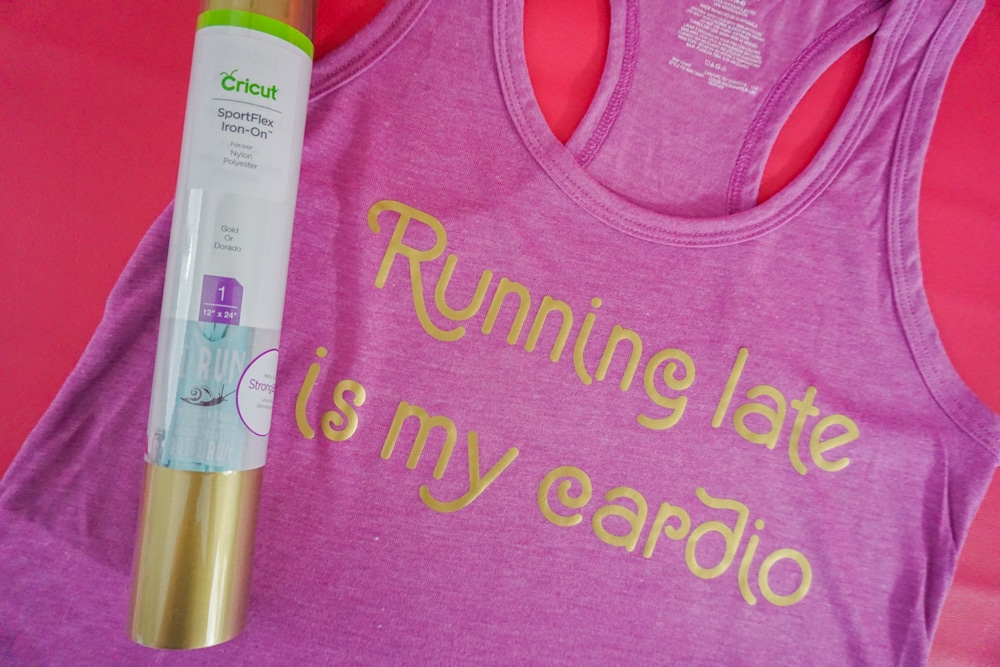
Customizing a DIY workout tank is easy thanks to Cricut SportFlex Iron On™ vinyl! This is a sponsored conversation written by me on behalf of Cricut. The opinions and text are all mine.
We’re reaching the end of quarter one for 2018… how are those New Year’s Resolutions coming along!? Was “exercise more” one of your goals for the year? I think this one tops my list every year!
Having exercise as part of your daily routine has immediate and long-term health benefits and will also improve your quality of life – but some days getting to the gym just isn’t possible. In the past, I would feel guilty about that, but lately I reshaped my thinking.
If I don’t make my yoga class, but I do get in some yard work that day – well that was my workout! I still do my best to get to the gym a few times each week, but some days: “Running Late Is My Cardio”!
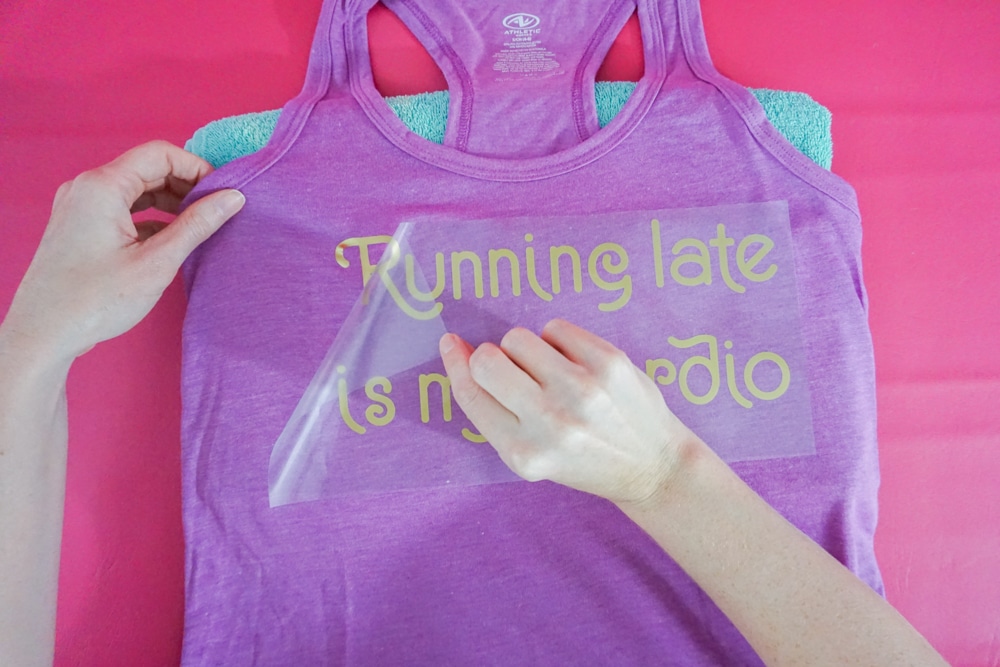
Create a custom DIY workout tank you can wear to the gym OR on one of those “wearing my workout clothes on a Target run!” days!
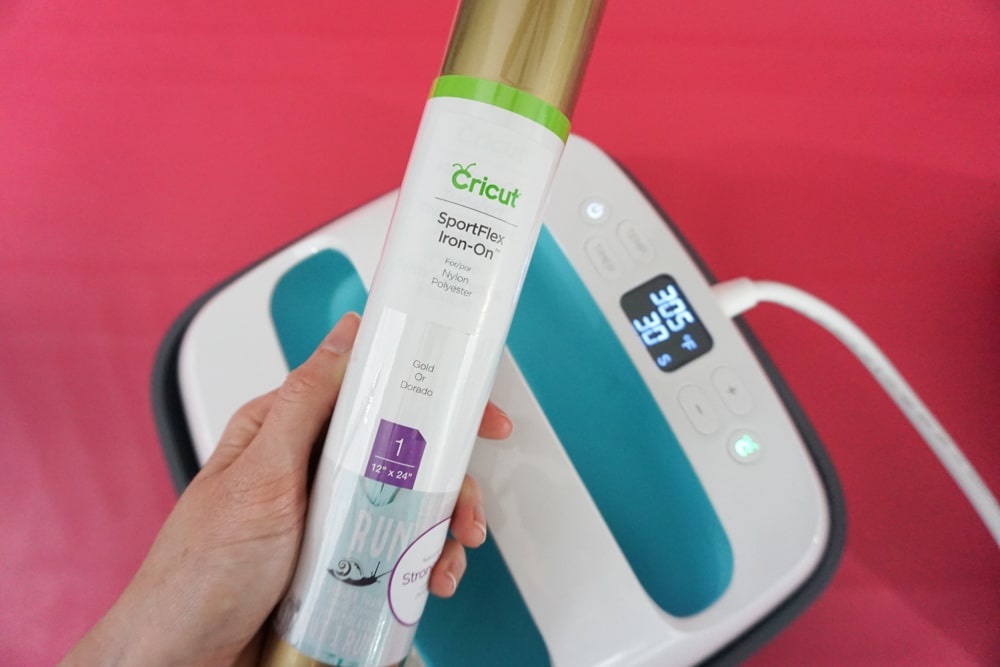
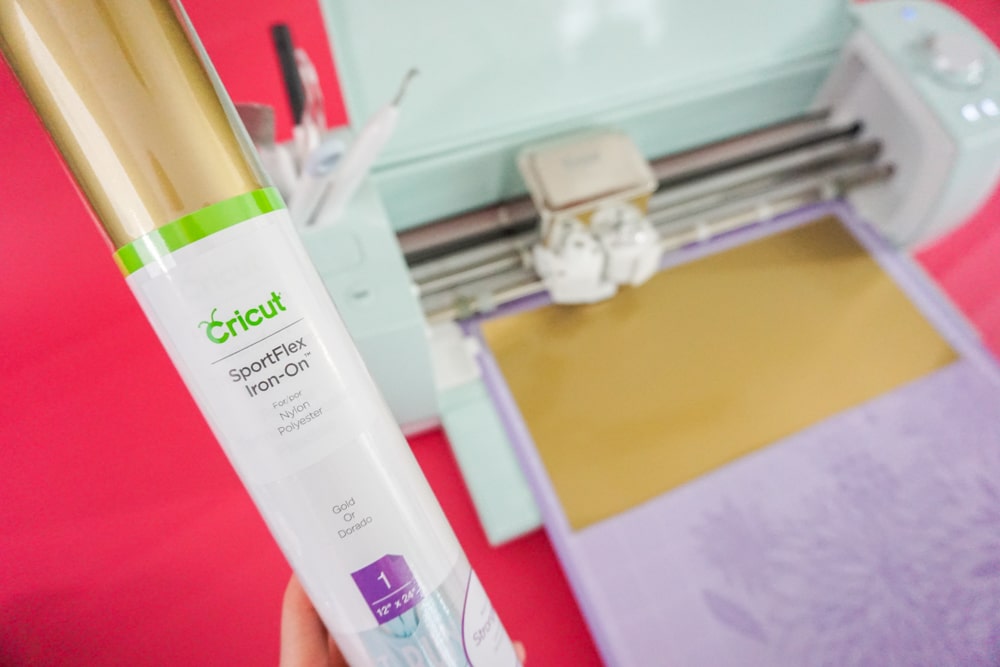
For this project, I got to try the new Cricut SportFlex Iron On™! This stuff works like a dream on stretchy, activewear! It uses Cricut StrongBond™ technology for long-lasting results that stick.
The vinyl is flexible and stretchable so it worked perfectly for my DIY workout tank! I can’t wait to try this stuff on other materials – a swimsuit maybe!?
Materials for DIY Workout Tank
Cricut Explore Air 2 or Cricut Maker
Workout Tank or Tee
Cricut EasyPress, heat press, or iron
Cricut EasyPress mat or a towel
“Running Late Is My Cardio” cut file
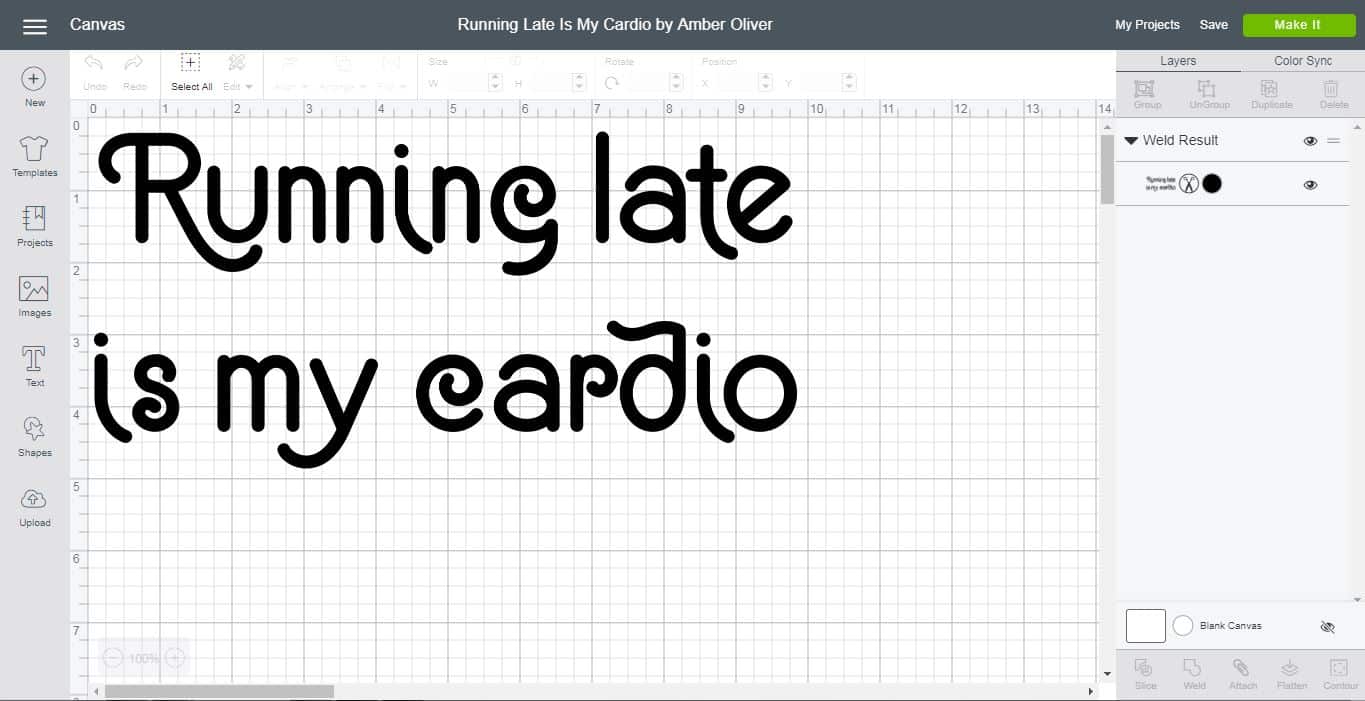
Step 1: Open up my free cut file in Cricut Design space: “Running Late Is My Cardio” cut file
Step 2: The design opens up and is 10 inches across – this fit perfectly on my small tank. You can easily resize before you click “Make It”!
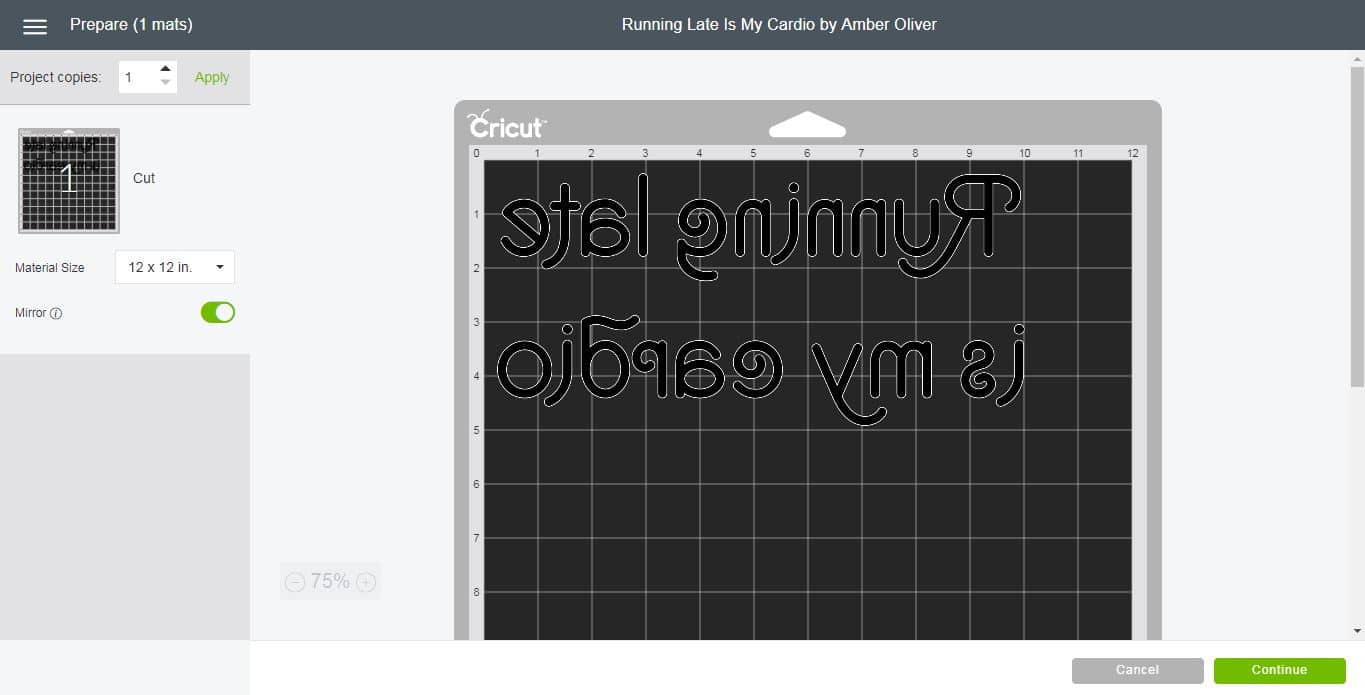
Step 3: On the next screen, be sure to click “Mirror Design” before you click “Continue”.
Step 4: Make sure your machine is set to “Custom” for material type and select “SportFlex Iron On” for the material type.
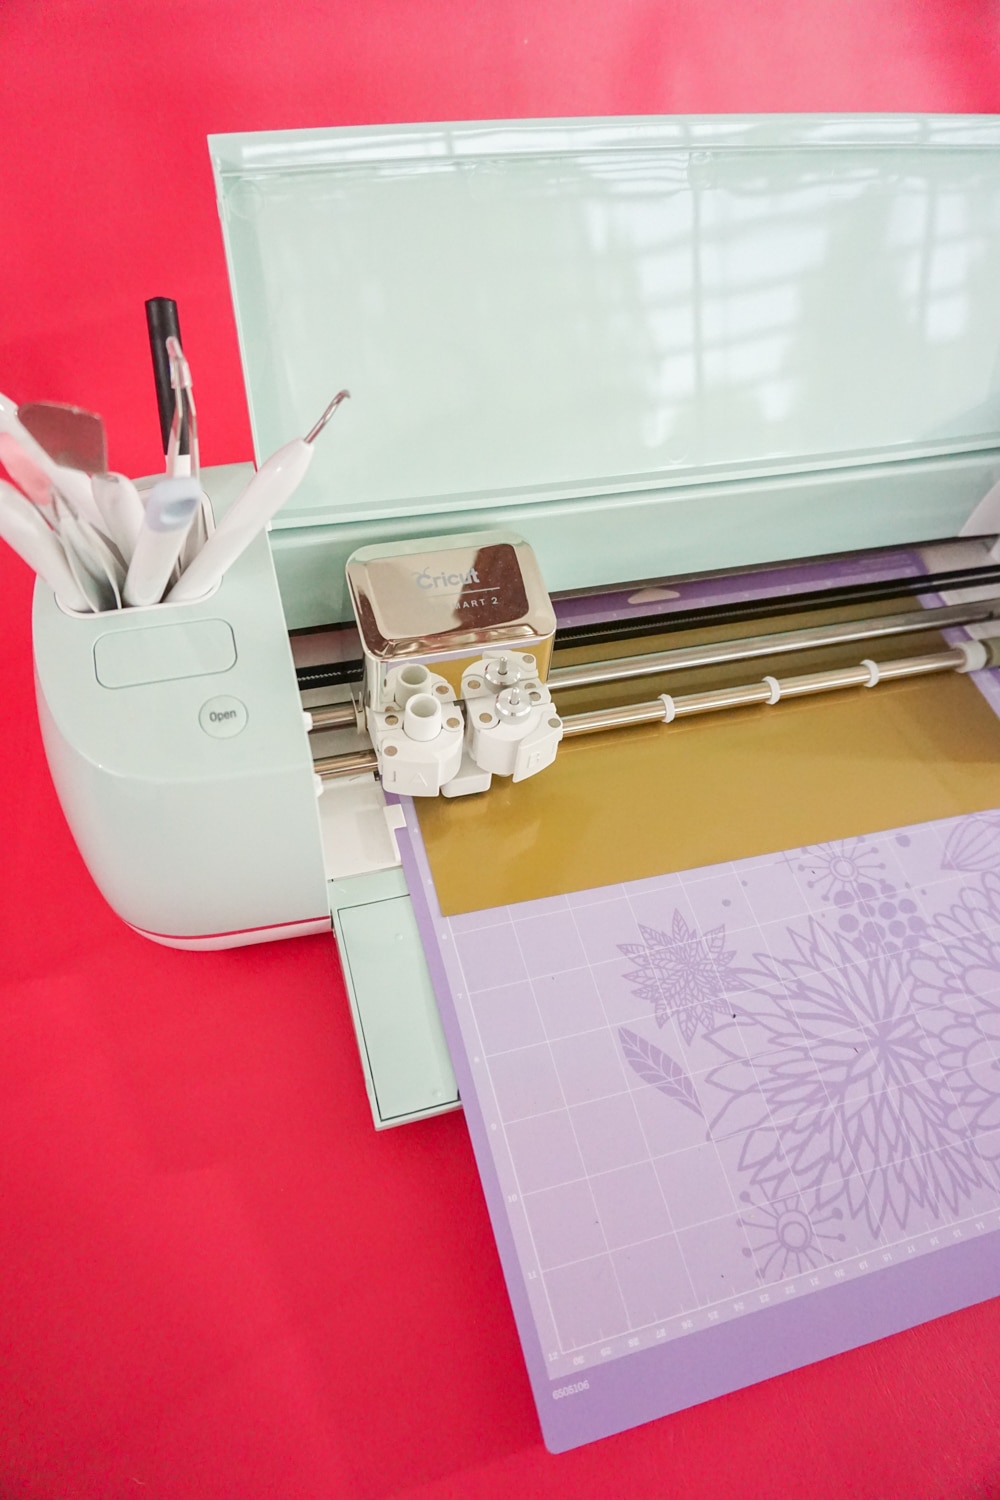
Step 5: Proceed with cutting the design! Make sure you put the shiny side down (the carrier sheet) on your mat. I had to use the StrongGrip mat. Note: I had a hard time with the gold seeing the difference in the two sides. You may have to pull a tiny corner OR do a tiny test cut to make sure you have the right side down.
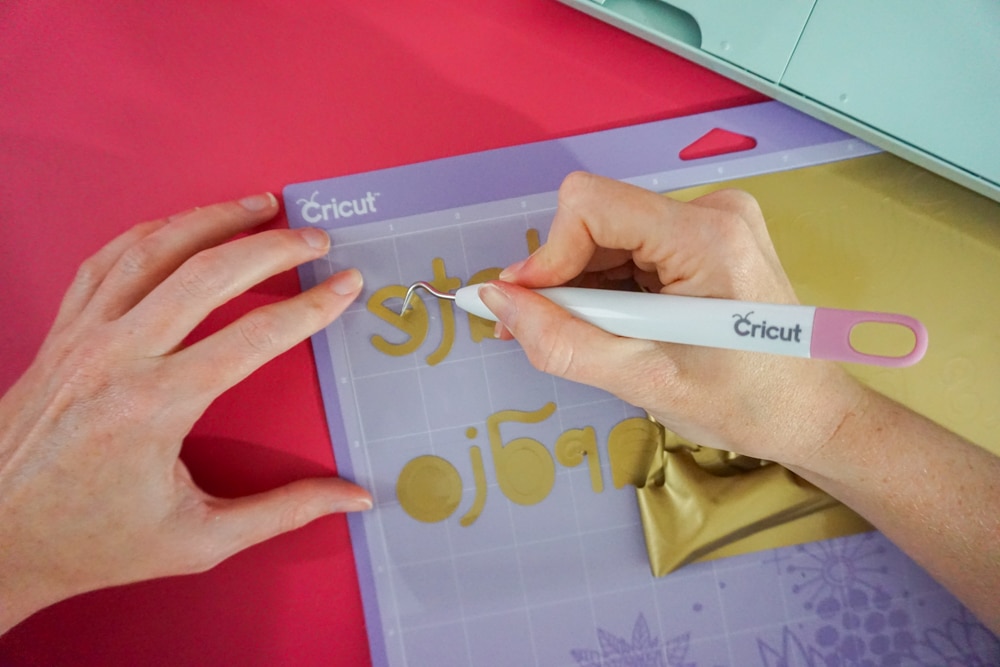
Step 6: Once your design is cut, start weeding! Remove all the excess vinyl.
[one-half-first]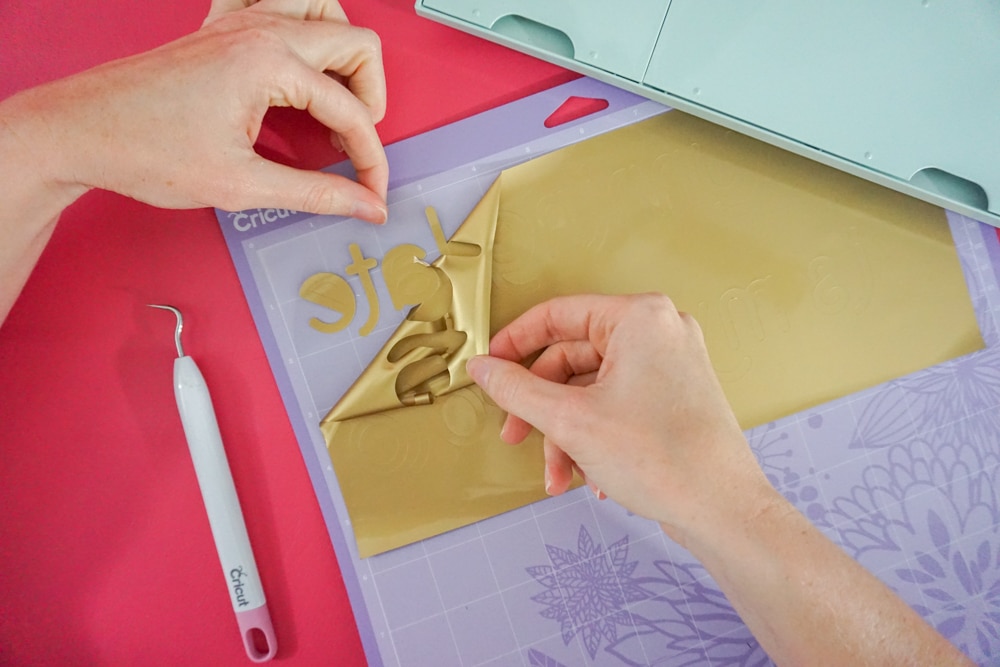
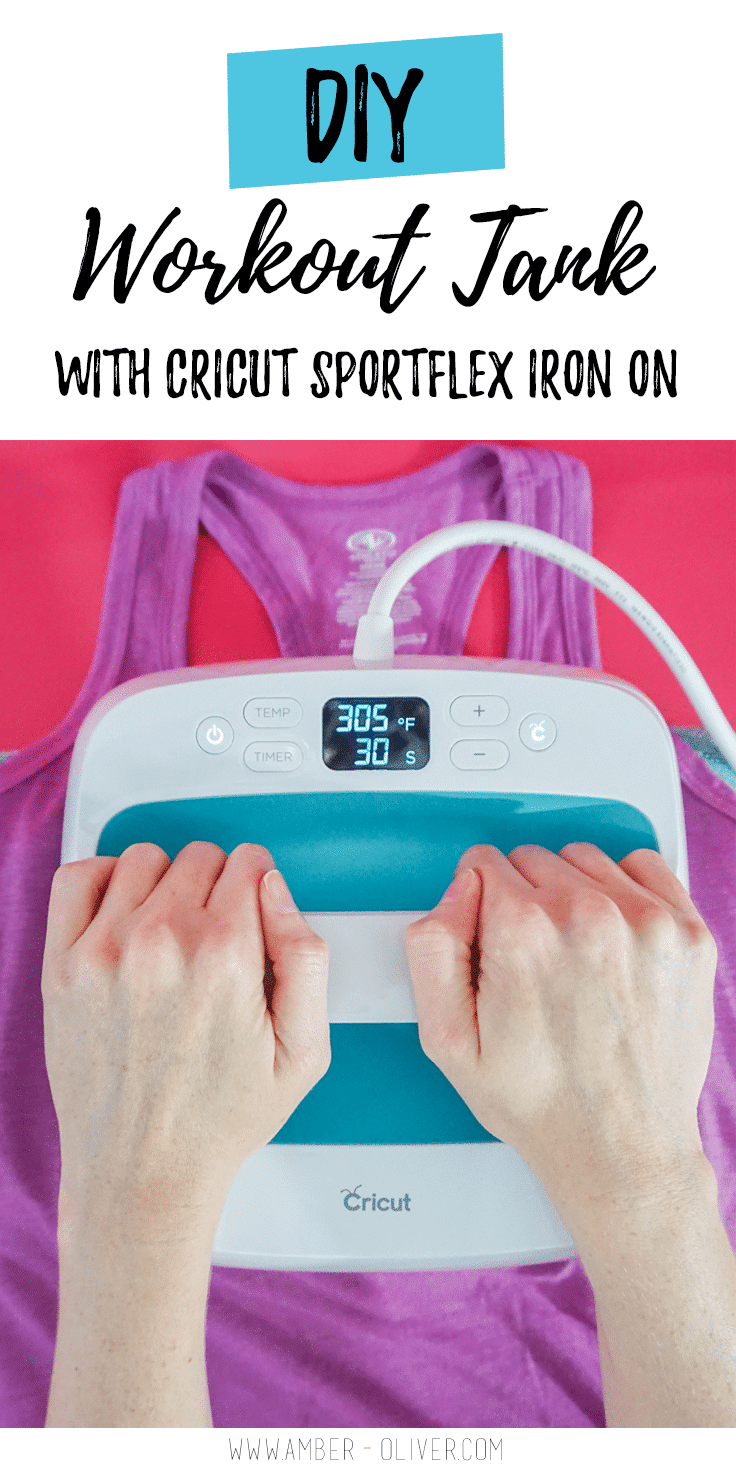
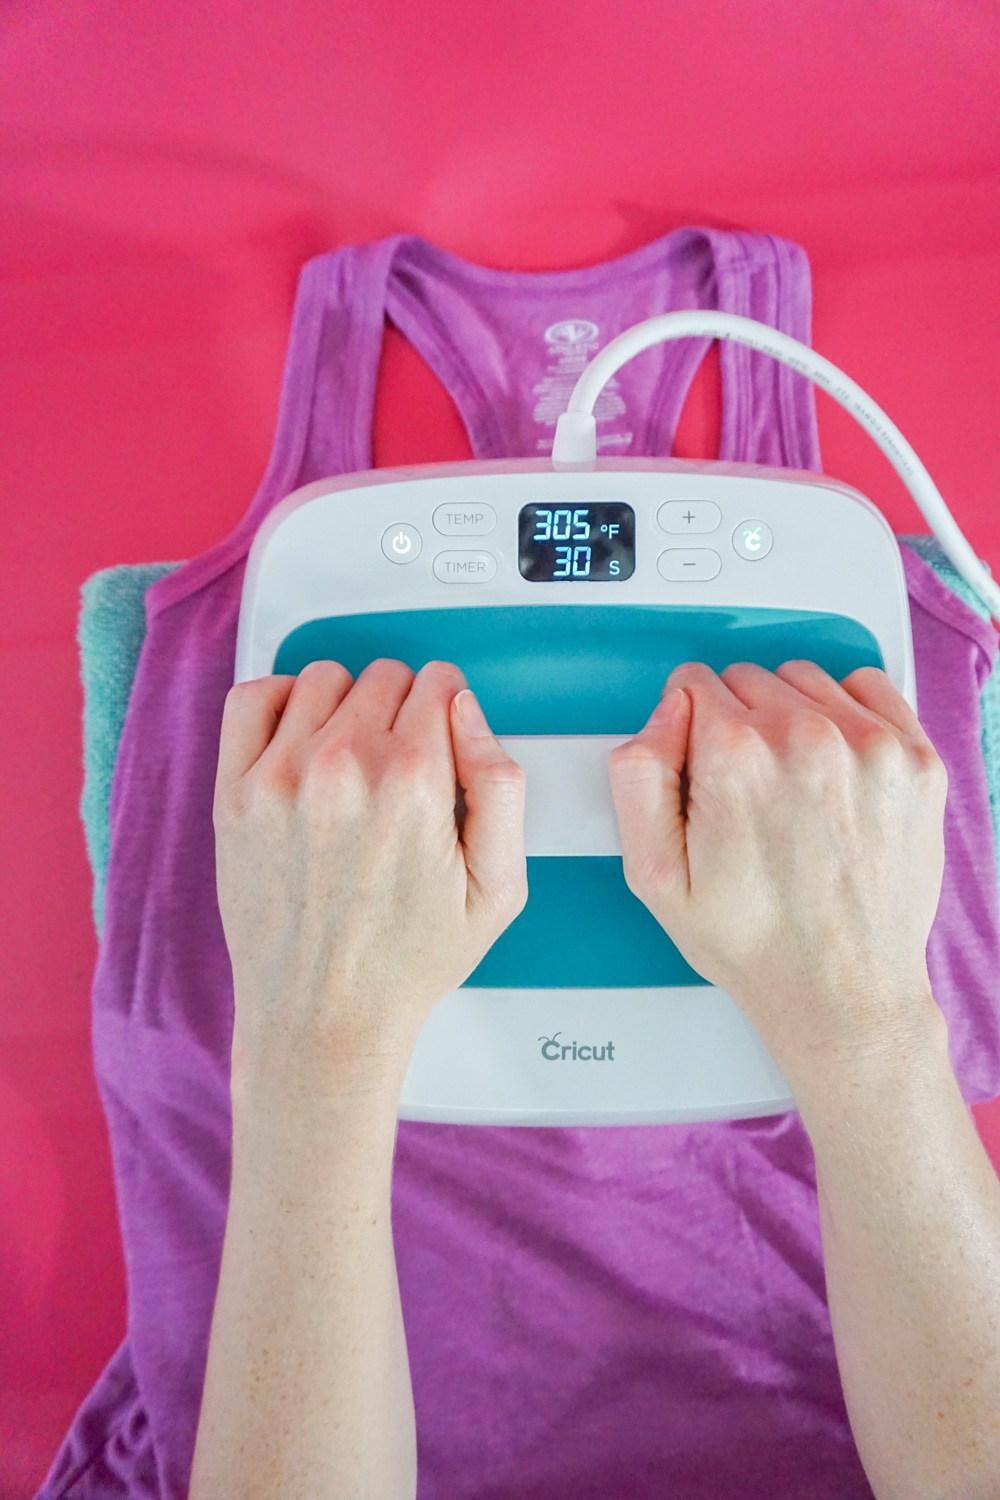
Step 7: I used my Cricut EasyPress for this project and that thing is a GAME CHANGER! It heats up to the precise temperature you need for your materials, covers a large surface area, and applies heat evenly!
For Cricut SportFlex Iron On™ I used the following settings:
Preheat material for 5-10 seconds
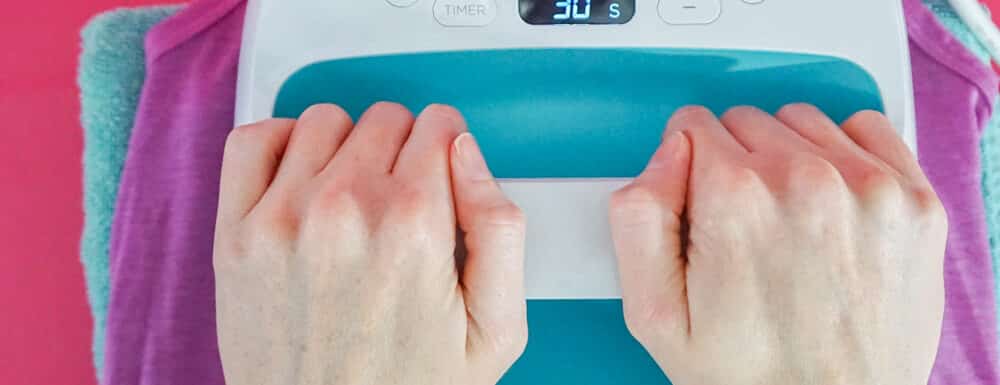
Press for 30 seconds at 305 on front
Press for 15 seconds at 305 on back
Wait until it cools to peel
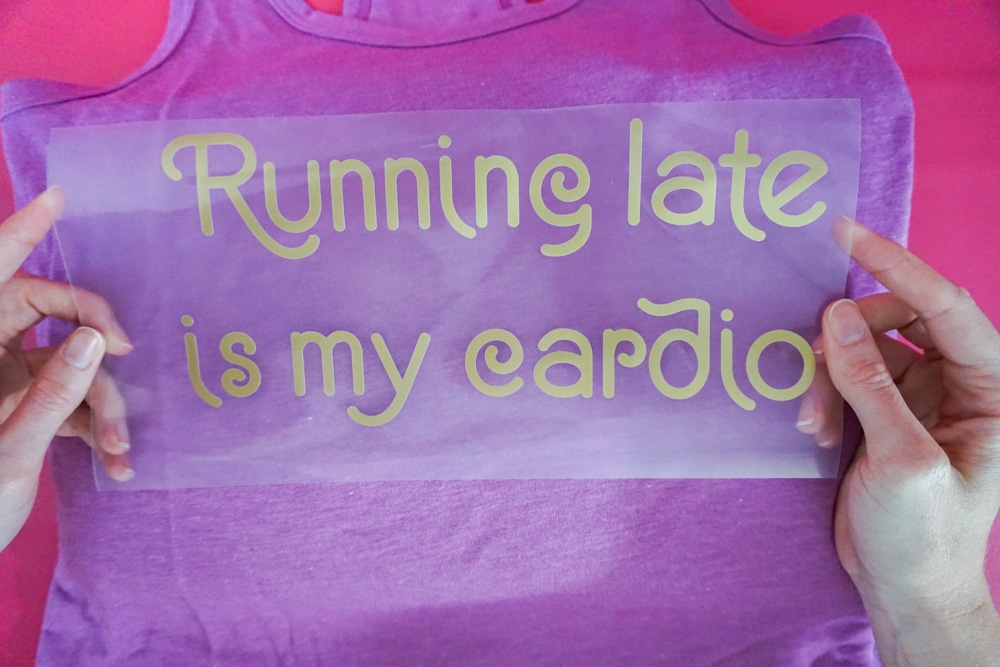
There are so many cute and witty sayings you could use to customize your own DIY workout tank, but this one is an easy way to get started with SportFlex Iron On™. Just open up my design, cut, and go! Cricut also came out with Patterned Iron On and I can’t wait to try that next!
You can check out my other Cricut Projects here!
This is a sponsored conversation written by me on behalf of Cricut. The opinions and text are all mine.
Shop this project:
Don’t forget to PIN for later!


Interested Reader says
Where did you find the font?
Amber Oliver says
It’s found in Cricut Design Space! It’s called “Everyday Fonts – Best of Times”
Elizabeth Guerrero says
What tank tops do you recommend doe this project?
Amber Oliver says
Hi! Cotton works best but I’ve also used polyester 🙂