Last updated August 8th, 2022 at 03:04 pm
Clay is one of the few craft mediums I’d never worked with. I had a few good years with play dough (around years 4, 5, and 6…) but now that I’m a little older I thought I would try grown up play dough – oven bake clay!
I’ve seen tons of tutorials on creating a marbled look with clay (which is totally on my to-do list) but I wanted a simple project to start with so I can get the feel of working with this product. This tutorial for DIY plant markers is perfect for someone (like me) who has never used oven bake clay before.
This post contains affiliate links. If you shop from my blog, I may be compensated for clicks or purchases that you make. Thank you for your support – it means I can keep crafting! Please refer to my disclaimer page for more information.
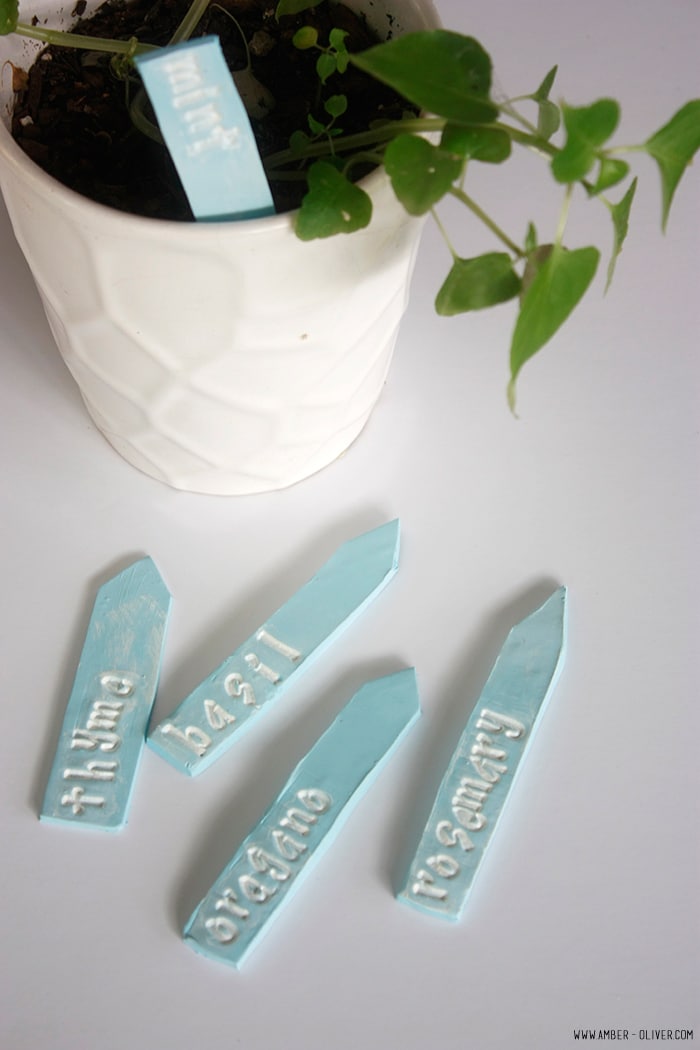
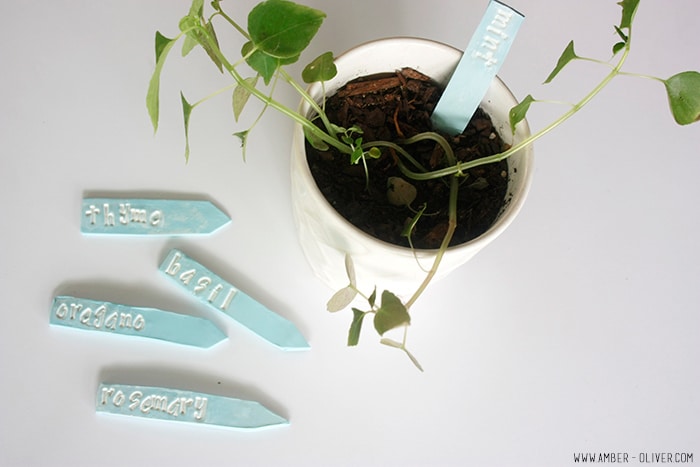
DIY Plant Markers
Make your own DIY plant markers using oven baked clay. A full tutorial and details on using oven baked clay. These are a great gift idea!
Materials
Instructions
Begin by rolling out your clay. It’s much more firm than playdough but same general idea. You can roll it into a ball with your hands, then use a nonstick rolling pin to roll it out flat until it’s about 1/4 inch thick. I created these DIY plant markers with one package of blue oven bake clay.
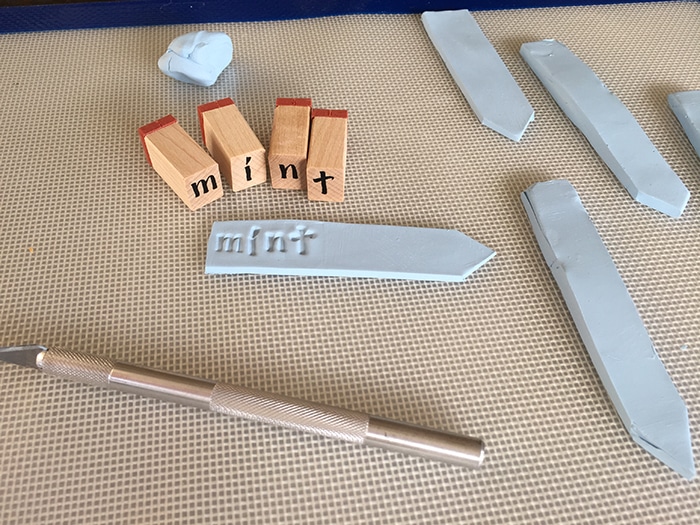
After you’ve rolled the clay flat use the xacto knife to cut out a long rectangle with a pointed end. You could measure this out to make sure the size is exact, but there’s no reason to. I just eyeballed it and mine were fine. If for some reason you mess up, just roll it back into a ball and start over! I cut mine on the silicon baking mat, but that’s not recommended on the mat’s package. What can I say, I’m a rebel 🙂 Just be careful if you do this not to cut your mat.
After you’ve got your makers cut, you are ready to stamp them! I put the names of herbs on the ones I made. I used small alphabet stamps.
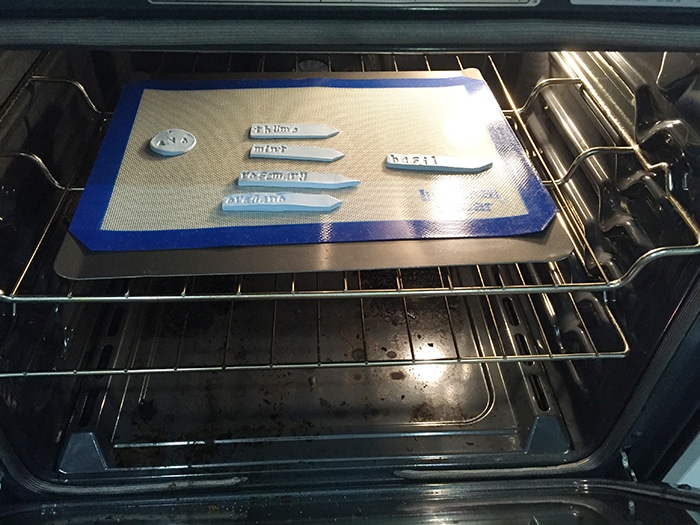
Next up, it’s time to bake. Follow the baking instructions on your clay package. I put mine on a silicon baking mat so they’d be easy to remove. Side note: does anyone have a clean oven? Is that a thing? Because mine is never clean.
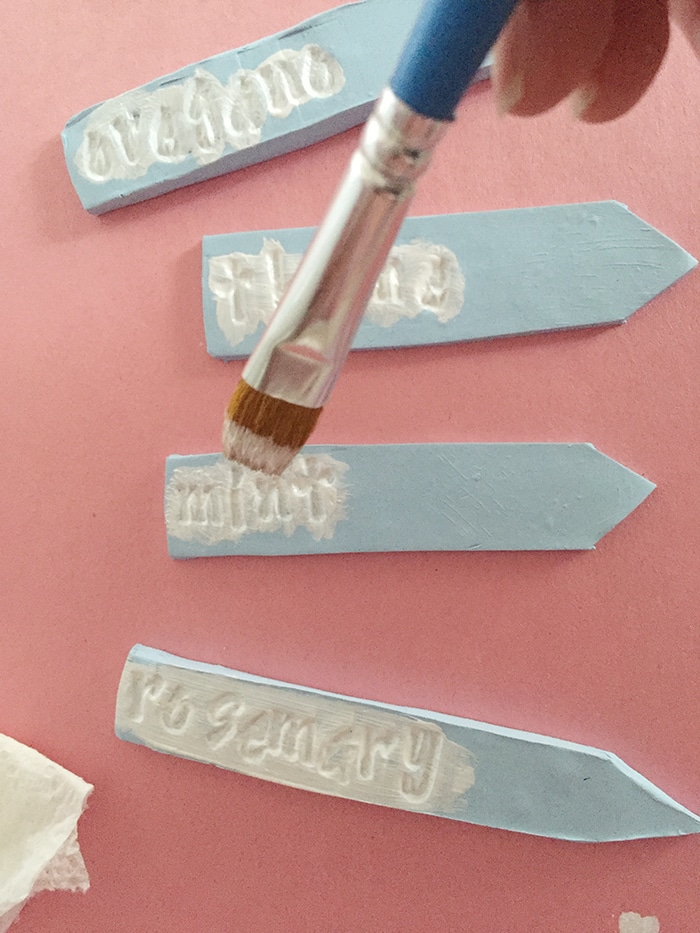
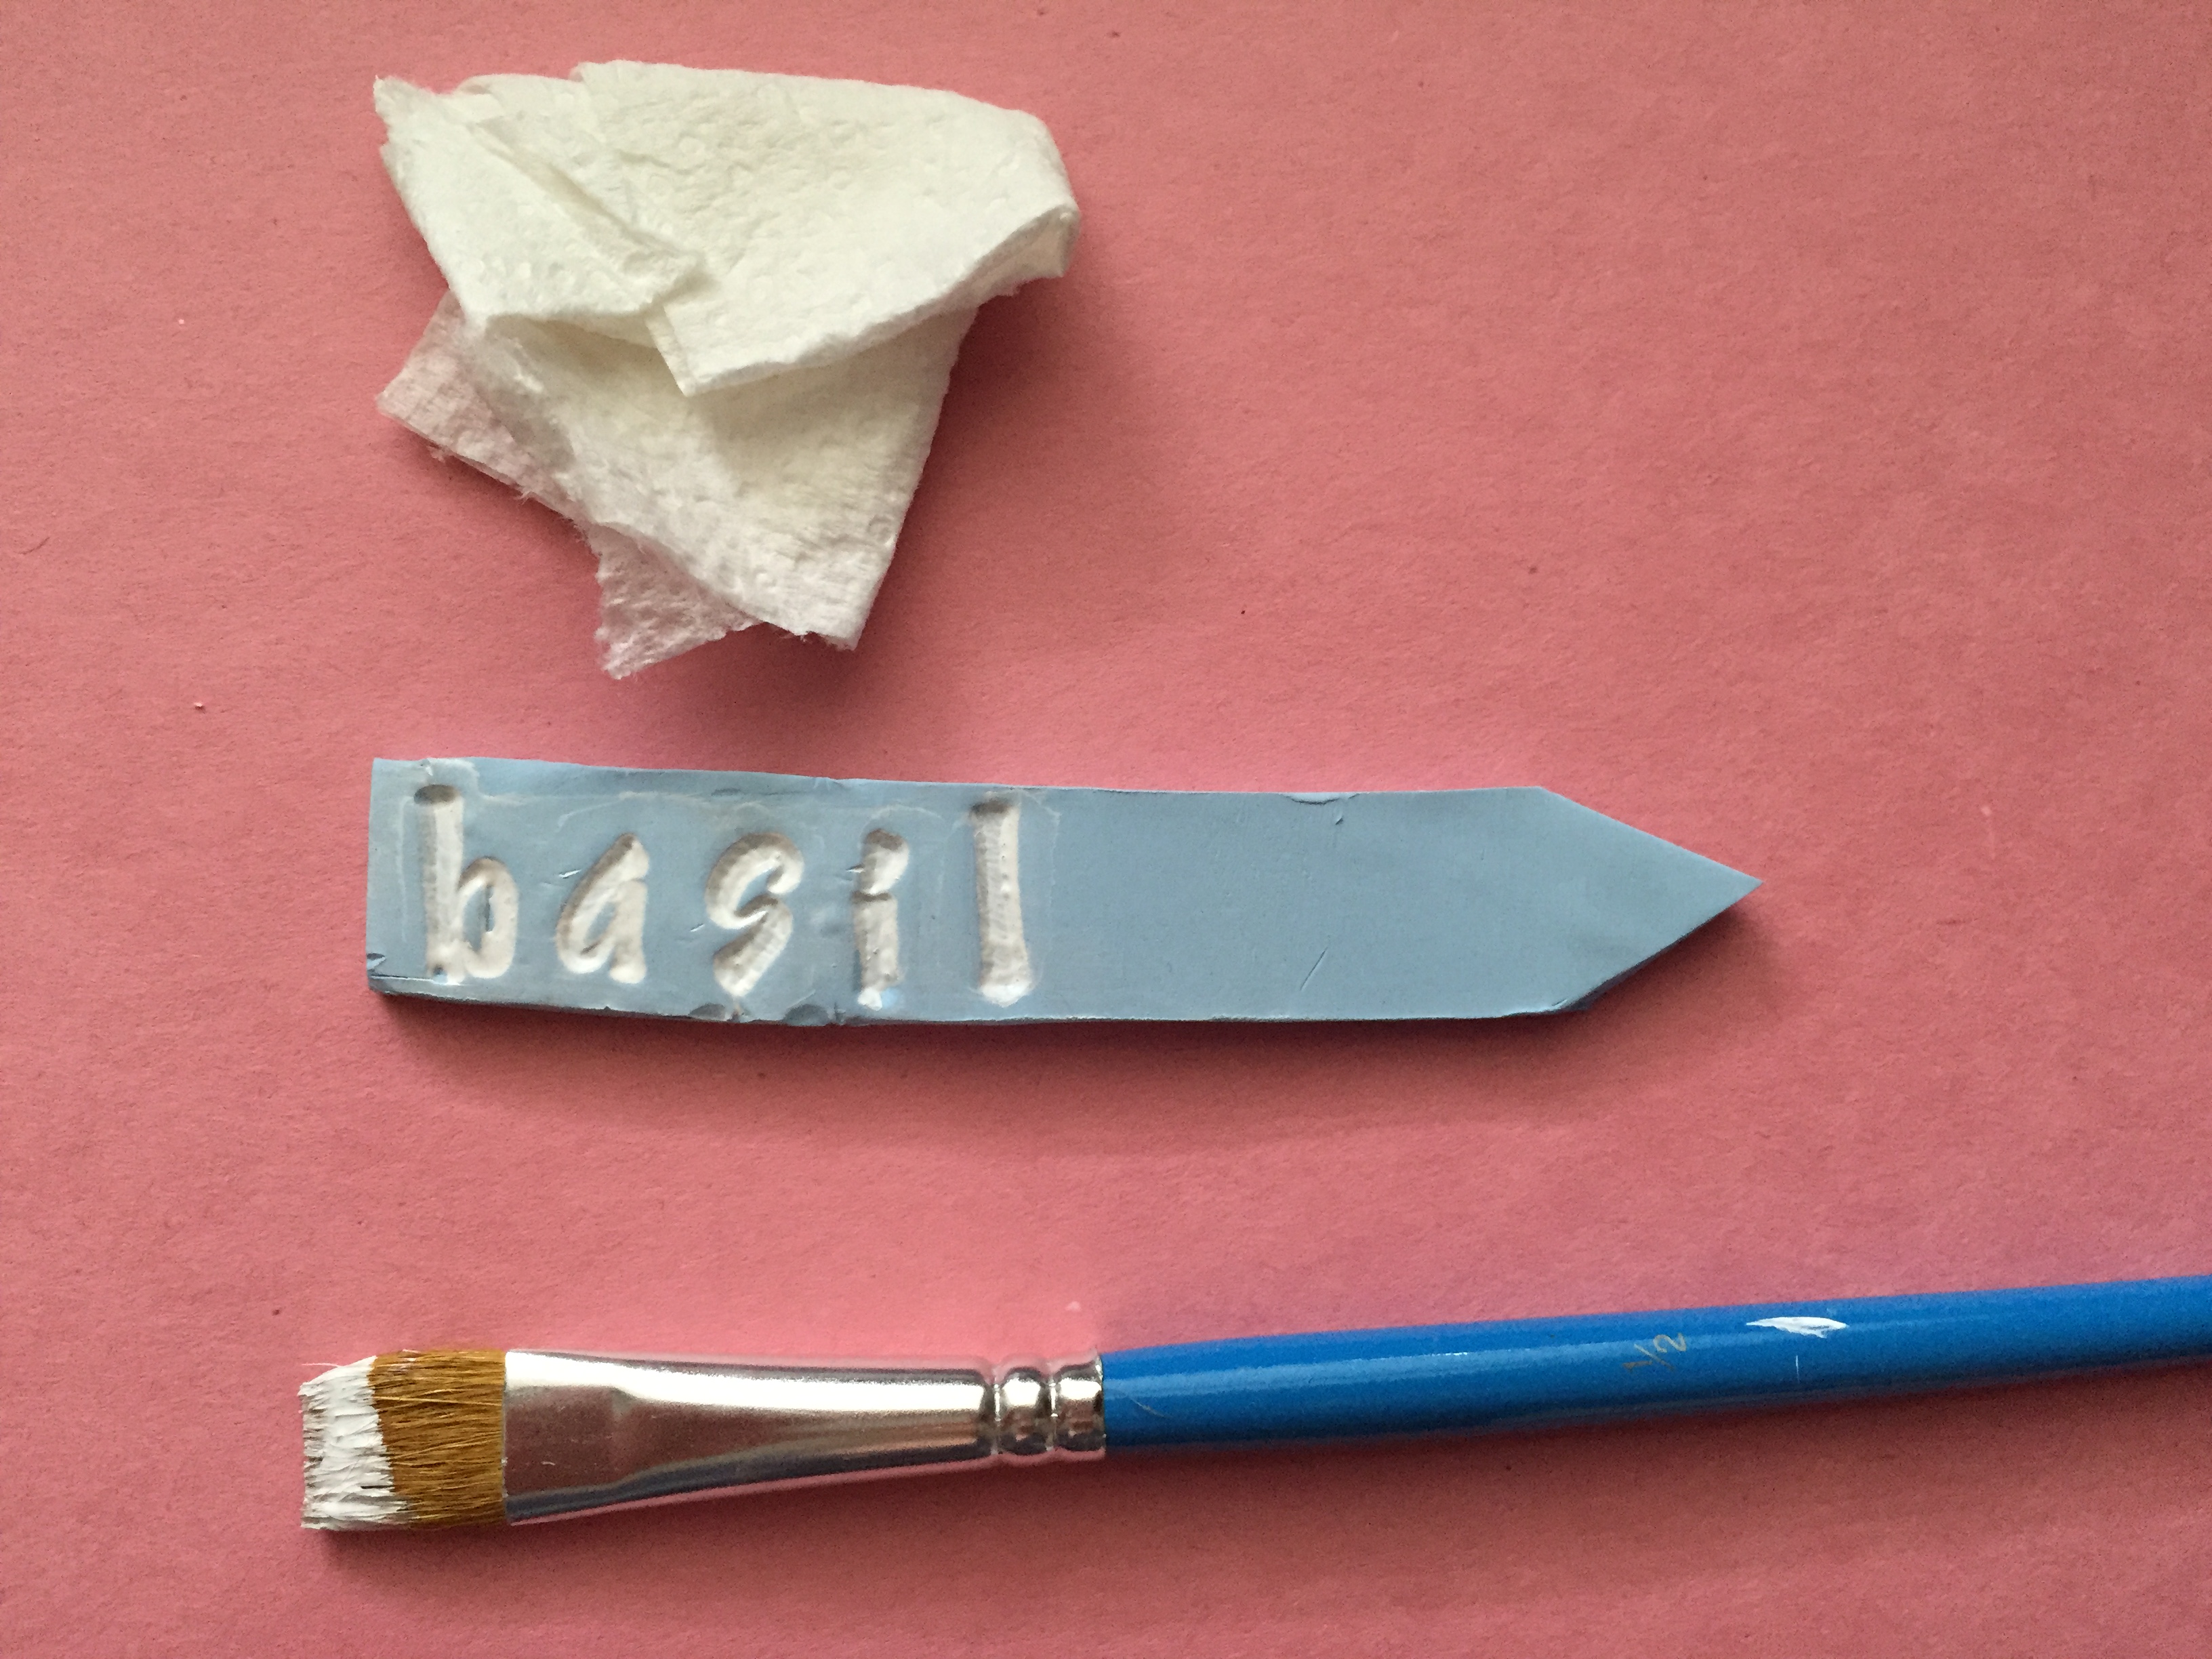
After they’ve “cooked” let them cool before handling them. Then you’re ready to add paint. I added paint to fill in the indents from the stamps on each of the letters and wiped off the excess with a paper towel. This made it much easier to read! I used DecoArt patio paint since these will be outside!
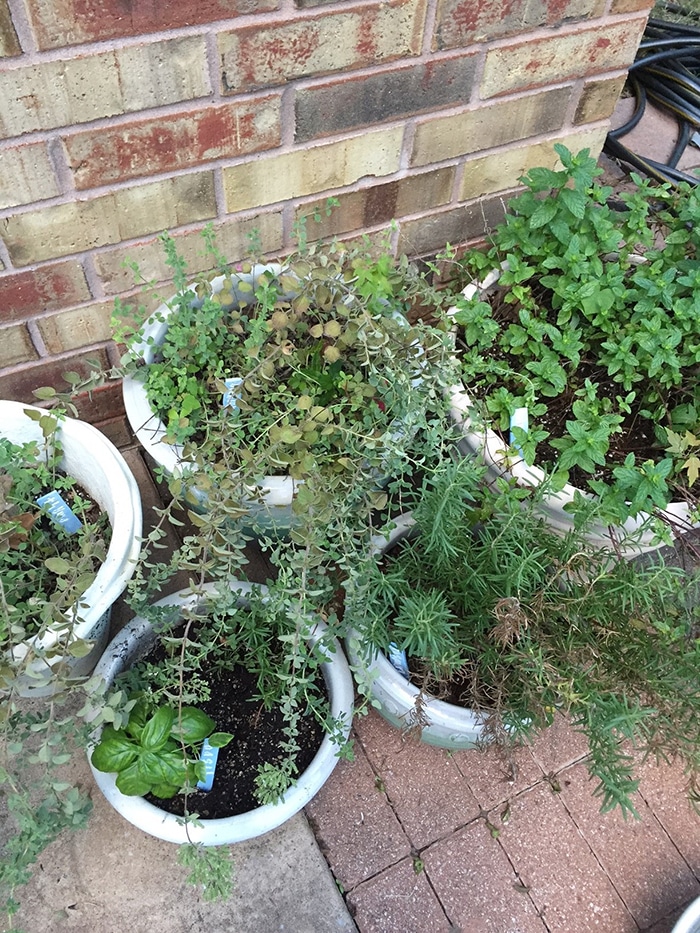
Your last step is to put them in your garden and enjoy! I gave these as a gift and they would be a perfect housewarming or hostess present!


Melissa says
This is such a fun idea I’m definitely trying in the future!